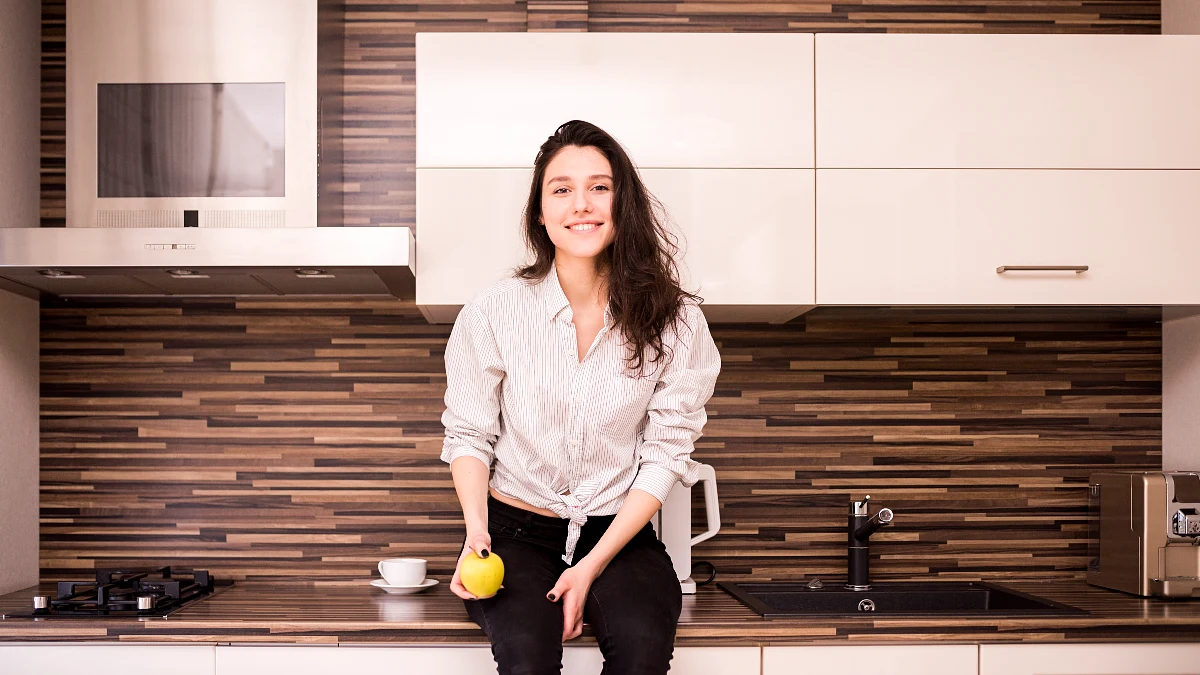
Sara stared at the empty corner of her new townhouse and realized she could not afford the high showroom prices for designer furniture.
The gorgeous reeded sideboards she loved online carried retail markups that equaled her monthly mortgage payment. She decided to attempt a luxury IKEA cabinet hack to get the look for less.
Her project proved that basic materials can completely replace a premium price tag. Sara combined smart structural changes, professional paint steps, and heavy metal hardware to build a high end centerpiece.
The Cabinet Elevation Blueprint
Modify the flat-pack base below using Sara’s custom workflow milestones to calculate your exact designer value.
Choose the Best Flat Pack Foundation for a Luxury IKEA Cabinet Hack

Sara started her build at the local warehouse loading dock. She learned that selecting the right base unit determines the ultimate lifespan of custom furniture pieces.
She looked for sturdy models like the IKEA IVAR or the classic Billy bookcase series. During her initial planning phase, she dug into current market data to see what options worked best for online creators.
She discovered a massive shift in how people decorate today. The Amra & Elma 2026 Influencer Survey reveals a 45% increase in custom furniture hacks across social channels over the past year.
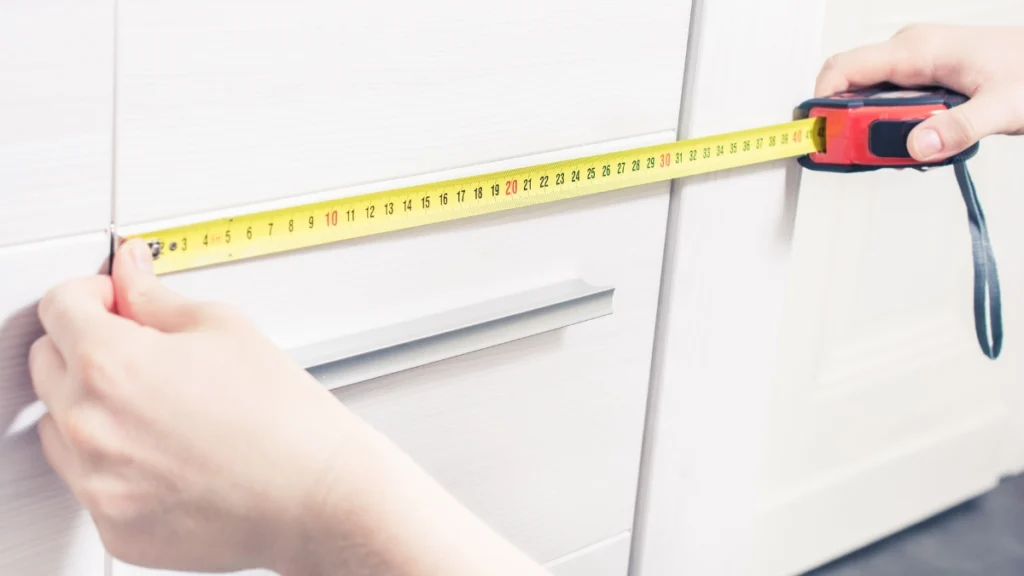
Sara bought a basic $99 unit to serve as the structural foundation for her project. Before leaving the store, she measured her alcove clearances to make sure the unit would fit her space perfectly.
She inspected the doors for smooth operation right after opening the box. She knew that any warped edges or misaligned hinges would ruin the high end illusion later.
Scribbling out her structural changes on paper helped her avoid mistakes. This step allowed Sara to map out her budget and create a beautiful template for affordable luxury home decor.
Once she verified the measurements of her frame, Sara focused on the chemistry of the outer finish. Getting the surface ready is what separates a shaky weekend craft project from a piece that looks completely custom.
Project Investment Comparison
| Cost Category | DIY Customization Strategy | High End Retail Showroom Alternative |
| Base Structural Unit | $99 (IKEA Raw Pine or Laminate) | $850 (Solid Oak Frame) |
| Architectural Trim | $45 (Pine Pole Wrap Trim) | Included in retail markup |
| Bonding Primer & Paint | $65 (Designer Brand Dead Flat Finish) | Factory lacquer finish |
| Hardware & Leg Upgrades | $80 (Solid Unlacquered Brass) | Hollow zinc alloy stock pulls |
| Total Monetary Cost | $289 total investment | $1,500 retail price tag |
Prepare Laminate Surfaces for Premium Paint Adhesion
Slick plastic surfaces are the true enemy of premium paint coats. Sara read online that if she painted directly over the factory finish, the color would scratch off within days.
Materials and Tools for Surface Prep
- 120 grit sandpaper
- Microfiber tack cloth
- Shellac bonding primer
- High density foam roller
Step by Step Surface Coating Instructions
Sara used 120 grit sandpaper to break the factory gloss on her cabinet. She rubbed the faces in even circles until the slick shine vanished.
Her research showed that this step is non negotiable. Professional cabinet coating data shows that 85% of all paint peeling failures on composite wood are caused by skipping the initial scuff sanding phase.
After sanding, she wiped the boards down with a microfiber tack cloth to pull up fine dust. Next, she applied a coat of specialized bonding primer to seal the wood.
Sara chose Zinsser B-I-N Shellac Based Primer, which cost her $24 per quart. This specific formula sticks to non porous surfaces much better than standard water based alternatives.
She let the primer cure for a full 24 hours to create a tough base. Sara found an article by design expert Drew Scott, founder of Lone Fox design studio, who explained how to make flat pack look expensive.
He advised using short, even strokes with an unthinned foam roller to eliminate common paint texturing errors. Sara followed this tip to keep her base smooth.
After her primer dried to a hard shell, Sara brought in her architectural detailing. This layer of trim gave the unit an immediate custom weight before she opened her paint cans.
Install Fluted Wood Trim for Architectural Texture
Standard flat doors instantly look cheap and predictable. Sara wanted to hide the factory origins of her cabinet by adding three dimensional details to the front panels.
She discovered that texturing is highly popular right now. The Pinterest Predicts 2026 Trend Suite states that interior searches for rich textures like ribbed paneling and Neo Deco wood detailing are up by 220% across platforms.
To build her own DIY fluted furniture, Sara followed a clear installation sequence:
Fluted Cabinet Upcycle
Pole Wrap Installation Process
1. Measure Precise Dimensions
She measured the exact height and width of her cabinet doors using a heavy steel ruler.
2. Cut the Materials
She cut flexible pine pole wrap trim to fit those door dimensions perfectly.
3. Apply the Adhesive
She spread industrial construction adhesive evenly across the back of the trim panels.
4. Secure the Bond
She pressed the wood wrap firmly onto the laminate door faces to secure the bond.
5. Fire and Set
She fired fine brad nails along the outer borders for a permanent set.
Using real wood trim provided authentic architectural texture that plastic alternatives cannot replicate. Sara filled the remaining nail holes with sandable wood filler to hide the gaps.
She sanded the dried filler smooth with 220 grit paper. As soon as the wood glue set along the edges, her canvas was ready for color.
Selecting the right pigment required Sara to ignore old neutral styling rules completely. She wanted something dramatic for her home.
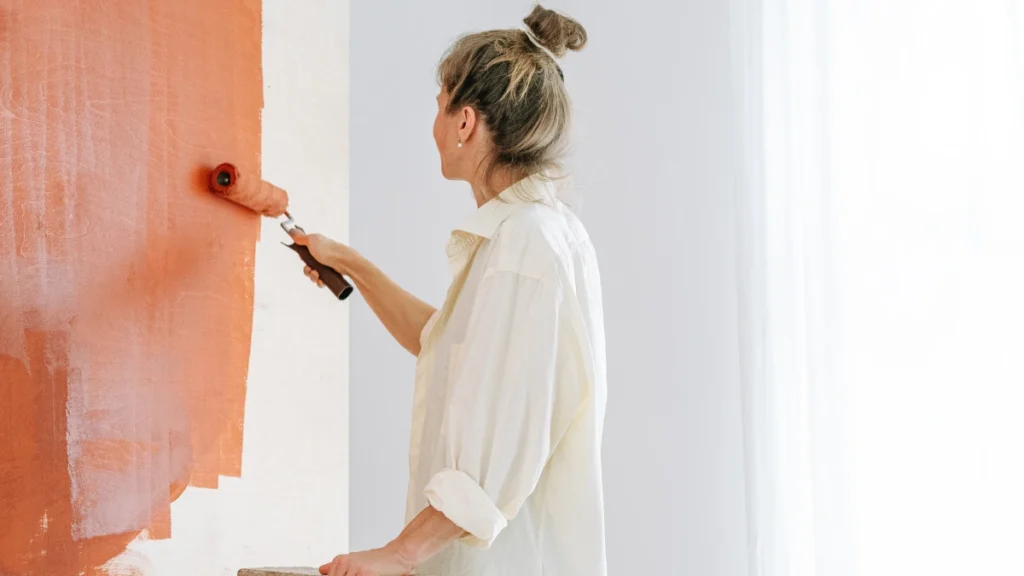
Apply Saturated Designer Color for a Premium Finish
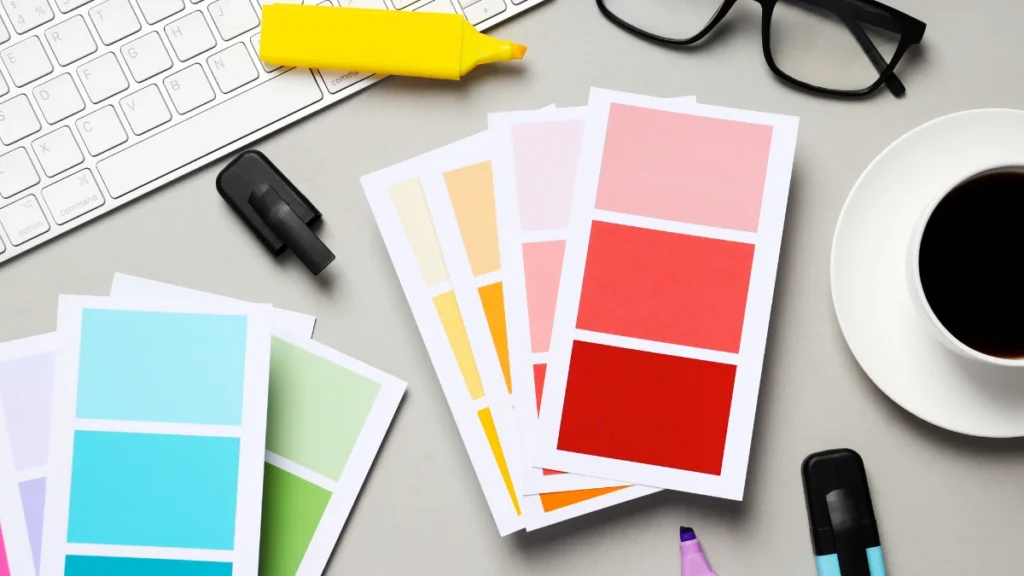
The wrong shade of paint will make hard woodworking efforts look like a basic school craft project. Sara avoided cold rental grays and boring bright whites for this specific build.
She found that the industry is moving away from pale hues. The Apartment Therapy 2026 Design Synthesis indicates that flat greiges and stark sterile whites have dropped to historic lows, with 70% of trade experts picking deep saturated earth tones instead.
To maximize the high end illusion, Sara painted the entire unit inside and out. This color drenching method creates a seamless look that makes furniture look highly expensive.
She purchased a premium finish called Farrow & Ball Dead Flat paint in the shade Brinjal for $145 per gallon. This deep burgundy tone absorbs light beautifully.
The paint provided an ultra matte finish that elevated her luxury IKEA cabinet hack. She used a fresh high density foam roller to apply the color.
Sara worked in long, vertical lines to eliminate brush marks. She completed a light sanding step between her final coats to get a smooth surface.
While the final coat of rich pigment dried, Sara prepared the structural accents for the base of the frame. These metallic pieces functioned like fine jewelry on a custom dress.
Material and Coating Compatibility Guide
| Furniture Substrate Type | Required Surface Preparation | Optimal Primer Selection | Recommended Topcoat Tool |
| Raw Unfinished Pine | 220 grit wood smoothing | Oil based stain blocker | Natural bristle brush |
| Slick Plastic Laminate | 120 grit aggressive scuff | Shellac based bonding primer | High density foam roller |
| Wood Veneer Facing | 180 grit directional scuff | Water based acrylic primer | Airless fine finish sprayer |
| Medium Density Fiberboard | Edge sealing with wood glue | Solvent based primer | Medium nap microfiber roller |
Upgrade to Premium Heavyweight Hardware
Lightweight plastic knobs destroy the illusion of luxury furniture instantly. Hands feel quality before eyes can even process the visual details of a room.
Sara threw away the cheap stock knobs included in the flat box. She sourced heavy pulls made of solid unlacquered brass to add real physical weight to the doors.
She also wanted to lift the cabinet frame off the floorboards to change its profile. She read a guide by interior creator Kristen McGowan, who recommended selecting cabinet legs that measure at least six inches tall.
Sara bought Pretty Pegs solid brass furniture legs for $35 per support unit. She used a plastic mounting template to drill her alignment holes accurately.
Using a template prevented crooked handles from ruining her smooth paint finish. Investing in solid hardware allowed Sara to secure an elite look on a reasonable budget.
The physical feedback of opening a heavy door using solid metal hardware created an expensive sensory experience. The finished unit felt like a substantial heirloom piece.
With her heavy brass handles tight and level, Sara slid the completed cabinet into her living room. She then began the process of styling the top surface.
Style the Finished Piece Like an Interior Expert
The most expensive cabinet will look completely flat if you crowd the top surface with random clutter. Sara knew that expert styling was required to finish the look.
She discovered that balanced presentation changes how people view a home online. A recent Houzz Trend Study shows that balanced tabletop styling increases the digital share rate of home photos by 65%.
Sara used three specific rules to dress her cabinet:
The Art of Asymmetry
Styling Principles by Hazel Quinn
Create Asymmetry
She created asymmetry by placing a tall lamp on the left side and shorter items on the right.
Group by Threes
She grouped handmade stoneware pieces and ceramic vases in odd numbers to build visual balance.
Soften the Edges
She layered organic elements like long dried branches inside her vases to soften the straight edges.
Sara avoided placing tiny plastic trinkets on the wood top. Instead, she used a stack of large hardcover design books to anchor her smaller pottery pieces.
She added a small cordless accent lamp to cast a warm glow across the new wood fluting. This final arrangement bound the cabinet directly to the surrounding room architecture.
Sara successfully built a high end designer statement piece for her townhouse. She spent a fraction of retail prices and gained a beautiful custom storage unit.
Conclusion
Creating a premium home does not require thousands of dollars in disposable income. Sara proved that picking a strong structural base, using a high grip bonding primer, and choosing heavy metal hardware ensures professional results.
Clearing out a workspace and picking up a base unit this weekend is the best way to start a similar transformation. Taking your time through the sanding and painting stages guarantees a gorgeous finish that lasts for years.

