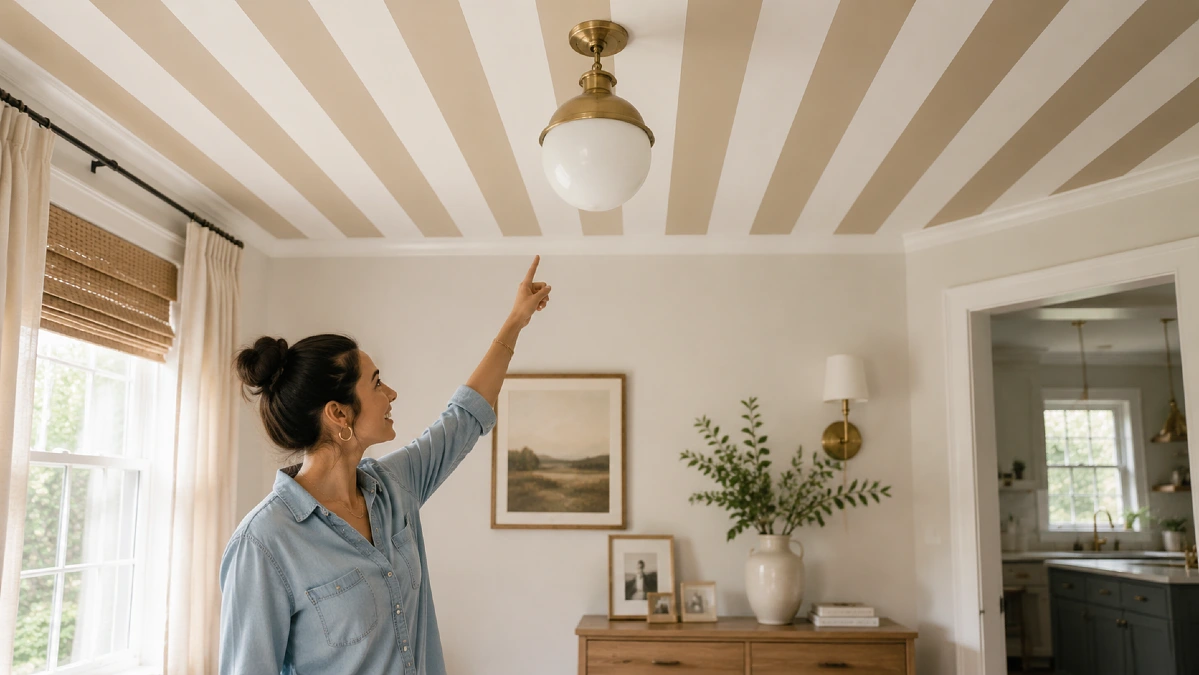
Look directly at the ceiling above you right now. Your fifth wall is completely blank. This ignored space represents a massive missed opportunity for your room aesthetic.
Leaving it white makes the entire room feel flat and unfinished. You are about to learn how to execute the viral striped ceiling trend yourself.
This guide shows you exactly how to use standard paint and tape to create high end painted ceiling details. You will get the look of expensive architectural work for almost nothing.
Why the Striped Ceiling Trend Is Taking Over
Once you understand why designers love this look, you need a solid plan. Interior designers finally stopped ignoring the space above our heads.
They call it the fifth wall design for a very good reason. Treating your ceiling like an actual design element completely transforms a room.
The striped ceiling trend replaces plain white drywall with serious personality. People want color drenched rooms now. Flat white ceilings break that immersive feeling instantly.
Adding stripes draws the human eye straight up toward the light fixtures. This creates a powerful illusion of extra architectural height.
The Journal of Environmental Psychology notes that higher ceilings provide a strong sense of openness. A painted pattern mimics the shadow lines of expensive coffered ceilings perfectly.
You get the visual depth of structural wood beams without the massive construction bill. Paint just requires an afternoon and some patience.
You save roughly 90 percent of the cost when painting stripes versus installing wood ceiling beams. Statement ceilings are a top aesthetic request in 2026 design data.
Architect Pierre Yovanovich says treating the ceiling as a primary design element anchors the entire room. A bold overhead pattern changes everything.
Planning Your Striped Ceiling Design
Every great room starts with basic math and a color wheel. You have to decide which direction your stripes will run. Running stripes parallel to the longest wall makes a room feel endless. Running them across the shortest width makes a narrow space feel wider.
Next comes the actual stripe width. Narrow stripes can make a large ceiling look chaotic or busy. Wider stripes always look more expensive and intentional. They also require much less taping work on your shoulders.
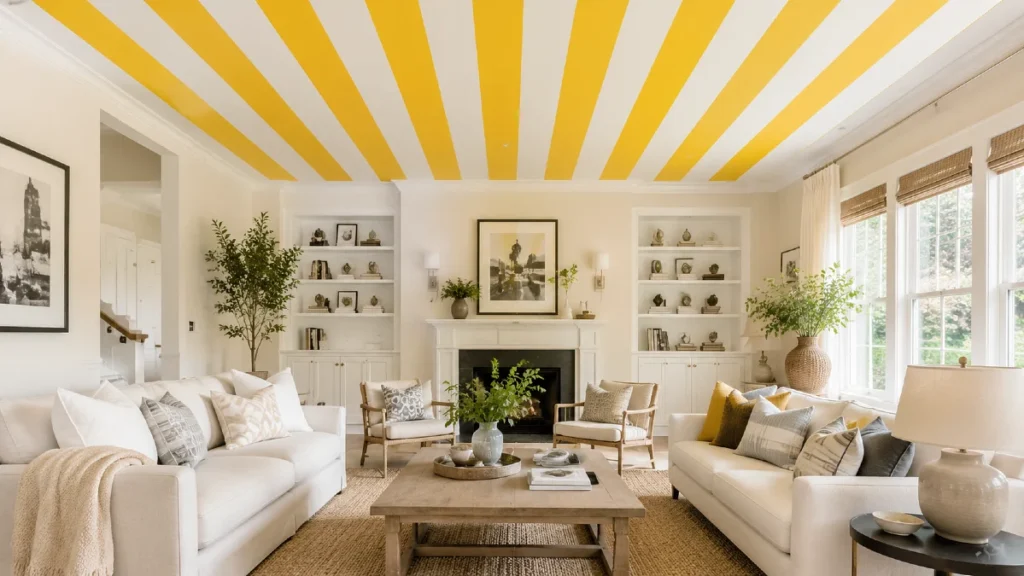
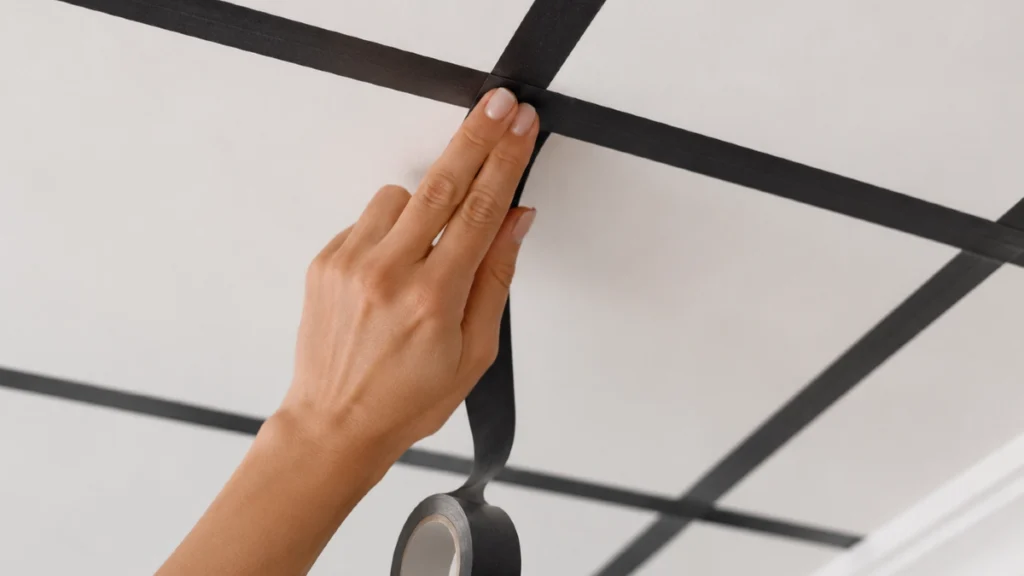
For color, you must choose between high contrast and subtle design. A black and white stripe gives a very bold carnival aesthetic.
Pinterest data shows search volume spikes for carnival core aesthetics in interior design. That works well in a maximalist space. For a calming room, tone on tone details work beautifully.
You simply use the same color in two different finishes. Paint the base ceiling in a flat finish. Then roll the stripes in a satin finish of that exact same color. The subtle sheen difference creates a quiet luxury look. This approach makes a budget ceiling makeover look incredibly custom.
You must assess your ceiling texture before buying supplies. Smooth ceilings accept tape perfectly and produce crisp lines. Popcorn ceilings or heavy orange peel textures create a massive challenge. Tape cannot seal properly over deep bumps.
If you have heavily textured ceilings, you need to scrape them smooth first. This adds time but guarantees a professional finish. With your dimensions locked in, it is time to shop.
| Room Square Footage | Recommended Stripe Width | Visual Effect |
| Under 100 sq ft | 8 to 10 inches | Keeps small spaces feeling open |
| 100 to 200 sq ft | 12 to 14 inches | Adds structure without visual clutter |
| 200 to 300 sq ft | 16 to 18 inches | Creates a modern and airy feel |
| Over 300 sq ft | 20 to 24 inches | Mimics wide architectural beams |
The Exact Supplies You Need for This Budget Ceiling Makeover
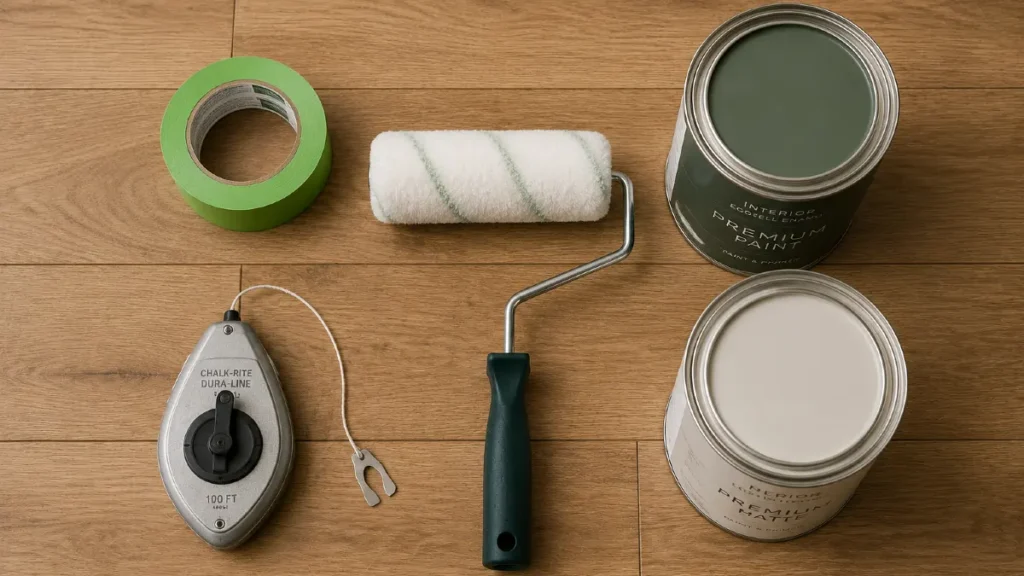
Skip the expensive architectural moldings. You only need a few specific tools to pull this off. Standard masking tape will not work for this project. Gravity makes cheap tape fall down immediately.
You need high adhesion tape designed specifically for overhead use. FrogTape Delicate Surface Painter Tape is the best choice for ceilings. It costs about $14 per roll. You will also need a laser level or a manual chalk line tool.
The chalk line tool costs around $10 at any local hardware store. A standard paint roller with an extension pole is strictly mandatory. You do not want to climb up and down a ladder all day. Extending the pole lets you paint smoothly from the floor.
Do not forget basic room protection. You need heavy canvas drop cloths to cover your floors and furniture. Plastic sheets slip easily and pose a tripping hazard. A sturdy step ladder is also essential for the taping phase.
Finally, you need your paint. Benjamin Moore Aura Interior Paint in Flat finish provides excellent base coverage for around $80 per gallon. A standard 12 by 12 bedroom ceiling requires less than one gallon of accent paint.
If you already have your rollers, material costs often stay under $45. This makes it the most affordable high impact project available. Gather everything in the center of the room. Better tape always equals sharper lines.
Step by Step: How to Paint Perfect Ceiling Stripes
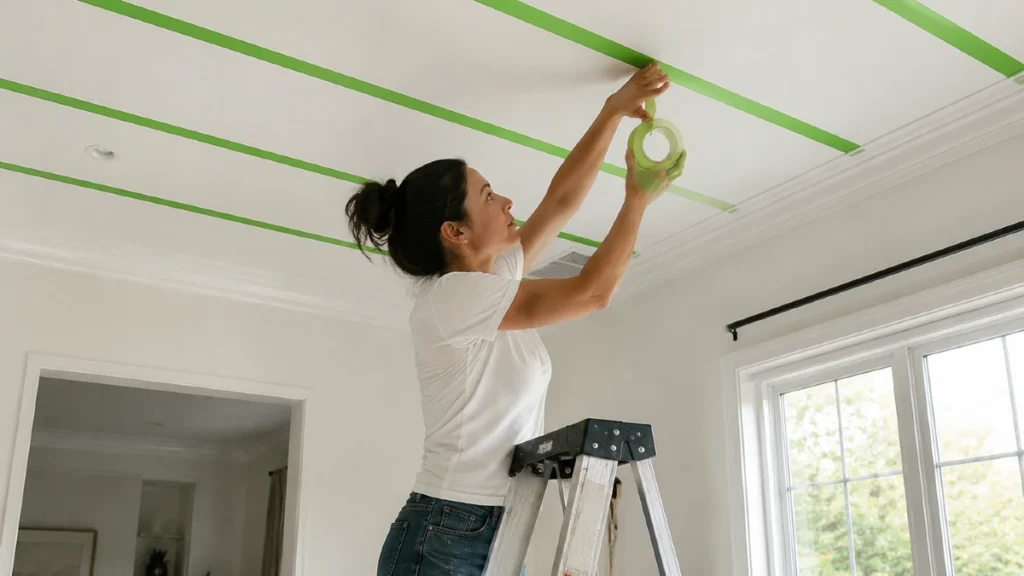
Preparation dictates your final result. You cannot rush the taping phase. The average time required to tape a standard 10 by 10 ceiling is roughly two hours. Take your time and get the measurements right.
- Prep and clean the surface. Dust the ceiling with a dry microfiber mop first. Paint will not stick to a dusty surface.
- Snap your lines. Use your chalk line to mark the exact edges of every stripe. Having a friend help you snap the lines makes the job infinitely easier. One person holds the string tight against one wall while the other snaps it.
- Apply the tape. Run your painter tape directly beside the chalk line mark. Press the edges down firmly with a plastic putty knife to secure the adhesive.
- Seal the tape edges. This is the most crucial step for sharp lines. Paint over the tape edge with your base ceiling color. This fills any tiny gaps with the base color so the accent color cannot bleed through.
- Roll the accent stripe. Once the base seal coat dries completely, roll your contrast color between the tape lines. Two light coats always look better than one heavy coat.
- Time the peel correctly. Do not wait for the paint to cure completely. Pull the tape while the second coat is still slightly damp.
Removing tape at a 45 degree angle prevents 90 percent of paint peeling issues. Pulling straight down will rip your fresh paint right off the drywall.
If you struggle to picture the final result, try the Dulux Visualizer App first. It helps you test stripe colors digitally before you buy paint. Now comes the best part of the whole project. Pull the tape while the paint is wet to avoid chips.
Best Rooms to Try the Striped Ceiling Trend
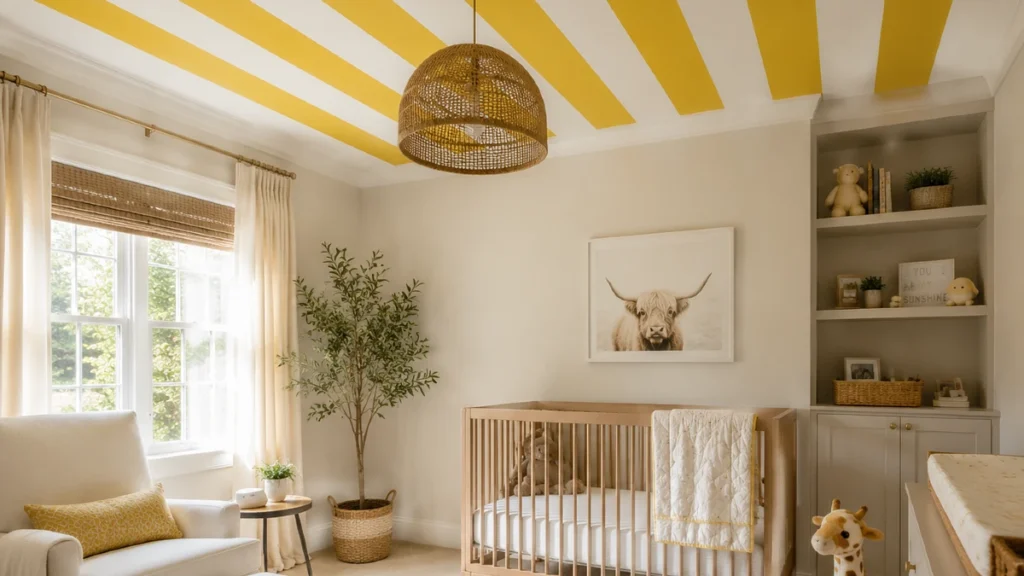
Some spaces handle bold patterns better than others. A small nursery is the perfect testing ground for this look. Babies spend most of their time looking straight up at the ceiling. A painted pattern gives them something visually stimulating to focus on.
Dining rooms also benefit hugely from this fifth wall design concept. People sit down and look around during long dinners.
The Human Factors journal reports that bold ceiling colors heavily influence perceived room proportions. Overhead stripes make large dining rooms feel significantly cozier and more intimate.
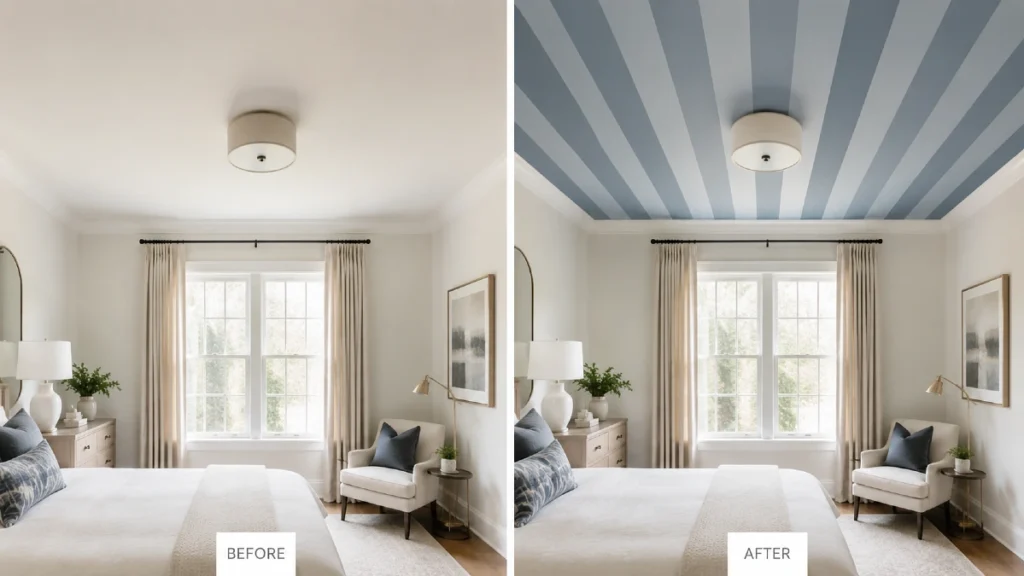
Primary bedrooms are another excellent spot for dramatic stripes. You can run wide stripes from the wall directly onto the ceiling above the bed. This creates a stunning canopy effect without hanging any heavy fabric overhead.
Entryways serve as the perfect introduction to your home style. Most entryways are narrow and lack architectural interest.
Painting bold horizontal stripes across the entryway ceiling makes the space feel instantly wider. It gives guests an immediate wow factor when they walk through the front door.
Avoid using this technique in high humidity areas like bathrooms. Steam from showers causes standard painter tape to fail during application. The paint will bleed instantly under the loose tape.
Interior Designer Nina Farmer recommends tone on tone ceiling applications for bedrooms. She says a soft beige stripe over a cream base adds incredible warmth without overstimulating the brain before sleep.
| Finish Type | Pros | Cons | Best for Stripes |
| Flat / Matte | Hides drywall flaws perfectly | Hard to clean | Base ceiling color |
| Eggshell | Slight glow and washable | Shows minor bumps | Subtle tone on tone stripes |
| Satin | Highly durable | Reflects light poorly if uneven | High contrast stripes |
| Semi Gloss | Extremely dramatic effect | Shows every single ceiling defect | Rarely recommended |
If paint feels too permanent for your current space, you have other options. Bedrooms and dining rooms offer the highest visual payoff.
Renter Friendly Alternatives to Paint
Your landlord might not appreciate your new paint skills. You can still embrace the striped ceiling trend without losing your security deposit. Removable striped wallpaper offers a brilliant temporary solution.
You simply peel and stick the wide strips across the ceiling. Keep in mind that overhead application is physically tiring. Removable wallpaper application on ceilings takes roughly 40 percent more time than wall application. Gravity constantly fights you while you try to align the patterns perfectly.
A roll of quality peel and stick paper costs around $45 to $90. You will likely need four rolls for an average bedroom. That pushes the total cost toward $360. Paint remains much cheaper overall.
For a budget alternative, use wide washi tape. You can create a subtle geometric grid or thin stripes for under $25. Washi tape peels off effortlessly and never damages the drywall underneath.
Another renter friendly trick is fabric draping across the room. You can staple lightweight striped fabric in a tented pattern overhead. This softens the hard angles of a square room and reduces echoes.
Whether you paint or peel, the result is stunning. Wallpaper gives you the look without the lost security deposit.
You now have the blueprint to upgrade your room completely. Remember that stripes instantly draw the eye upward and make your walls feel taller.
Good preparation accounts for 80 percent of the actual work. Getting crisp lines means investing time in snapping chalk lines and sealing your tape. Do not rush this phase.

