
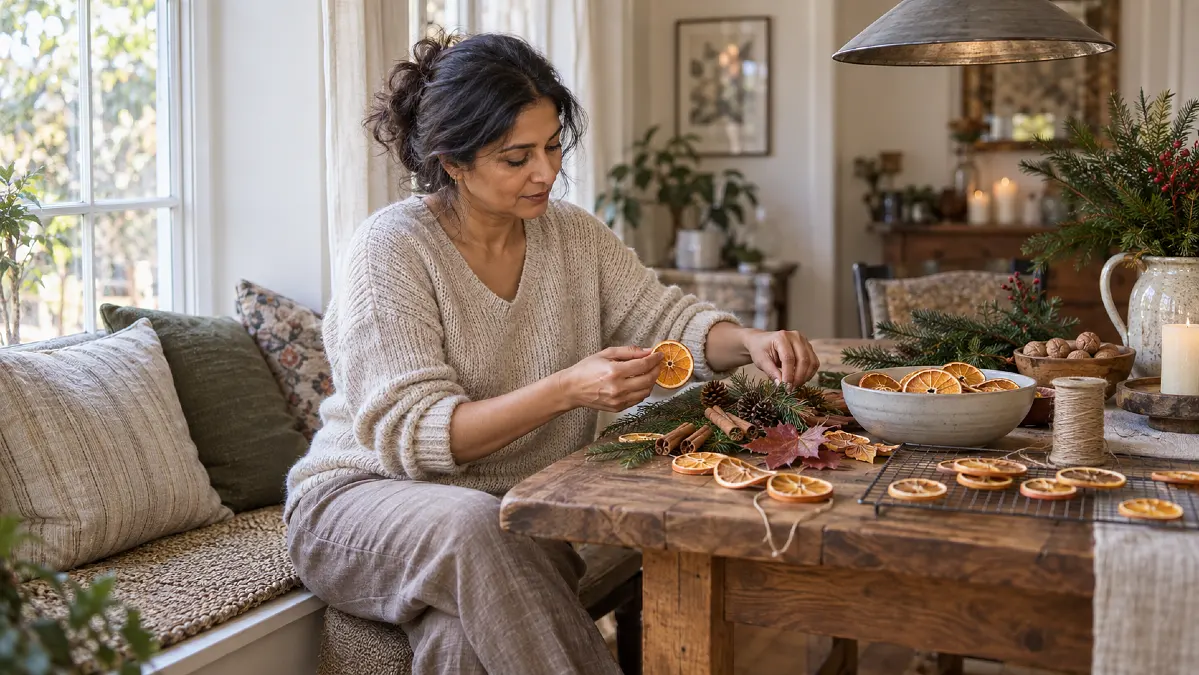
Dried orange slices look simple until the first batch comes out curled, sticky, or much darker than expected. The goal is not just to remove moisture, but to keep enough warm orange color that the slices still look beautiful in your home.
That matters even more when you want one batch to work through two decorating seasons. Fall calls for earthy leaves, wood, and warm texture, while Christmas usually needs evergreen, ribbon, and a little more contrast.
The good news is that this is one of the easiest DIY home decor projects to stretch across several months. With even slicing, low heat, and a simple styling formula, dried oranges can move from an autumn bowl to a Christmas garland without looking out of place.
Why Dried Orange Slices Can Turn Too Dark or Stay Sticky
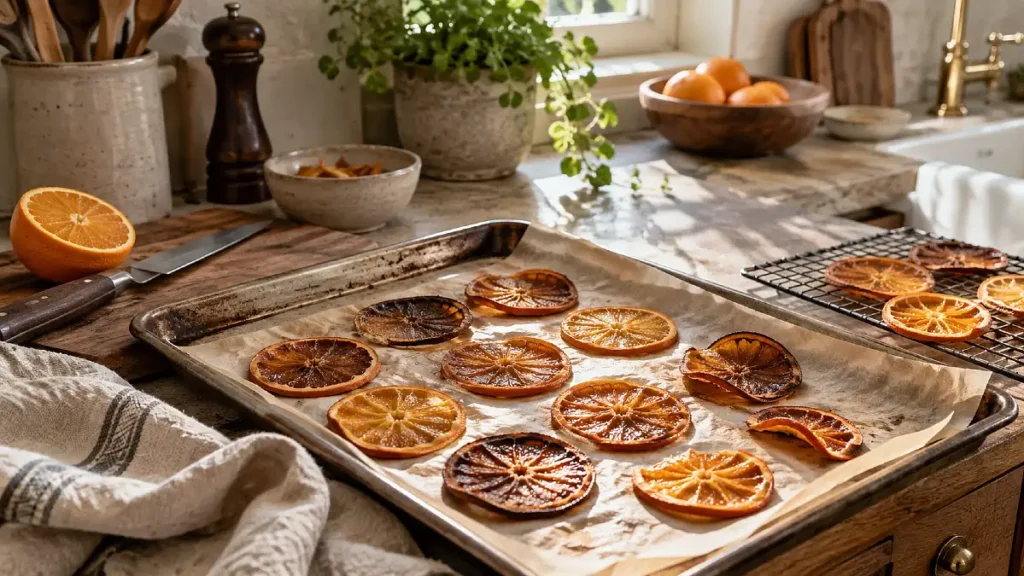
Most problems start with uneven moisture. A thick center takes longer to dry than a thin outer edge, so the rind may brown while the middle still feels soft.
Temperature matters for the same reason. High heat dries the outside quickly, but it can deepen the color before the center has had enough time to lose its moisture.
The look you want also matters. For decor, slightly deeper amber edges can feel warm and natural, but very dark slices may disappear against wood furniture, pine garland, or brown fall leaves.
Think of the finished slice as a small textural layer rather than the main statement piece. Its job is to bring warm color, translucence, and an organic shape into the arrangement.
Cut Thin, Even Slices Before You Start Drying
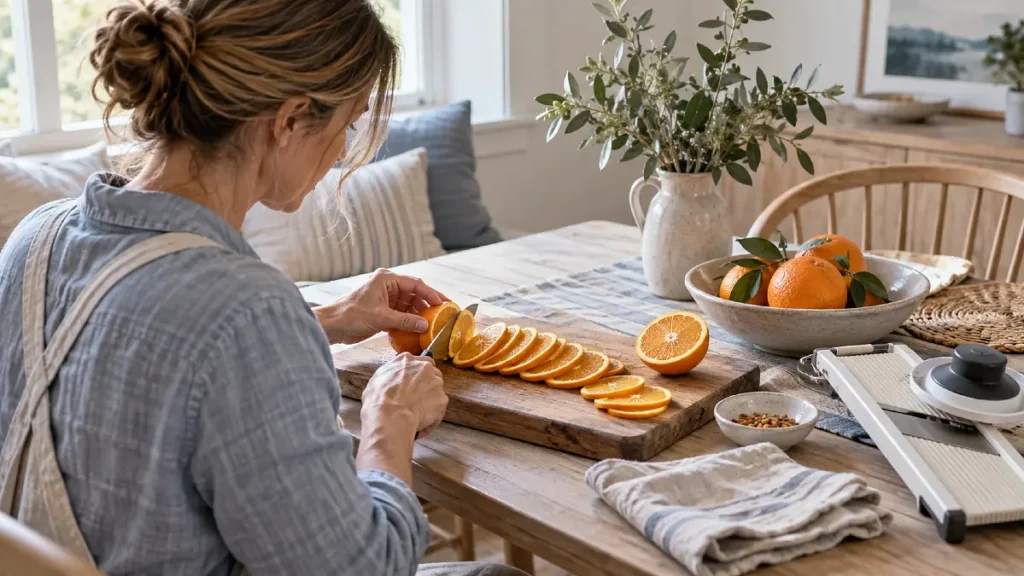
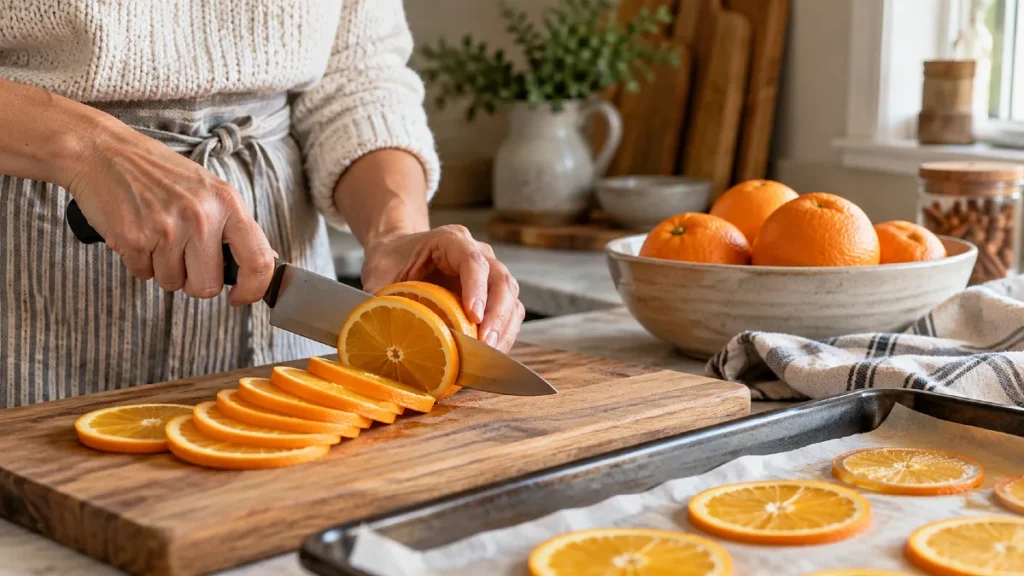
Consistency does more work here than any special tool. Aim for slices around 1/8 to 1/4 inch thick so the centers and edges dry at a similar rate.
A sharp knife works well if you take your time. A mandoline can make the slices more even, but use its hand guard and follow the tool’s safety instructions.
Before the oranges go into the oven, gently press both sides with a clean towel or paper towel. Removing surface juice helps the drying process start faster and reduces excess stickiness.
A few small prep choices make the final pieces easier to decorate with:
- Choose firm oranges that are easier to slice cleanly.
- Keep slices similar in thickness rather than chasing perfectly round shapes.
- Blot visible juice before placing them on the tray.
- Remove loose seeds if they bother you, but small imperfections can add character.
Scale note: Save the widest slices for wreaths, bowls, and large garlands. Smaller slices look better on gift wrapping, napkin ties, and delicate branches.
Use Low Heat to Dry the Centers Without Burning the Edges
For oven drying, arrange the orange slices in a single layer on a parchment-lined baking sheet. Keep them from overlapping so warm air can reach the surface of every slice.
An oven around 200°F, or about 95°C, gives you more control than a hotter oven. Turn the slices every 30 to 45 minutes and begin checking thinner pieces earlier than thicker ones.
Depending on thickness and moisture, oven drying can take several hours. Remove individual slices once they feel dry through the center rather than leaving the whole tray in until the darkest slice is finished.
If you already own a dehydrator, it can produce a lighter, more even result because it uses gentle heat for a longer period.
Here is a quick way to choose the drying method based on the look you want.
| Drying Method | What to Look For | Why It Works for Decor |
|---|---|---|
| Low oven | Dry center with lightly amber edges | Fast enough for a weekend project and easy for most homes |
| Dehydrator | Even color with less browning | Gentle airflow keeps the slices flatter and lighter |
| Slightly longer oven drying | Deeper amber and rusty orange tones | Works well with earthy fall decor and dark wood |
| Shorter drying with careful checking | Brighter orange with pale centers | Blends nicely with greenery and lighter Christmas decor |
Let the slices cool fully on a rack or dry surface before storing or decorating with them. A slice that feels slightly soft while warm can firm up as it cools, so give it time before deciding it needs more heat.
Shift the Same Orange Slices From Autumn to Christmas
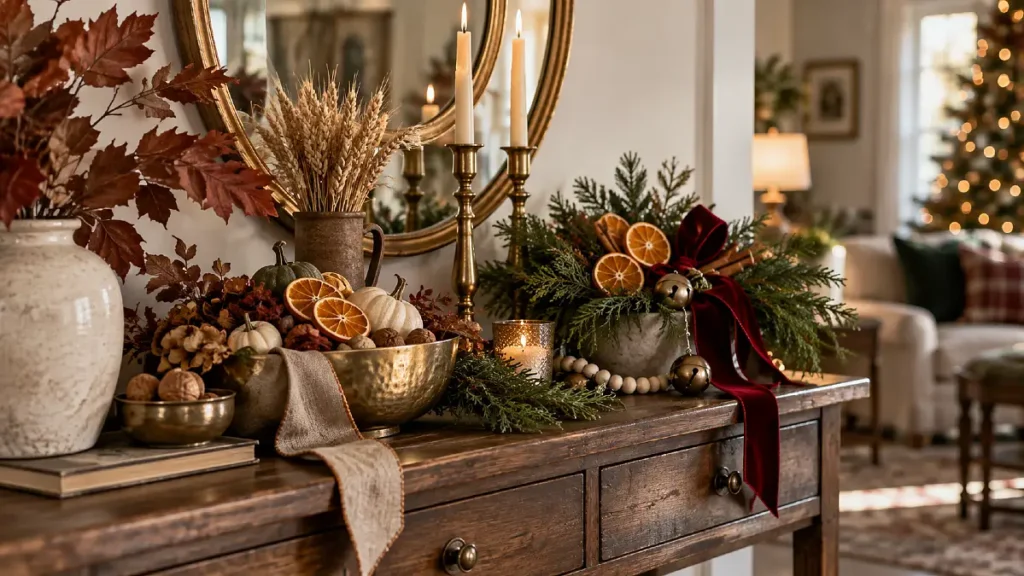
The orange slices do not need to change between seasons. The supporting textures around them are what make the arrangement read as fall or Christmas.
For autumn, pair their rusty orange color with walnut tones, dried leaves, wheat, cinnamon sticks, linen, brass, or muted green. These materials soften the citrus color and make the arrangement feel grounded.
Once Christmas decorating starts, keep the oranges but remove some of the dry brown elements. Add pine, cedar, fir-style greenery, dark green ribbon, red velvet, bells, or pale wood beads instead.
This seasonal swap keeps your DIY home decor from becoming another project you have to remake from scratch.
| Base Piece | Fall Styling | Christmas Styling |
|---|---|---|
| Dried orange garland | Twine, dried leaves, brown ribbon | Evergreen, velvet ribbon, wood beads |
| Bowl of orange slices | Pinecones, walnuts, small gourds | Bells, cedar tips, cinnamon sticks |
| Orange branch ornament | Bare branches, linen ribbon | Pine branches, red or green ribbon |
| Table setting | Neutral napkin, wheat stem | Evergreen sprig, deep red napkin |
Color note: Orange already brings warmth. You usually need fewer extra colors than you think, especially in a small room where too many seasonal shades can make surfaces feel busy.
For a quieter look, keep the oranges as the strongest color and repeat one neutral material around them, such as natural linen, pale wood, brown twine, or cream ceramic.
Fix Curling, Browning, and Moisture Before You Decorate
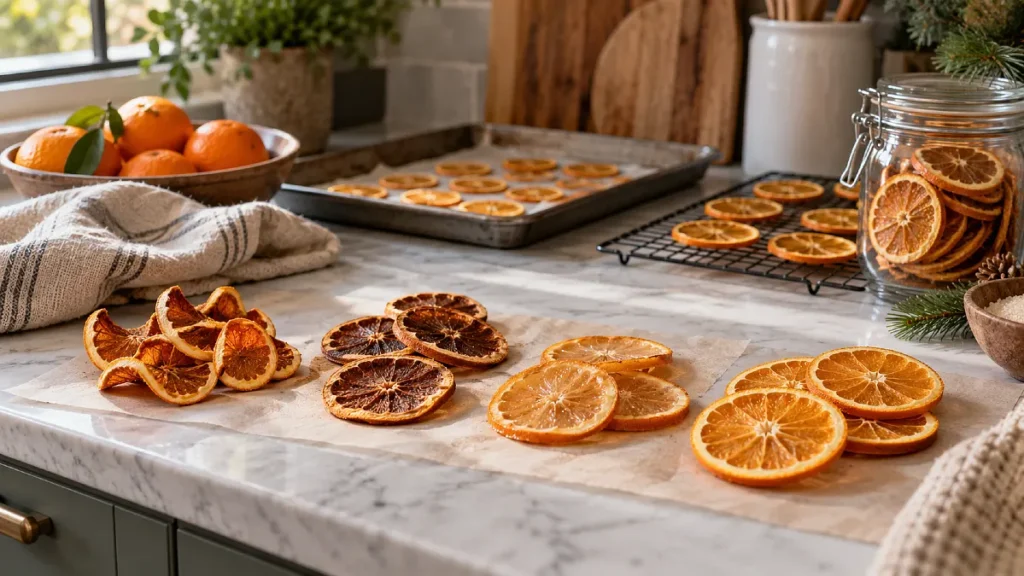
A handmade slice does not need to look factory-flat. A little variation makes a garland or bowl feel more natural, especially when the pieces are mixed with textured branches and foliage.
Problems become noticeable when they affect how the slices hang, store, or mix with the rest of the arrangement. Most can be corrected by changing one small part of the process.
This quick guide helps separate harmless character from problems worth fixing.
| If This Happens | Try This Instead |
|---|---|
| Centers stay sticky | Dry longer at low heat and check thicker slices separately |
| Edges brown too quickly | Lower the heat and turn the slices more often |
| Slices curl badly | Cut more evenly and flip during drying |
| Finished slices feel damp after cooling | Return them to low heat before storing |
| Garland looks too busy | Use fewer oranges and leave more space between each slice |
If some pieces come out darker than others, do not automatically throw them away. Deep amber pieces often look great in fall arrangements, while lighter slices can be saved for Christmas greenery.
Budget swap: Sorting one batch by color is cheaper and more useful than trying to make every slice identical.
Before putting dried oranges into a closed storage container, make sure they feel completely dry and cool. Any remaining moisture can shorten their decorative life.
A Dried Orange Styling Formula You Can Repeat
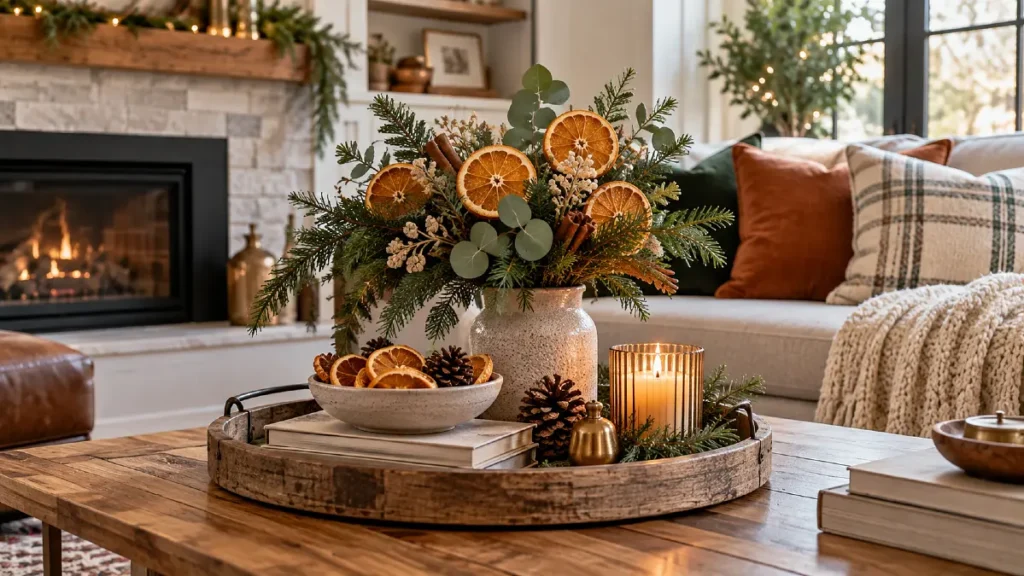
The easiest way to keep seasonal decorating from feeling cluttered is to give each vignette one warm element, one natural layer, and one grounding texture.
Formula: dried orange slices + seasonal greenery or branches + one simple textile or natural accent
For fall, that might mean orange slices, dried oak leaves, and brown linen ribbon. At Christmas, the same formula becomes orange slices, evergreen, and deep green velvet.
This works because the orange supplies color, the foliage adds shape, and the final material adds softness or contrast. Three clear layers usually feel more cohesive than six small decorative ideas competing on the same mantel.
You can use the formula on a mantel, dining table, kitchen shelf, entry console, or gift wrap. It is especially useful for DIY home decor in smaller homes because the ingredients can repeat from room to room without creating visual clutter.
Frequently Asked Questions
How long do dried orange slices last as decorations?
Completely dried orange slices can often be reused for more than one season when they stay dry and are stored carefully. Their color will usually deepen over time, which can make them better suited to earthy fall decorating.
Check stored slices before reusing them and discard any that show moisture, unusual softness, or visible mold.
Why are my dried orange slices turning brown?
Browning usually happens when the oven is too hot, the slices are very thin, or they stay in longer than necessary. Lower heat and more frequent checking give you better control over the color.
A little amber browning is not necessarily a problem. It can add warmth to garlands and natural arrangements.
Do dried orange slices need to be flipped in the oven?
Flipping helps both sides dry more evenly and can reduce sticking and severe curling. Turning them every 30 to 45 minutes also gives you a chance to remove thinner slices before they darken too much.
Can I use dried orange slices for both fall and Christmas decor?
Yes. Their warm color works with brown leaves, wood, and linen in fall, then shifts easily into evergreen, velvet, bells, and cinnamon for Christmas.
Keep the orange slices as the base and change the materials around them rather than making a completely new decoration.
How do you hang dried orange slices on a garland?
Make a small hole near the rind once the slice is fully dry, then thread it with twine, thin ribbon, or string. Keep the hole away from the softer center so the slice has enough structure to hold its weight.
For a lighter look, leave several inches of space between oranges instead of placing them edge to edge.