
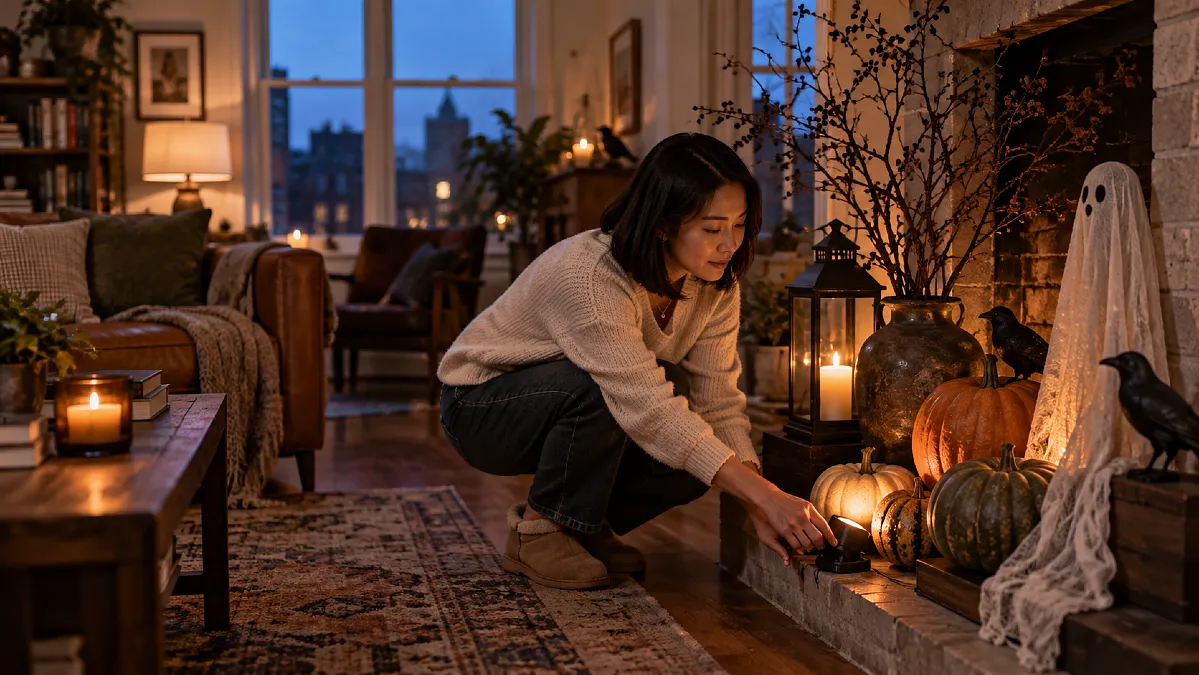
A Halloween display can look wonderfully spooky at 5 p.m. and almost disappear once the sun goes down. Dark props blend into dark landscaping, string lights become random bright dots, and the skeleton you carefully posed suddenly has no face.
The frustrating part is that adding more lights does not always solve it. Too much brightness can flatten the display, wash out shadows, and make inexpensive decorations more obvious instead of more atmospheric.
Good Halloween lighting works much like good DIY home decor indoors. You need a focal point, supporting layers, contrast, and enough negative space for each element to register.
The goal is not to flood the yard with light. It is to place a few controlled sources where they reveal shapes, faces, paths, and textures after dark.
Halloween Props Disappear When Everything Has the Same Darkness
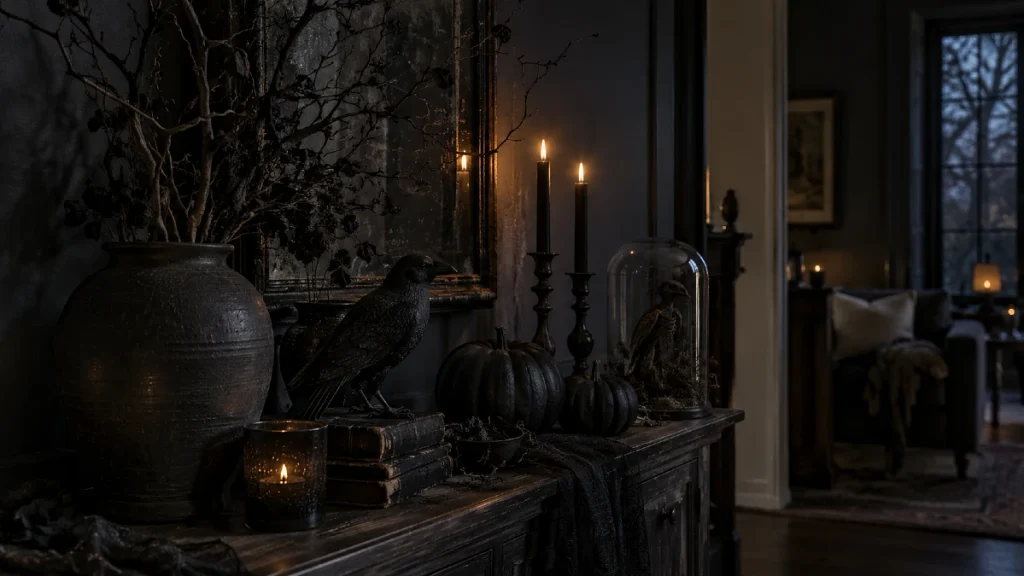
Most outdoor Halloween displays rely on objects rather than surfaces.
Skeletons, tombstones, pumpkins, branches, ghosts, and signs often have narrow profiles. In daylight, your eyes easily separate those shapes from grass, siding, trees, and neighboring houses.
At night, much of that detail disappears.
The problem becomes worse when dark props sit against dark backgrounds. A gray tombstone against a shadowed hedge may technically be visible, but it will not read clearly from the sidewalk.
This is where contrast matters more than brightness.
A small light aimed across the face of the tombstone can reveal its edge, lettering, and texture far better than a much brighter porch light shining over the entire yard.
Think about the display in silhouettes first. Stand where visitors will see it and ask what shapes still make sense when the smaller details disappear.
If the main character, prop, or grouping does not have a clear outline, it needs separation from the background.
Use Three Lighting Layers Instead of One Bright Floodlight
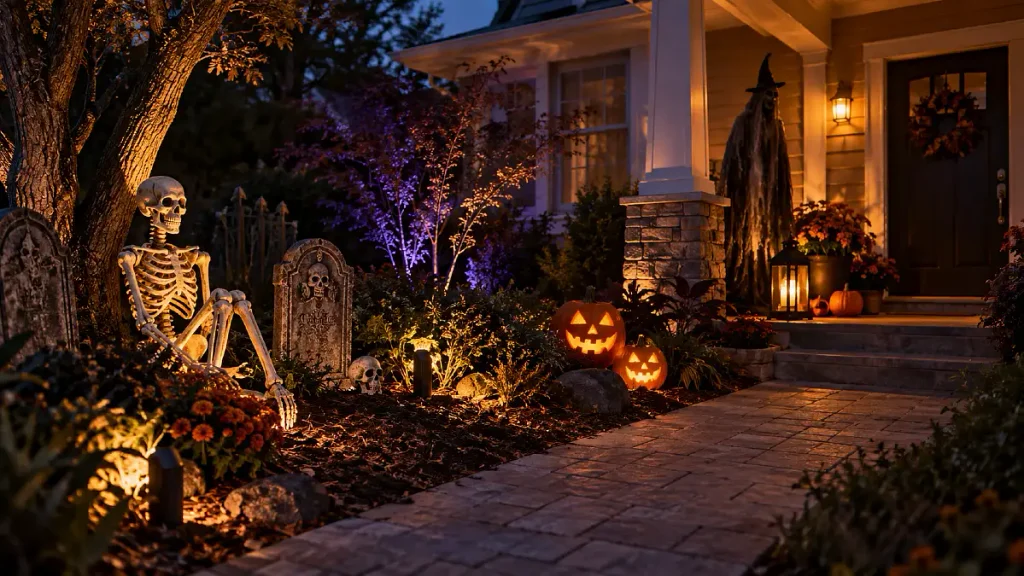
The easiest way to make a Halloween setup feel intentional is to divide the lighting into three jobs.
Start with a focal light for the main prop or scene. Then add lower supporting light around nearby objects. Finish with a small amount of pathway or background glow to give the scene depth.
This prevents the common problem of one powerful fixture lighting everything equally.
A witch standing beside a tree, for example, becomes far more dramatic when her face and upper body receive one angled beam while the tree behind her stays mostly dark.
A dim pumpkin cluster near the ground can then create a second lighting level without competing with her.
Here is a simple way to build those layers.
| Lighting Layer | Best Use | What It Does |
|---|---|---|
| Focal light | Skeleton, witch, doorway, large prop | Gives the eye one clear place to land |
| Low accent light | Pumpkins, tombstones, hay bales | Reveals shape and texture near ground level |
| Background glow | Fence, tree trunk, porch wall | Creates separation and depth |
| Path lighting | Steps, walkway, driveway edge | Helps guests move safely without lighting the whole scene |
The important word here is layering.
If every object is equally bright, nothing feels especially eerie or important. A stronger focal area surrounded by softer pools of light gives the display hierarchy.
Try this: turn off your regular exterior lighting for a moment while testing the display, where it is safe to do so. You will quickly see which Halloween elements are actually carrying the scene.
Aim Light Across Props, Not Straight at Them
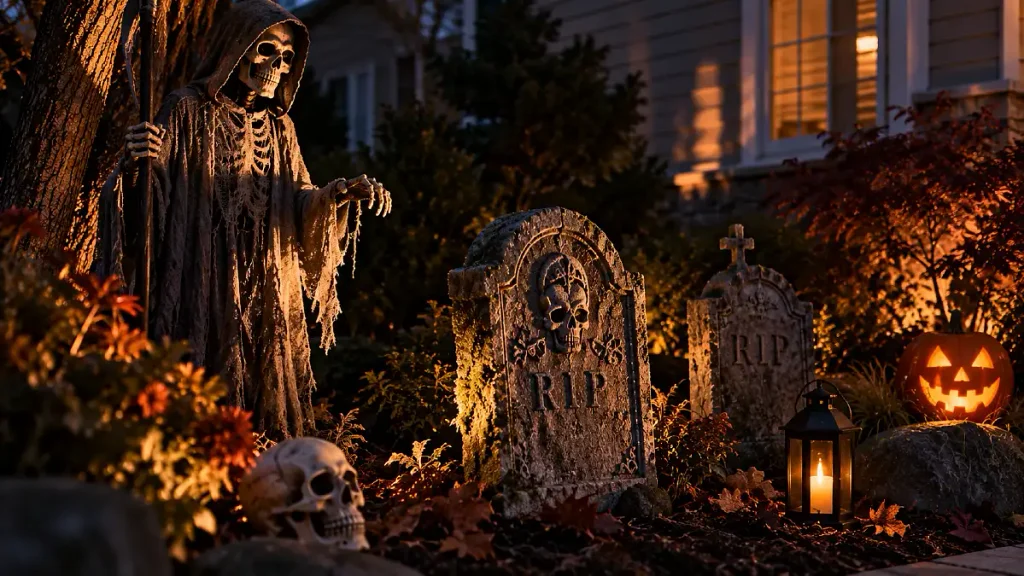
Light direction can change a basic decoration more than the fixture itself.
A light pointed straight at a prop tends to flatten it. Shadows disappear, and details such as skull shapes, carved pumpkin ridges, faux stone, shredded fabric, and tree bark lose depth.
Instead, move the light slightly to one side.
An angled beam creates highlights on one edge and shadow on the other. That gives three-dimensional props more shape.
Low lighting can be especially useful with Halloween decor. A small fixture placed near the ground and aimed upward makes ordinary objects feel taller and more dramatic.
Use upward lighting with restraint, though. If every prop is lit from below, the effect starts feeling repetitive.
Mix your angles instead.
A skeleton might receive light from below and one side, while a nearby tombstone gets soft side lighting. A tree behind both could receive a narrow upward wash.
Let the surface tell you where the light belongs
Different materials react differently after dark.
Matte fabric absorbs light. Pale plastic can reflect a surprising amount. Metallic decorations may create distracting hotspots when the beam hits them directly.
This quick guide makes placement easier.
| Prop or Surface | Lighting Approach | Why It Works |
|---|---|---|
| Matte black fabric | Side or back lighting | Defines the outline without washing out the fabric |
| White ghosts | Soft, low-output light | Pale material already reflects plenty of light |
| Faux stone tombstones | Low side lighting | Brings out cracks, lettering, and surface texture |
| Pumpkins | Warm light from front-side or inside | Keeps orange tones rich instead of gray |
| Skeletons | Narrow angled beam | Reveals the skull and ribs without flattening them |
Scale note: larger decorations usually need a wider pool of light, not simply a brighter bulb.
A six-foot skeleton can look strange with one tiny bright spot on its chest. Give the beam enough width to connect the head, torso, and surrounding ground.
Color Works Better When You Limit the Palette
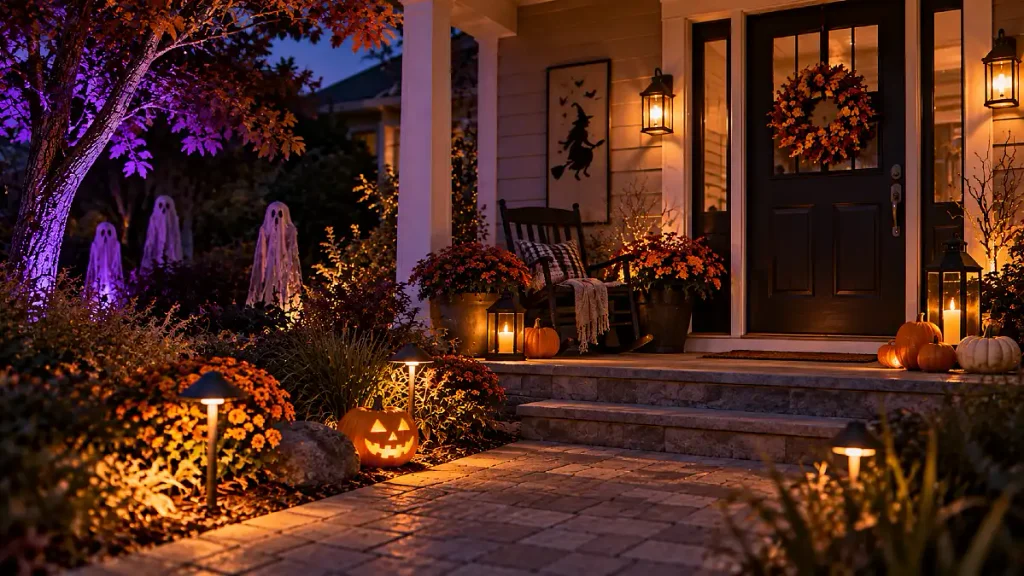
Halloween lighting can tempt you into using orange, purple, green, red, blue, and flashing white all at once.
Each color can work. The problem is that too many competing colors make the display harder to read.
Choose one dominant color family and one supporting color.
Warm amber with deep purple feels different from green with cool white. Both combinations can create atmosphere because the eye can understand the relationship between the colors.
You can also let the house itself guide the palette.
Warm brick, beige siding, natural wood, and fall foliage tend to respond nicely to amber and warm white. Gray siding, stone, black shutters, and cool-toned surfaces can take purple or green more easily.
That is not a fixed rule. It is simply color interaction.
Color note: if an orange pumpkin suddenly looks dull under a blue-purple light, keep the purple in the background and use warmer light on the pumpkin itself.
A restrained palette also makes budget home decor easier. Instead of buying a different lighting effect for every prop, you can repeat a small group of lights across the display and let placement create the variety.
Keep Some Darkness Between the Decorations
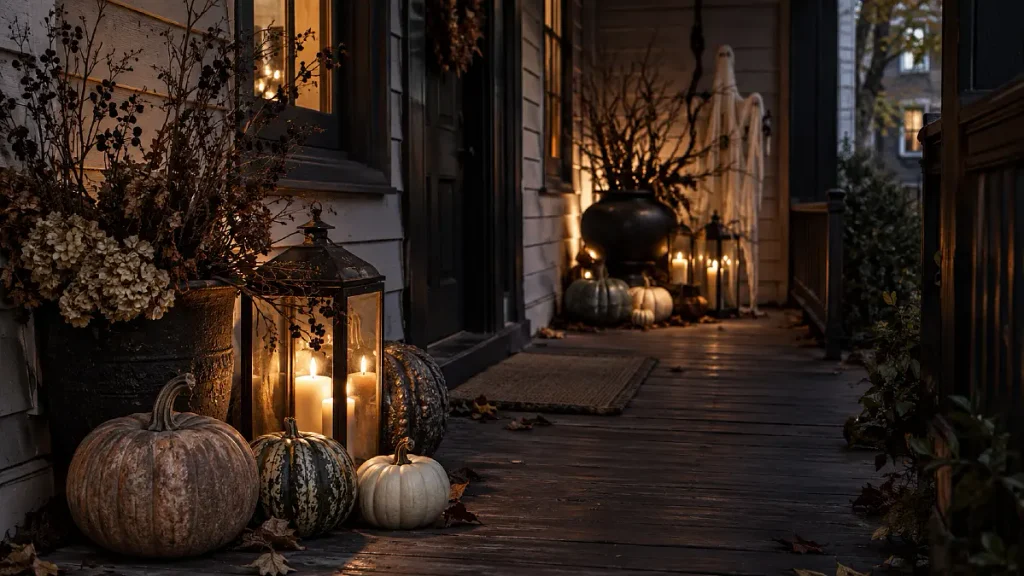
One of the easiest Halloween lighting mistakes is filling every dark corner.
Darkness is actually part of the design.
A gap between two pools of light makes each illuminated area feel stronger. It also allows visitors’ eyes to move through the yard instead of processing one flat wall of brightness.
If you have three scenes across the front yard, resist lighting every inch connecting them.
You might light the porch, allow a darker section of lawn, then illuminate a graveyard grouping farther along.
That dark pause makes the second scene feel intentional rather than scattered.
The same logic works in a small apartment entry or compact porch. You do not need enough room for multiple large scenes.
A lit pumpkin cluster, a darker wall area, and one illuminated hanging ghost may create more impact than covering every rail and surface with string lights.
A few lighting choices commonly weaken the effect
If your display feels busy or oddly flat, these small adjustments can help:
- Instead of pointing every fixture directly forward, shift some lights 20 to 45 degrees to one side.
- If one prop looks much brighter than everything around it, lower its output or move the fixture farther away.
- If string lights outline every object, keep them on one architectural feature and let spotlights handle the props.
- When colored light makes an important object hard to recognize, use warm or neutral light on that object and save color for the background.
Here is the difference in a more scannable form.
| Instead of This | Try This |
|---|---|
| One floodlight across the whole yard | Two or three smaller controlled pools of light |
| Every prop equally bright | One focal prop with softer supporting pieces |
| Colored light on every surface | Color in the background plus clearer light on key objects |
| Lighting every empty area | Leave deliberate patches of darkness |
| Fixtures visible from the sidewalk | Hide lights behind pumpkins, plants, rocks, or props |
The result usually feels more layered without requiring more decorations.
Hide the Light Source Whenever You Can
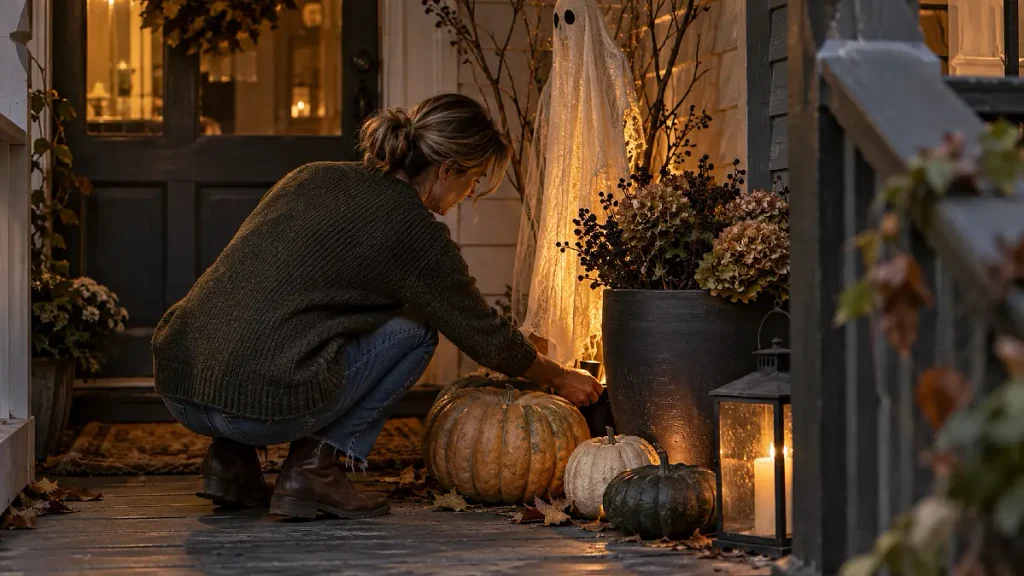
The eye should notice what the light is revealing before it notices the fixture.
A visible spotlight sitting in the middle of the lawn can break the illusion, especially in a simple display.
Hide small fixtures behind pumpkins, low landscaping, planters, tombstones, porch posts, or the base of larger props.
Just make sure nothing blocks airflow or touches a fixture in a way the manufacturer does not allow.
You can also use the architecture of the house.
A beam tucked beside a porch column can wash across brick. A small light behind a planter can create a shadow on the wall. Lighting from behind a decorative figure can produce a strong silhouette without showing much of the fixture itself.
For renters, freestanding lights and removable mounting methods can be more useful than permanent installation.
You can build plenty of atmosphere without drilling into siding or changing electrical fixtures.
Rental-friendly swap: use weighted planters, railing-safe clips, freestanding lanterns, or lights designed for ground stakes rather than attaching hardware permanently.
Power and Pathways Need to Stay Practical
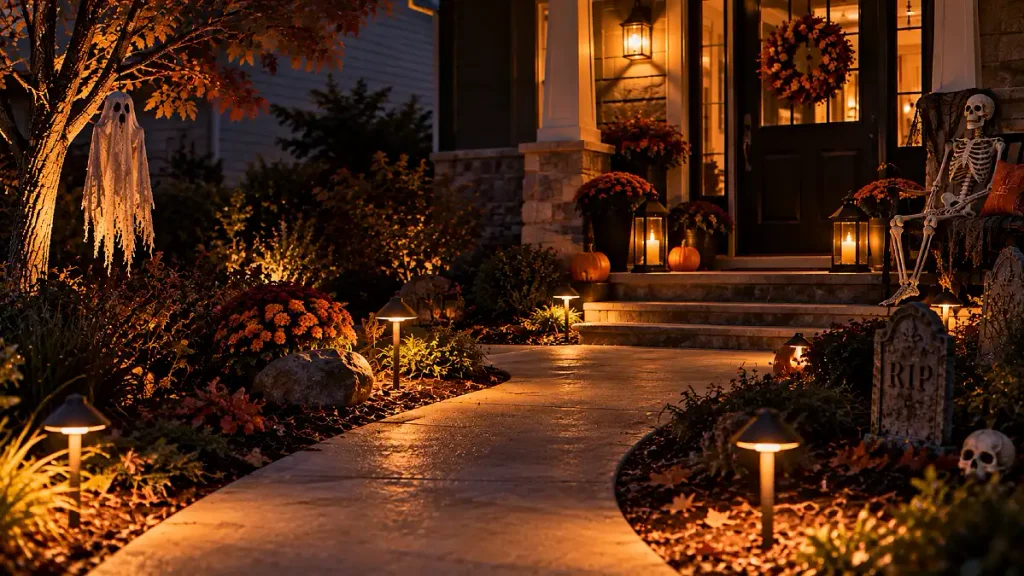
Atmosphere matters, but visitors still need to see steps, uneven surfaces, and the route to the door.
Decorative lighting should work around those needs rather than competing with them.
Keep cords out of walking paths whenever possible. Follow the manufacturer’s instructions for outdoor use, connections, extension cords, and moisture exposure.
Outdoor-rated equipment matters because porches and yards deal with rain, dew, dirt, and temperature changes that indoor products are not designed around.
Avoid creating such strong glare that guests cannot see what is beyond the light.
A bright fixture facing the walkway can make darker areas temporarily harder to see. Aim the beam toward the decor instead of toward approaching visitors.
Path lighting can stay simple.
Small pools of light near steps or along the edge of a route are usually more useful than turning the entire front yard into daylight.
If children, guests, pets, or trick-or-treaters will move through the display, function should shape where the darkest areas are allowed to be.
Save your deepest shadows for backgrounds and decorative zones rather than stairs and walking surfaces.
A Repeatable Formula for a Halloween Display That Reads at Night
You do not need a complicated lighting plan every October.
Use one repeatable formula and adjust the scale to fit your porch, balcony, apartment entry, or yard.
Formula: focal prop + angled key light + low accent glow + dark space
Start with the decoration that matters most. Light it from one side rather than directly from the front.
Add a softer layer near ground level, then leave some nearby space intentionally darker.
If the display still needs depth, add a small background glow rather than another front-facing light.
Here are a few versions of that formula.
| Display Area | Lighting Formula | Why It Works |
|---|---|---|
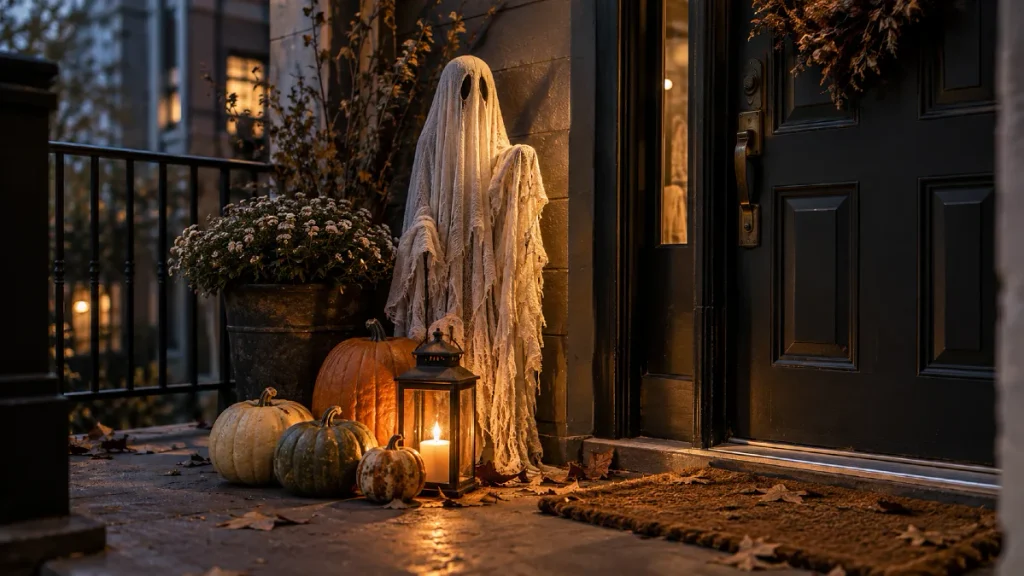
| Front porch | Door wreath + side spotlight + glowing pumpkins | Creates one clear focal area without overcrowding the porch |
| Small yard | Skeleton + angled beam + dim tombstone lights | Separates the main figure from the supporting scene |
| Apartment balcony | Hanging ghost + hidden uplight + warm lantern | Builds height and depth in very little floor space |
| Tree display | Hanging figures + trunk uplight + dark outer branches | Uses the tree itself as part of the composition |
This is one of the most useful home styling tips to borrow from indoor rooms: not everything needs equal visual weight.
A living room has a focal point, supporting furniture, texture, and quieter areas. A Halloween display works much the same way.
Once the eye knows where to look first, the rest of the scene becomes easier to understand.
Frequently Asked Questions
What is the best color light for Halloween decorations?
Orange, amber, purple, green, and warm white can all work well. The better choice depends on the colors already in your props and exterior surfaces.
Try using one dominant color plus one supporting tone instead of mixing several strong colors across the same small display.
How can I light Halloween decorations without making them too bright?
Use smaller pools of directed light instead of one large floodlight. Place fixtures closer to the ground, angle them across props, and keep some parts of the display dark.
This preserves shadows while still making important shapes visible.
Should Halloween lights point up or down?
Both directions can work.
Uplighting creates longer shadows and can make figures or trees feel dramatic. Downlighting feels softer and can help illuminate pumpkins, porch details, and pathways without showing the fixture as much.
How do I make dark Halloween props visible at night?
Give the prop contrast against its background.
A narrow side light, backlight, or soft light on the surface behind it can separate a black or dark gray decoration from a shadowed yard.
How can I light a small Halloween porch without making it cluttered?
Choose one main focal area, such as the door or a large prop, then support it with one lower layer of light.
Leave at least one section quieter and darker. Small spaces usually feel more curated when the lighting defines a few areas instead of outlining every object.
A Better Halloween Display Usually Needs Less Light, Placed Better
You do not need to turn your porch or yard into a movie set to make Halloween decorations visible after dark.
Good lighting is mostly about scale, layering, contrast, and direction. A few well-placed lights can reveal the shapes you already own while leaving enough shadow for the display to still feel spooky and lived-in.
Start with your main prop this week. Move one light to the side, step back to the sidewalk, and see how much changes before adding anything else.