
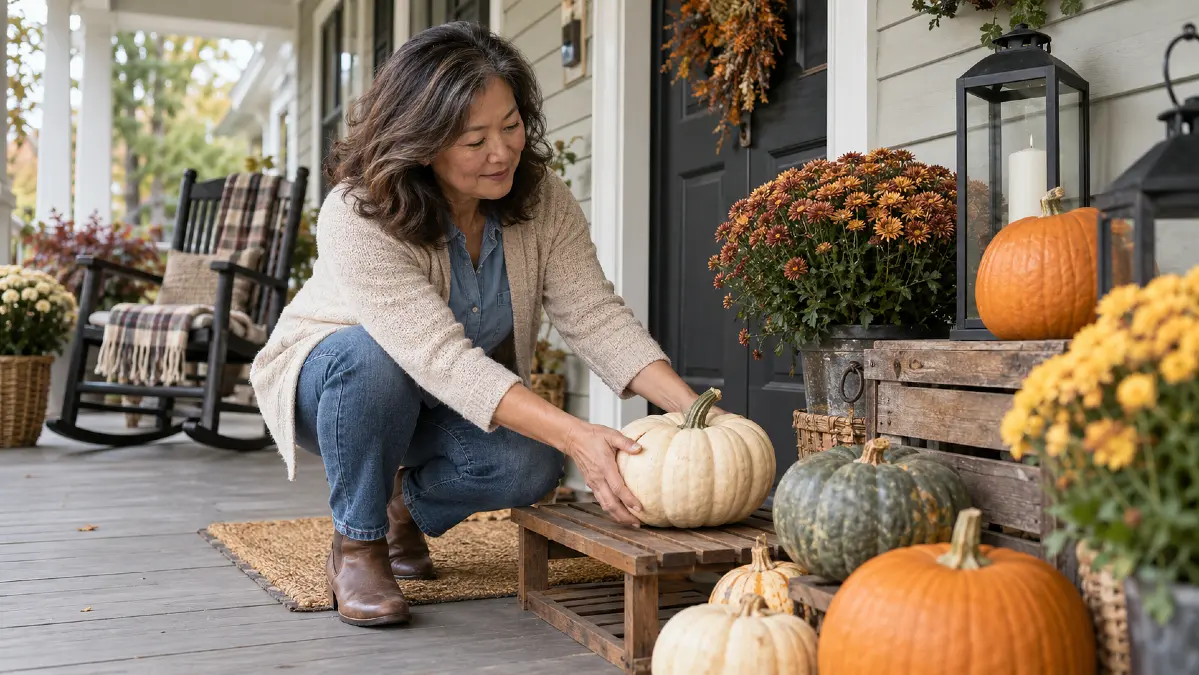
Pumpkins can make a porch feel warm and finished in minutes, but it is frustrating to watch them soften, spot, or collapse long before Halloween. You style the steps, get the colors balanced, and then one damp week makes the whole display look tired.
The problem is rarely your decorating. Pumpkins are fresh produce, so heat, moisture, damaged skin, and poor airflow can shorten the life of even a beautiful fall arrangement.
A few practical home styling tips can protect the look without turning your porch into a science project. The goal is simple: choose healthier pumpkins, keep them dry and cool, and build the display so air can move around them.
Start With Firm Pumpkins Before You Style the Porch
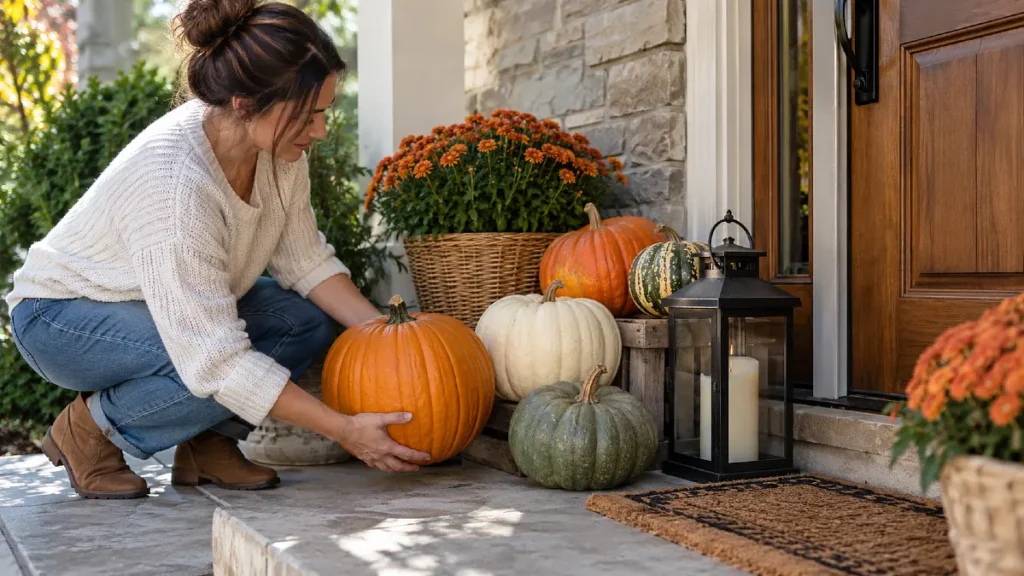
The easiest pumpkin to preserve is one that was healthy before it reached your front step.
A soft spot may look harmless in the store, but damaged skin gives moisture and microorganisms an easier path inside. Check the bottom, stem area, and any side that may have rested against the ground.
Choose pumpkins that feel firm all the way around. The skin should look intact rather than scraped, cracked, deeply bruised, or wet.
The stem matters too. A dry, sturdy stem is useful because it helps protect the top of the pumpkin. Carry pumpkins from underneath instead of lifting them by the stem, which can snap or loosen it.
Color is mostly a styling choice. Orange, cream, green, striped, and muted heirloom-looking pumpkins can all work beautifully together.
What matters more is condition.
Give new pumpkins a quick inspection
Before arranging them, check for:
- Soft or sunken areas near the base
- Cuts, punctures, or split skin
- Damp patches that do not dry
- Loose or broken stems
- Early fuzzy or discolored spots
If one pumpkin is already questionable, keep it separate from the healthiest ones. That way, you can remove it without disturbing the full arrangement later.
Keep Pumpkins Off Damp Porch Floors
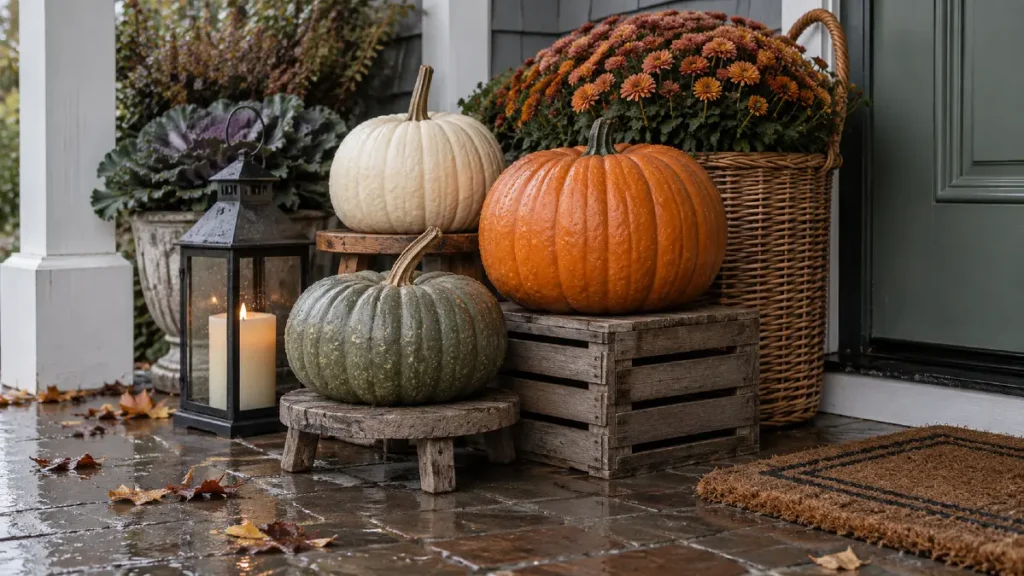
Where a pumpkin sits matters almost as much as the pumpkin itself.
Concrete, brick, soil, damp wood, and wet outdoor rugs can hold moisture beneath the pumpkin. That creates a hidden problem because the top may look fine while the bottom stays wet.
A slightly raised surface allows more air underneath.
You do not need obvious plastic stands. A thin wood riser, dry crate, sturdy plant saucer turned upside down, shallow basket, or small outdoor-safe stool can become part of the display.
Scale note: Use lower risers for large pumpkins and taller accents behind smaller ones. That creates better airflow while also giving the arrangement the layered look of intentional cozy home decor.
This quick comparison makes placement easier to judge.
| Do This | Not That |
|---|---|
| Rest pumpkins on a dry wood riser or crate | Leave them directly on damp concrete for weeks |
| Leave a little space between larger pumpkins | Pack every pumpkin tightly against the next |
| Move wet leaves away from the pumpkin base | Let fallen leaves collect underneath |
| Use an outdoor mat only if it dries quickly | Keep pumpkins sitting on a constantly damp rug |
| Check the hidden bottom every few days | Judge condition only from the visible side |
A porch display does not need wide gaps everywhere. Even a small amount of breathing room around the base can help while making each pumpkin easier to see.
Shade and Airflow Matter More Than the Sunniest Fall Photo
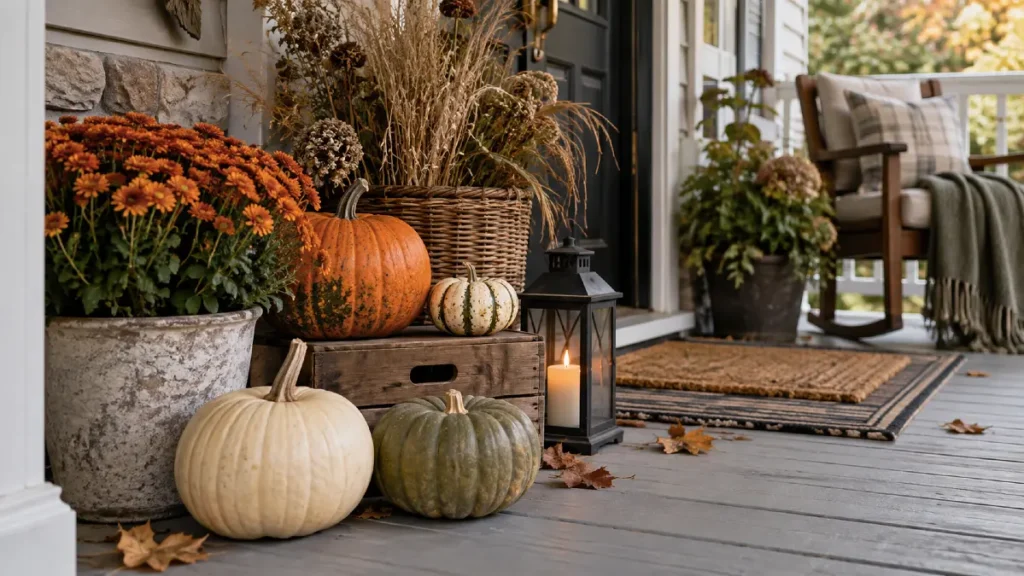
Bright sunlight can make an autumn porch look wonderful for a photograph, but constant direct sun can warm pumpkins quickly.
Warm pumpkins lose moisture faster. A porch that stays humid and still can create another problem because dampness lingers instead of evaporating.
If possible, place the main pumpkin grouping under a porch roof, beside a covered entry, or in an area that gets more gentle morning light than strong afternoon sun.
Do not worry if the most protected spot is not perfectly centered.
A slightly asymmetrical arrangement beside the door often looks more natural anyway. Anchor it with one larger pumpkin, then use smaller pumpkins, a lantern, planter, or basket to spread visual weight outward.
Lighting swap: If moving pumpkins into shade makes the entry feel darker, add a battery lantern or warm outdoor-safe lighting rather than pushing the pumpkins back into harsh sun.
Rain matters too. After a storm, remove water trapped in stem hollows, under stacked pumpkins, or inside decorative baskets.
If a pumpkin gets wet, let the surface dry before nestling it back against other decor.
Clean and Dry the Surface Without Overcomplicating It
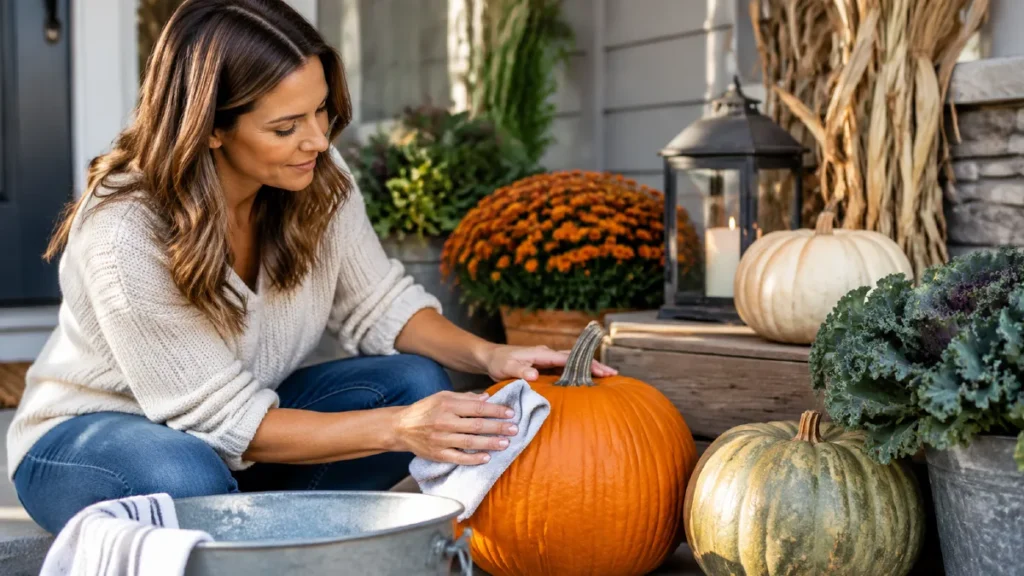
Pumpkins come home with soil, dust, and residue from handling. A gentle cleaning before decorating makes it easier to notice small damaged areas and keeps dirt from holding moisture against the skin.
Wipe the surface with a clean damp cloth, then dry it thoroughly.
Avoid aggressive scrubbing. The outer skin acts as the pumpkin’s protective layer, so creating tiny scratches while trying to clean it can work against you.
The same rule applies when moving the display. Sliding a pumpkin across rough brick or concrete can scrape the bottom.
Lift it instead.
Here is a useful way to rethink some common pumpkin-care habits.
| Old Approach | Better Porch Approach |
|---|---|
| Set pumpkins outside immediately after buying | Inspect, gently clean, and dry them first |
| Leave the display untouched until Halloween | Check bottoms and hidden sides regularly |
| Put the prettiest pumpkin in full sun | Give the healthiest pumpkins the coolest sheltered spots |
| Stack pumpkins tightly for a fuller display | Layer them with small gaps and sturdy supports |
| Wait until rot is obvious before removing one | Pull a softening pumpkin as soon as you notice trouble |
This is one of those home styling tips where maintenance and appearance actually support each other. A little space, a little height, and less moisture make the arrangement look more layered while also protecting the pumpkins.
Save Carving for Closer to Halloween
A whole pumpkin and a carved pumpkin behave very differently.
Once you cut through the skin, the moist interior is exposed to air, warmth, insects, and microorganisms. That is why a carved jack-o’-lantern can decline far faster than the untouched pumpkins beside it.
If you decorate early in the season, use whole pumpkins for the main porch display first.
You can still create character without cutting them. Mix unusual shapes, creamy white pumpkins, deep green varieties, squat orange pumpkins, and tall gourds so the display has movement before a single face is carved.
Then bring the jack-o’-lantern moment in closer to Halloween.
If you already have carved pumpkins, keep them out of strong sun and standing water. When practical, a cool protected location between display periods can help slow deterioration.
Keep carved pumpkins simple to manage
A few habits make maintenance easier:
- Scoop out loose pulp thoroughly so less wet material remains inside.
- Let the cut pumpkin drain before placing it on the porch.
- Keep rain from collecting inside the cavity.
- Use a battery light rather than adding extra heat inside.
- Remove a pumpkin once it becomes very soft, moldy, or unstable.
For renters or anyone who does not want pumpkin residue on porch flooring, place carved pumpkins on a washable tray or discreet outdoor-safe base.
Build a Porch Display That Is Easy to Check and Rearrange
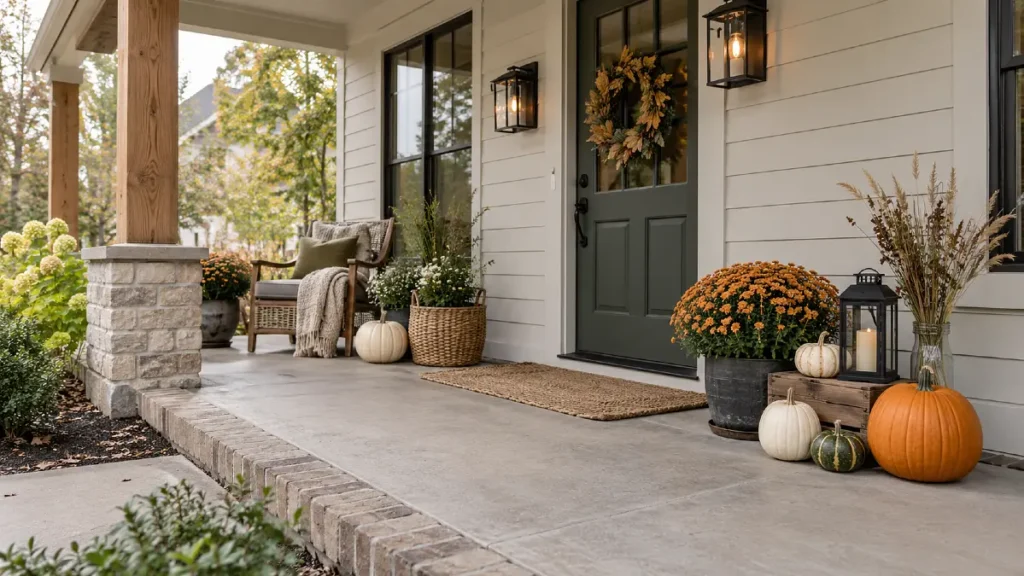
A fall porch can look abundant without using a huge pile of pumpkins.
In fact, a smaller layered grouping is often easier to keep attractive because every pumpkin can be inspected without dismantling the entire display.
Start with one or two visual anchors. These could be your largest pumpkins, a planter, a basket, or a lantern.
Then vary the height.
Place a medium pumpkin slightly forward, tuck a smaller one nearby, and leave enough open floor around the group that the shapes still read clearly. A few mums, dried grasses, or branches can add height without forcing you to stack more produce.
Here are several useful display formulas.
| Porch Area | Pieces | Why It Works |
|---|---|---|
| Small apartment entry | 1 large pumpkin + 2 small pumpkins + lantern | Gives fall color without blocking the walkway |
| Covered front steps | Pumpkins + low wood crate + planter | Raises some pumpkins and improves visual layers |
| Wide porch corner | Large pumpkin + basket + mixed small pumpkins | Creates one strong focal point instead of scattered clutter |
| Front door pair | Tall planter + medium pumpkin + small gourd | Repeats height on both sides without needing many pumpkins |
Budget swap: Before buying another decorative stand, look at what you already own. An old wooden crate, weather-safe stool, sturdy basket, or unused planter may give the display exactly the height it needs.
The goal is not to fill every empty inch. Empty space helps the colors, shapes, and textures feel curated rather than crowded.
Use the Three-Part Pumpkin Formula for a Longer-Lasting Porch
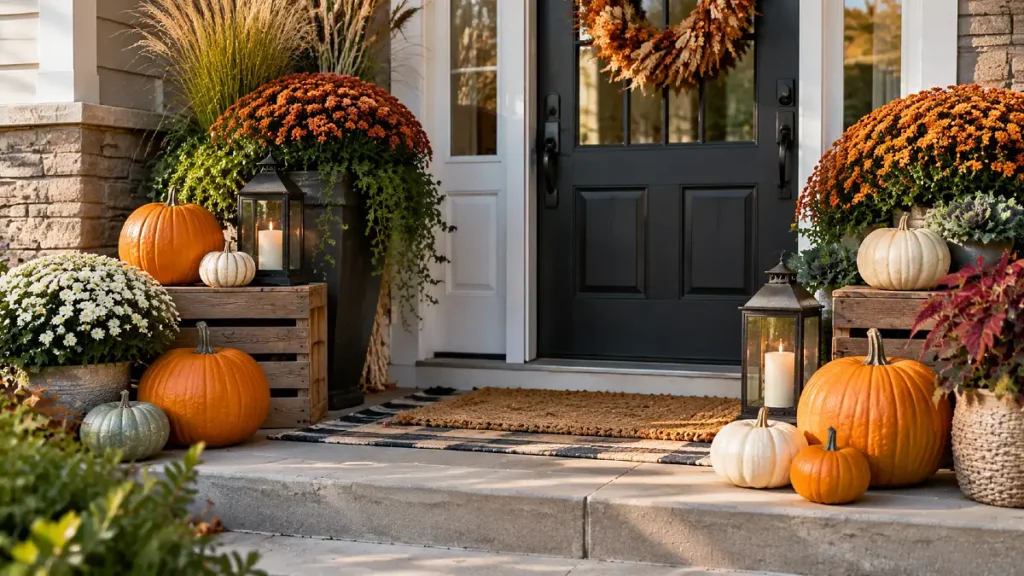
The simplest system is also the easiest to remember.
Formula: sound pumpkin + dry lift + shaded shelter
Start with an undamaged pumpkin. Give the base a dry surface with a little airflow. Then position the arrangement where it avoids the harshest sun and repeated soaking.
From there, layer in your decorating style.
For a softer look, add woven baskets, mums, wood, and faded orange tones. For modern home decor, try fewer pumpkins in cream, muted green, and deep orange beside simple black lanterns or clean-lined planters.
You can also adjust the formula as the weather changes.
| Base Display | Early Fall Swap | Halloween Swap | Wet-Weather Swap |
|---|---|---|---|
| Whole pumpkins + planter | Add dried grasses | Add one carved pumpkin | Move pumpkins farther under cover |
| Pumpkins + lantern | Add warm-toned leaves | Add battery candles | Raise pumpkins on dry supports |
| Cream and green pumpkins | Add natural wood | Add darker orange accents | Remove damp fabric or baskets |
| Small porch cluster | Keep spacing open | Add one seasonal focal piece | Reduce stacking until conditions dry |
This gives you flexibility without rebuilding the porch every weekend.
It also keeps seasonal decorating from becoming another expensive project. One good base arrangement can change gradually instead of being replaced.
Frequently Asked Questions
How do you stop outdoor pumpkins from rotting quickly?
Start with pumpkins that have firm, intact skin and no soft spots. Keep them as dry and cool as your porch allows, protect them from prolonged direct sun and rain, and avoid leaving the bottoms against wet surfaces.
Check hidden areas regularly so you can remove a deteriorating pumpkin before moisture spreads through the display.
Should pumpkins sit directly on concrete?
They can, but concrete may stay damp after rain or morning moisture.
If your porch floor tends to stay wet, place pumpkins on a dry board, low riser, tray, crate, or another stable surface that allows the base to dry more easily.
Does direct sunlight make pumpkins rot faster?
Strong sun can heat pumpkins and increase moisture loss, which can shorten how long they stay attractive.
A shaded or partly shaded porch location is usually easier on a long-term display, especially during unusually warm fall weather.
Should you wash pumpkins before putting them outside?
A gentle wipe can remove dirt and make damaged areas easier to spot.
Dry the pumpkin well afterward. Avoid rough scrubbing that scratches the protective outer skin.
When should you carve pumpkins for Halloween?
Keep decorative pumpkins whole for as long as possible if longevity is the priority.
Once a pumpkin is carved, its moist interior is exposed, so deterioration happens much faster. Use whole pumpkins for early fall decorating and save carving for closer to the day you want the jack-o’-lantern displayed.