
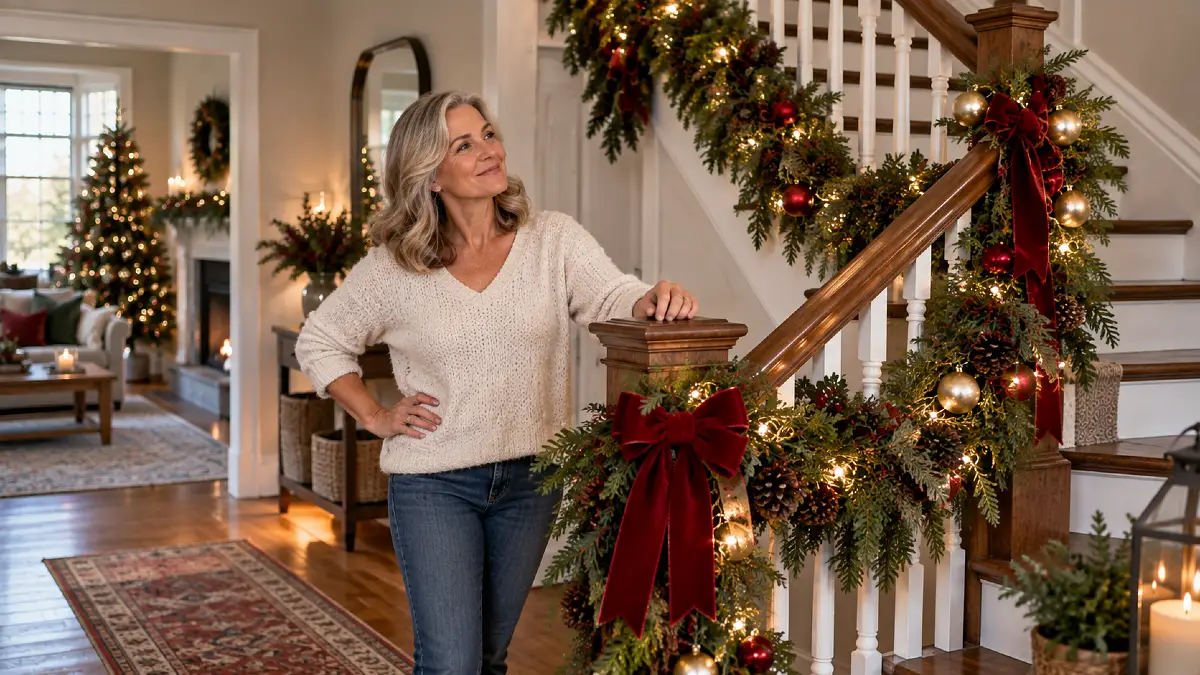
Christmas garland looks beautiful on a staircase until it slides down the rail, twists at the landing, or drops a bow in the middle of December.
When attachment points are too far apart or the greenery carries more weight than the ties can hold, even careful styling starts to feel flimsy.
That is frustrating when you have already fluffed every branch and worked around a narrow stairway, a rental finish, or a handrail your household still needs to use.
The good news is that this DIY home decor project needs a support plan, not stronger-looking greenery. Here is how to measure the rail, choose finish-safe ties, shape balanced swags, and secure every accent for the season.
Why Christmas Garland Slips, Sags, and Twists on Stairs
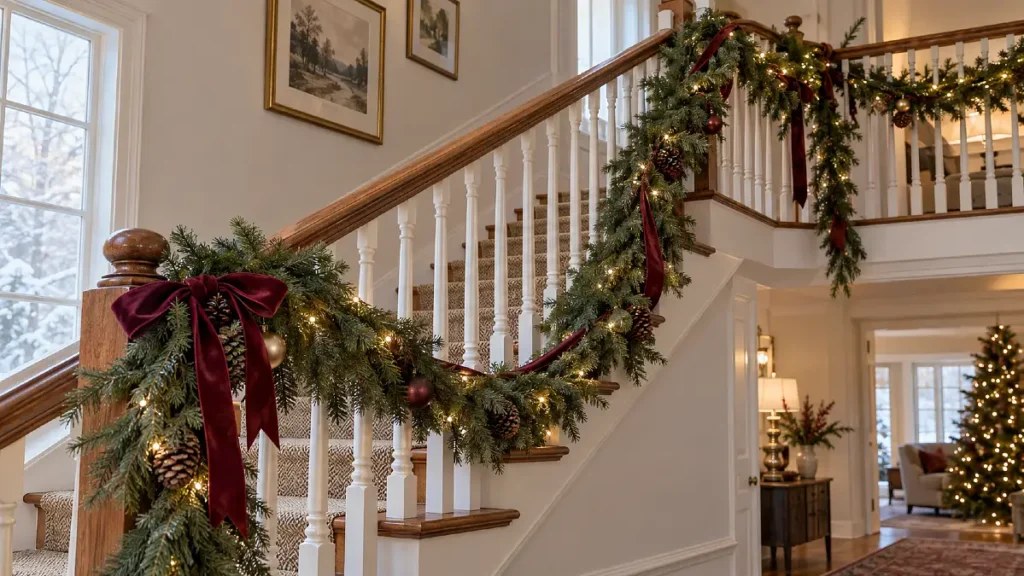
A staircase is not one straight decorating surface. It has an angle, upright posts, turns, and sometimes a landing where the direction changes.
Garland also gets heavier as you add lights, ribbon, ornaments, pinecones, or a second strand of greenery. One tie at each end cannot control all that weight.
The handrail creates another challenge. If people need it for balance, the garland should sit along the outside of the railing rather than covering the gripping surface.
Start by deciding where the greenery can live safely. The prettiest arrangement will still feel wrong if it catches sleeves, blocks the rail, or trails onto a step.
Build a Support Line Before Adding the Greenery
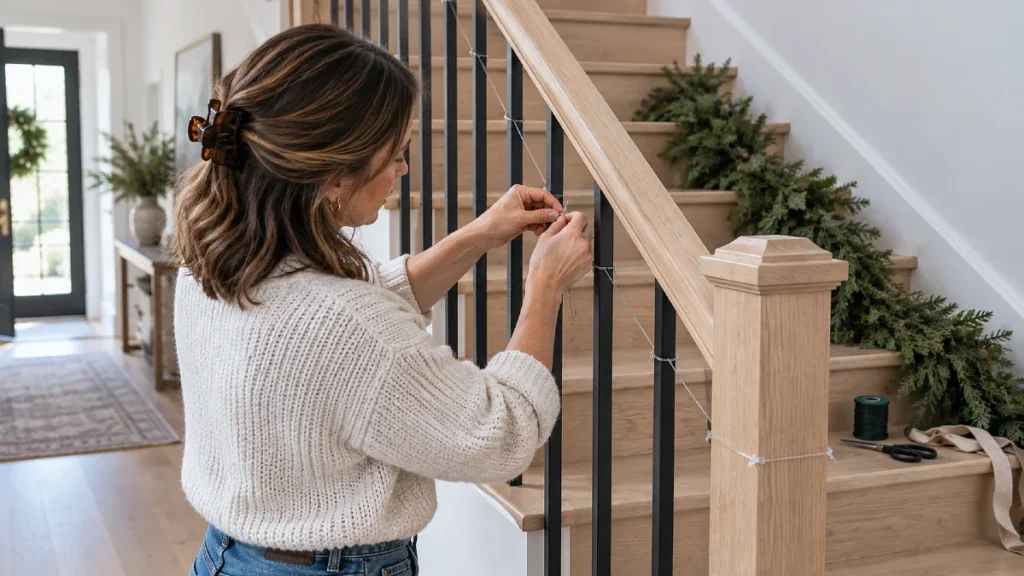
The most reliable method is to create several firm anchor points along the staircase. Each anchor carries a small section of garland, so the entire arrangement is not pulling against two end ties.
Run floral wire, reusable ties, or clear cord along the path you want the garland to follow. Attach it at the newel posts and at regular points between them.
The right fastener depends on the railing finish and the weight of your decorations. Test anything adhesive in a hidden spot before using it across the staircase.
| Railing or Surface | Attachment to Consider | Why It Works |
|---|---|---|
| Wood banister | Soft fabric ties or chenille stems | They grip without placing hard edges against the finish |
| Metal railing | Green floral wire with covered contact points | It wraps tightly around narrow spindles and blends into greenery |
| Painted railing | Reusable hook-and-loop ties | The soft surface reduces rubbing against painted areas |
| Glass panels | Removable hooks approved for glass | They avoid wrapping visible ties around the panels |
| Thick newel posts | Wide ribbon over a hidden reusable tie | The tie provides strength while the ribbon gives a finished look |
Rental-friendly swap: Loop soft ties around posts or spindles instead of attaching anything directly to the wall. Avoid pulling removable hooks sideways because they are usually strongest when the weight hangs in the direction intended.
Place Anchors at Posts, Curves, and Heavy Decorations
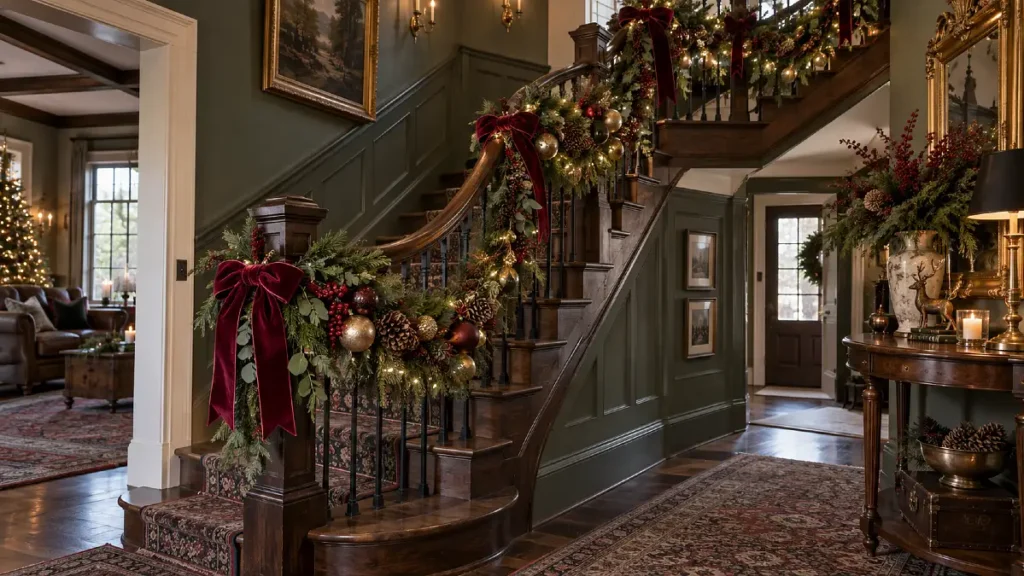
Begin with the structural points of the staircase. Secure the garland at the bottom newel post, near the top, and on both sides of any landing or sharp turn.
Then add intermediate anchors. A full faux garland may need closer support than a thin cedar strand, especially after lights and ornaments are attached.
Check these points before styling:
- Place an anchor beneath each deep swag so it cannot stretch lower over time.
- Add support directly behind large bows, bells, ornament clusters, and battery packs.
- Secure both sides of a corner instead of asking one tie to hold the change in direction.
- Keep knots, wire ends, and plastic fasteners on the back of the railing.
- Trim or tuck tie ends so they do not scratch hands or catch clothing.
If your garland has a wire core, shape it around the rail before tightening the fasteners. That curve helps the greenery rest against the staircase instead of fighting to spring away from it.
Shape the Garland to Follow the Staircase
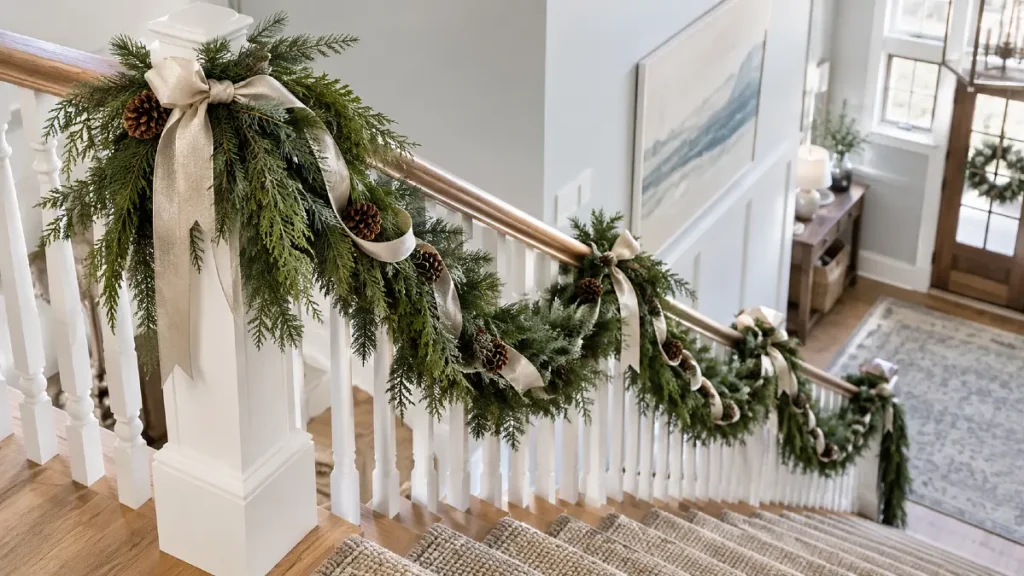
Measure with string before cutting ribbon or joining garland sections. Lay the string along the exact path you plan to decorate, including every swag, post wrap, and turn.
For a clean line, let the garland follow the angle of the stairs with only a gentle dip between anchors. This works well on narrow staircases because it keeps the greenery close to the railing.
Deeper swags create a softer, more traditional look. Keep their lowest points consistent so the design feels intentional rather than stretched in random places.
Scale note: Large newel posts can carry fuller bows and thicker greenery. Slim metal railings usually look more balanced with narrow garland, trailing ribbon, or one airy greenery strand.
Stand at the bottom of the stairs after attaching the first two sections. This viewing angle makes uneven dips and twisted greenery much easier to spot.
Add Lights, Ribbon, and Ornaments Without Weakening the Garland
Lights should go on before ribbon and ornaments. Weave the cable through the greenery and secure it to the garland itself, rather than letting the railing attachments carry loose loops of wire.
Ribbon works best when it is attached at the same supported points as the garland. Tuck each loop into the greenery, pinch it in place, and secure it with floral wire.
Here are a few common decorating choices and the steadier alternative:
| Instead of This | Try This |
|---|---|
| Hanging every ornament from branch tips | Wire ornaments closer to the garland’s center |
| Leaving a battery pack loose behind the greenery | Secure it near a post where you can still reach the switch |
| Adding one heavy bow between anchors | Place the bow directly over a supported connection |
| Wrapping light cords around the usable handrail | Keep the cord within the greenery on the outside of the rail |
| Using fragile ornaments near the bottom steps | Choose shatter-resistant ornaments, fabric bows, or pinecones |
For a layered look, mix two or three textures rather than adding many small objects. Faux pine with velvet ribbon and matte ornaments feels richer because the surfaces absorb and reflect light differently.
Keep lights and greenery away from candles, radiators, and other heat sources. Use lights rated for their intended location, and do not run cords across steps or walkways.
Fix Midseason Sagging Without Starting Over
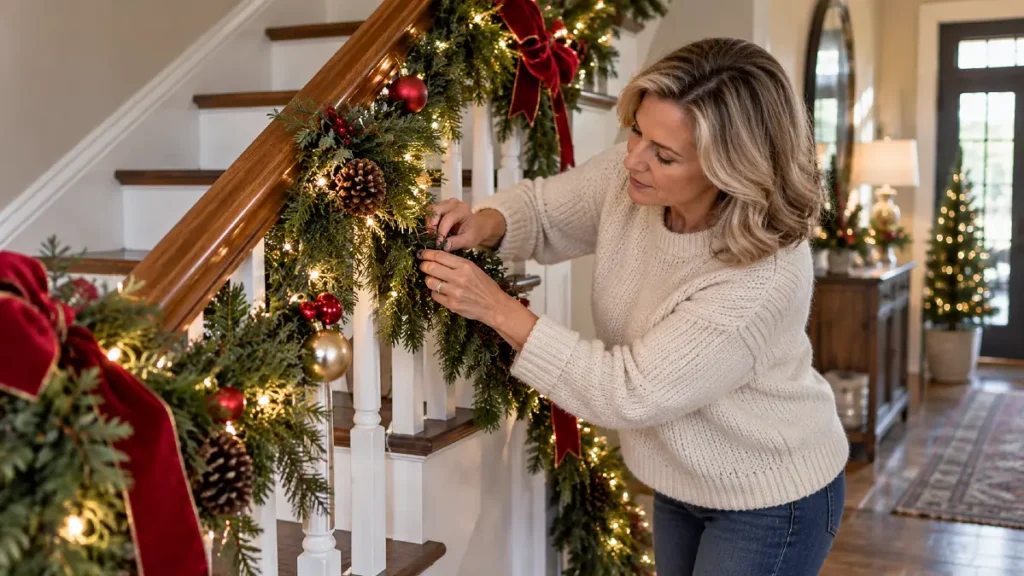
A little settling is normal, especially with fresh greenery. You usually do not need to remove the entire arrangement.
If a swag has dropped, lift its lowest point and add another hidden tie to the nearest spindle. Moving an existing end tie rarely solves the problem because the unsupported middle will keep pulling downward.
If the garland rolls toward the steps, secure both its upper and lower edges at one or two key points. This keeps a thick strand facing outward.
If sections look thin after being compressed by ties, bend individual branches over the fastener. A few outward-facing cedar tips or pine sprigs will hide the structure.
Texture note: Fresh greenery can become lighter and more brittle as it dries. Check ties periodically, but avoid tightening wire so much that it cuts through the stems.
Use a Three-Layer Stair Garland Formula
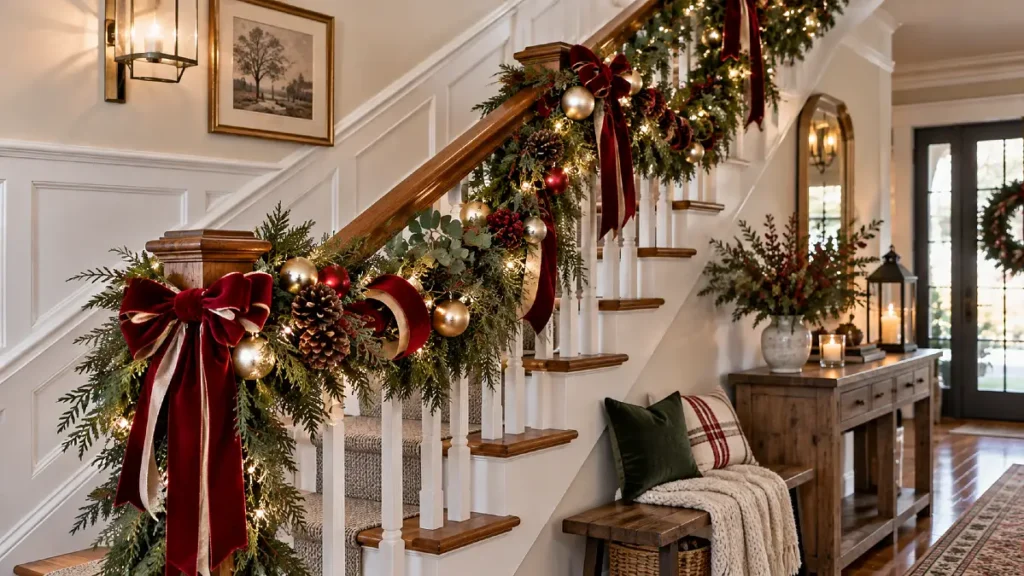
A dependable arrangement can be reduced to one repeatable structure:
Formula: secure anchors + shaped greenery + lightweight finishing layer
The anchors control the weight, the greenery establishes the overall line, and the final layer supplies color and texture. Because each layer has one job, you can change the style without rebuilding the support system.
These variations use the same formula at different levels of fullness:
| Stair Garland Style | Greenery and Finishing Pieces | Why It Works |
|---|---|---|
| Simple and airy | One pine strand + narrow velvet ribbon | The slim profile suits small stairs and leaves the railing visually open |
| Warm and classic | Full mixed greenery + soft bows + warm white lights | Repeated bows organize the fuller textures |
| Natural and relaxed | Cedar-style garland + pinecones + linen ribbon | Matte materials create a cozy, lived-in finish |
| Colorful and playful | Basic greenery + wired ribbon + lightweight ornaments | The plain base lets the color become the focal point |
Use fewer, larger accents if the garland feels busy. A bow at each newel post and one repeated ornament color often looks more pulled together than many unrelated finishing touches.
Frequently Asked Questions
How do you attach garland to a staircase without damaging the railing?
Use soft fabric ties, chenille stems, or reusable hook-and-loop straps around posts and spindles. If you use removable hooks, confirm that they suit the surface and test one in a hidden area first.
How often should stair garland be secured?
Secure it at both ends, around turns, beneath heavy accents, and at enough intermediate points to support each swag. Thick or heavily decorated garland needs closer attachment points than a lightweight strand.
Should garland go on top of the handrail or along the side?
The outside of the railing is usually more practical because the handrail remains available. If the staircase is rarely used and the garland sits securely, a top-mounted arrangement may work, but it should not create a slipping or grabbing hazard.
How can I keep fresh garland from sagging?
Use more anchor points than you would for lightweight faux greenery, and support the middle of every swag. Fresh garland may change as it dries, so check the ties during the season and add support where needed.
Can I hang stair garland without using nails?
Yes. Soft ties, floral wire, removable hooks, and reusable straps can all work without nails. Choose the method according to the railing material, decoration weight, and surface finish.