
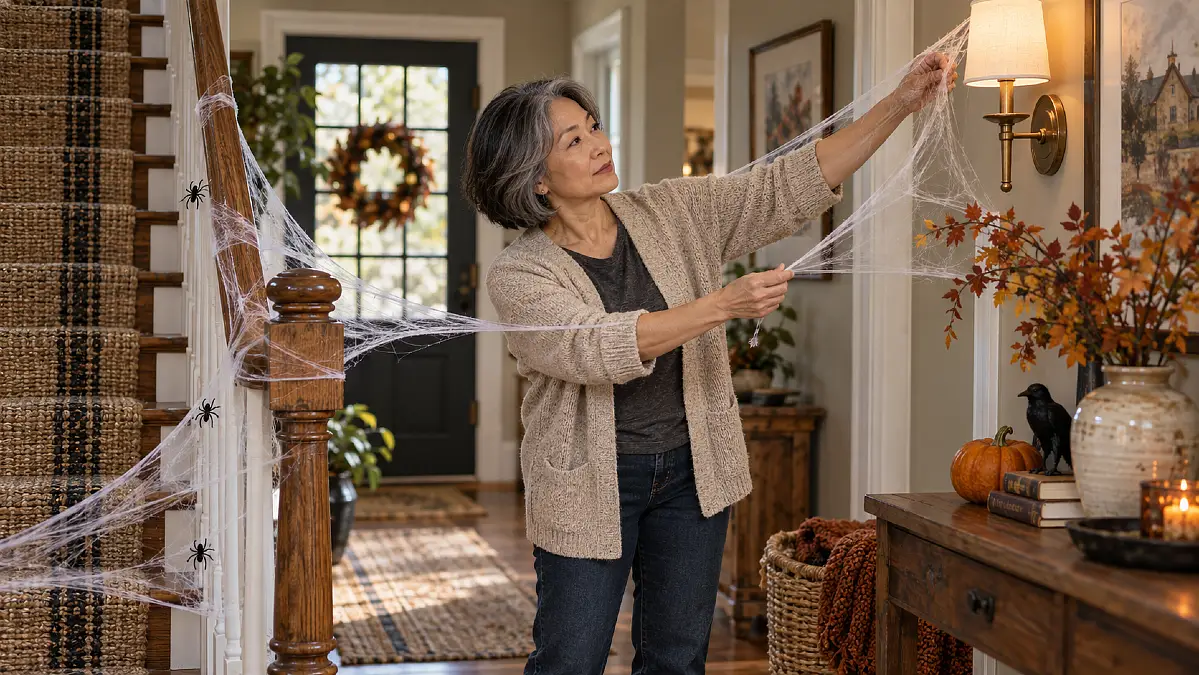
Fake spider web can go from creepy to cotton candy surprisingly fast. You pull a chunk from the package, spread it over a bush or doorway, and somehow end up with thick white clouds instead of thin, eerie strands.
The frustrating part is that adding more usually makes the problem worse. Good Halloween webbing depends less on how much material you use and more on how thinly you stretch it, where you anchor it, and how much tension you create.
This is one of those DIY home decor projects where technique matters more than supplies. Once you learn how to separate the fibers and build webs between real anchor points, even inexpensive webbing can look much more convincing.
Why Fake Spider Webs Turn Into Puffy White Clumps
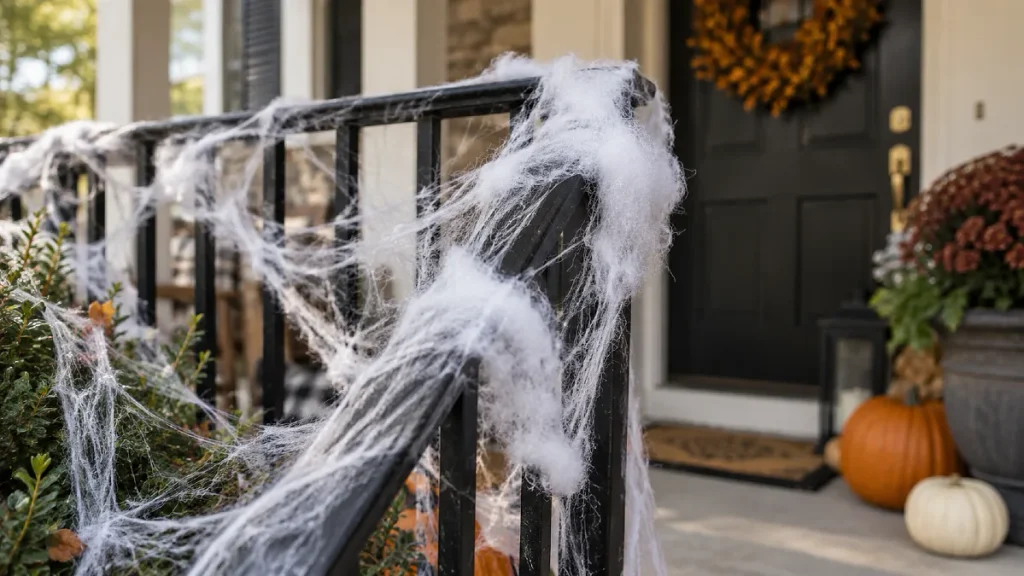
Most packaged spider web material begins as a dense bundle of synthetic fibers. It is supposed to be pulled far beyond the size it appears to be in the bag.
If you separate only the outer edges, the center stays thick. That thick center catches light as one solid white mass, which is what creates the cotton-ball effect.
Real webs read visually as lines and gaps, not sheets of white material.
You want to see plenty of wall, branch, railing, or furniture through the webbing. In many areas, the strands should look almost too thin before you step back.
That restraint matters even more on dark backgrounds. A small amount of white fiber against black shutters, brown tree bark, or deep green shrubs can already create strong contrast.
Adding another handful rarely makes the display look more detailed. It usually hides the thin strands you worked to create.
Stretch the Fibers Until You Can Barely See Them
Start with much less material than feels necessary.
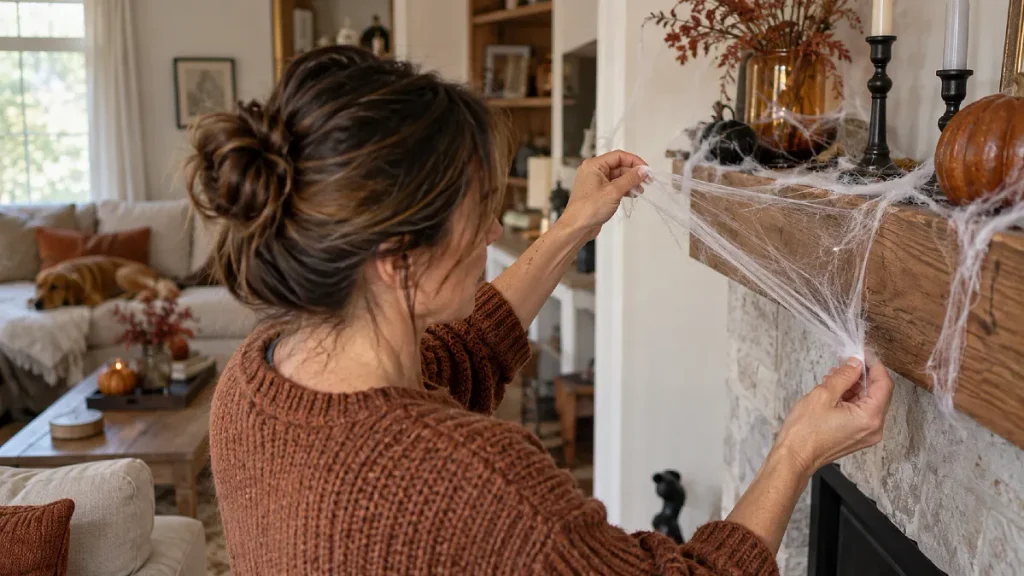
Pull off a small section and separate it gently with both hands. Instead of simply stretching it from left to right, widen it in several directions.
Pull outward, rotate it, separate another area, then pull again.
The goal is not a neat rectangle. You want an irregular network of whisper-thin fibers with open spaces between them.
A useful test is to hold the webbing at arm’s length.
If it still looks like one white patch, keep separating it. If you can clearly see your fingers through most of it, you are much closer.
Use the background as your guide
Thin webbing shows differently depending on what sits behind it.
Against a white porch column, you may need slightly denser strands for the web to show. Across dark brick or evergreen shrubs, the same amount can look far heavier.
This quick comparison makes it easier to judge how far you should stretch.
| Background | Better Approach |
|---|---|
| Dark brick or siding | Use very thin strands because the contrast is already strong |
| Green shrubs | Pull fibers wide and let branches create natural intersections |
| White walls or trim | Leave a few slightly denser strands so the web remains visible |
| Windows | Keep fibers especially sparse so the glass does not look cloudy |
| Dark doorways | Use thin crossing strands rather than covering the full opening |
Try this: Photograph the web from ten or fifteen feet away before adding more. A phone camera often makes bulky white areas easier to notice than when you are standing directly beside them.
Build the Web Between Anchor Points, Not Across a Flat Surface
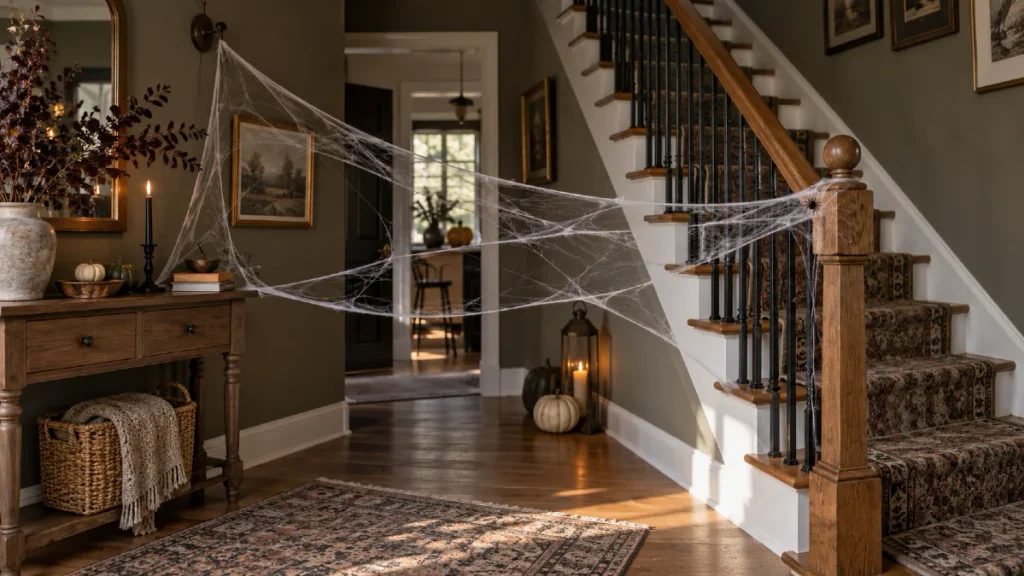
The easiest way to make fake spider web look believable is to give it somewhere to pull against.
Think of the web as stretched lines connecting several points rather than as fabric that needs to cover an object.
A porch railing already gives you posts, corners, balusters, and edges. A shrub gives you dozens of branches. A doorway offers trim, handles, light fixtures, and nearby furniture.
Attach one small section, pull the web across the space, catch another point, then change direction.
That creates tension.
Tension is what turns soft fibers into visible strands.
You do not need every section pulled equally tight. A few looser fibers between tighter ones make the result feel older and more natural.
For rental-friendly decor, look for existing hooks, railings, furniture edges, removable hooks, or other damage-free attachment points rather than fastening the material directly into walls.
Think in triangles instead of straight strips
One long horizontal strip often looks artificial because your eye immediately sees the direction it was stretched.
A three-point setup works better.
Anchor the web high on one side, pull it toward a lower point, then stretch part of the same material toward a third anchor.
That triangle creates overlapping lines and uneven tension without needing much more material.
Stretch Webbing Differently on Brick, Trees, Railings, and Furniture
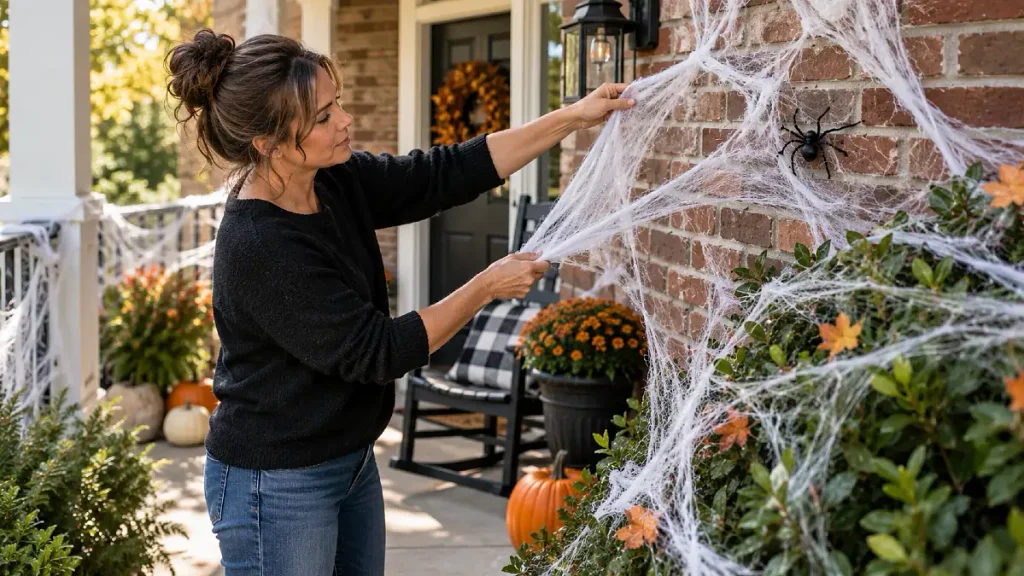
The same technique will not look equally good everywhere.
A smooth cabinet needs deliberate attachment points. A rough tree trunk naturally grips tiny fibers, so it needs less help.
This is where practical home styling tips matter more than trying to copy one Halloween photo exactly.
Here is a simple surface guide.
| Surface | How to Stretch It | Why It Works |
|---|---|---|
| Tree branches | Tease tiny sections around several branches, then pull outward | Bark and twigs catch fine fibers naturally |
| Porch railings | Wrap small corners around posts and stretch diagonally between them | Repeating posts create convincing tension lines |
| Brick | Use secure, surface-safe anchor points rather than pressing fibers flat | Webbing looks better floating slightly away from the wall |
| Bushes | Pull through outer branches rather than covering the whole shrub | Green gaps remain visible and stop the bush looking snow-covered |
| Indoor furniture | Catch fibers around corners, knobs, handles, or decor | Existing details give the strands somewhere natural to end |
Scale note: Bigger areas do not always need thicker webs. They usually need more distance between anchor points.
A six-foot railing can look more dramatic with one stretched handful than with an entire package wrapped around every post.
Let Lighting Catch the Strands Instead of the Clumps
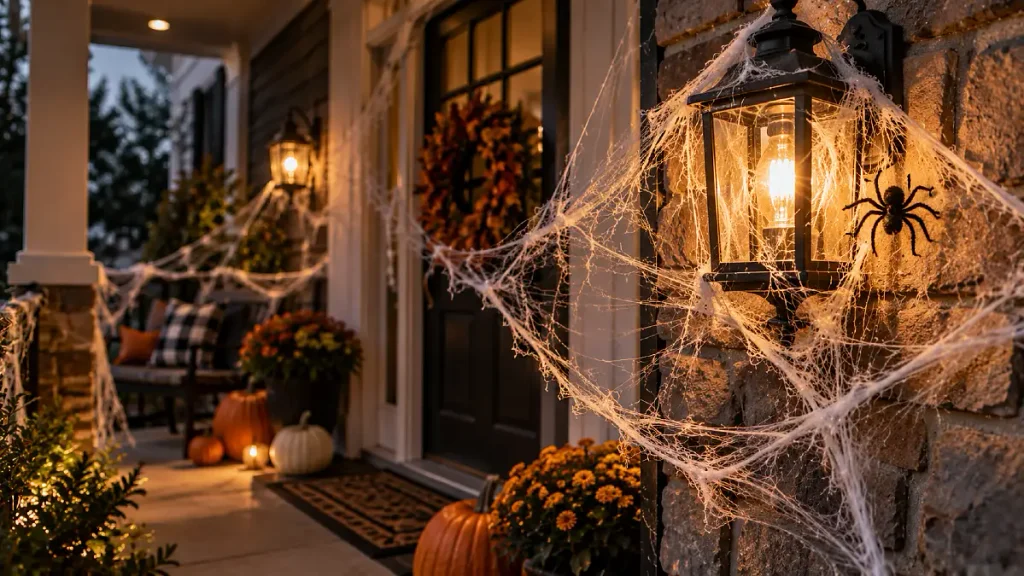
Lighting can either rescue thin webbing or expose every heavy patch.
Strong front lighting tends to flatten the fibers visually. It can turn several overlapping strands into one bright white shape.
Side lighting works differently.
When light grazes across stretched fibers, individual strands catch highlights while the gaps remain dark. That separation makes the web feel finer and more dimensional.
Warm porch lights can create a softer Halloween look. Cooler white light makes strands appear sharper and can suit a more eerie setup.
You do not need elaborate lighting.
Even moving an existing lamp or small outdoor light so it hits the web from the side can make a noticeable difference.
If the fibers disappear completely after dark, resist the urge to add another thick layer immediately. Adjust the light first, then decide whether a few additional strands are actually needed.
Fix the Cotton-Ball Look Without Pulling Everything Down
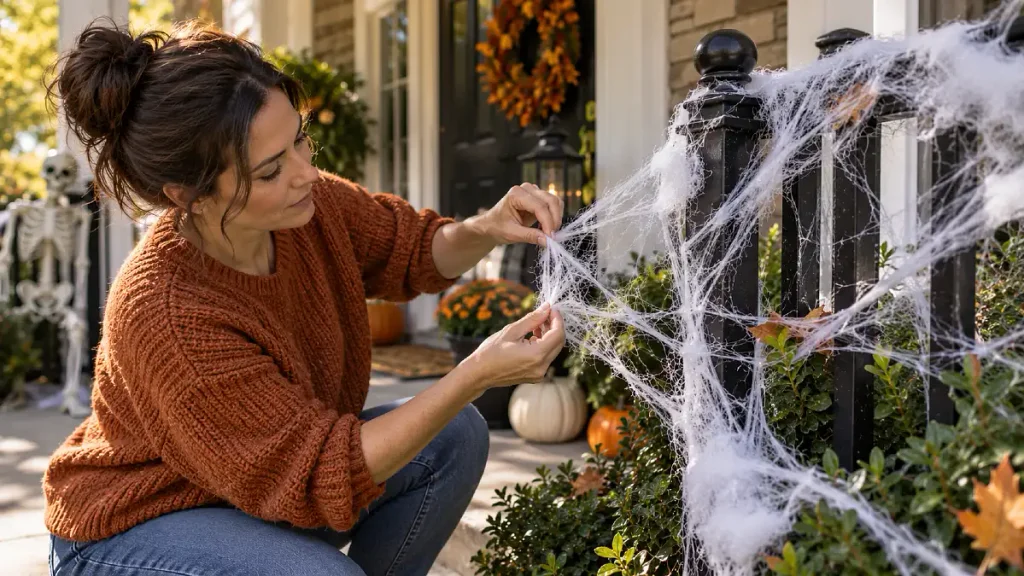
You can usually rescue an overdone section without starting from scratch.
The trick is to remove density rather than simply pulling the entire blob farther outward.
Look for the whitest patches first. Those are usually places where several layers have folded back onto themselves.
Use your fingers to tease those sections apart, then move individual fibers toward nearby anchor points.
These small corrections tend to make the biggest difference:
- If the web looks like snow on a shrub: remove some material and expose more leaves between strands.
- If a doorway looks covered in gauze: split the web into smaller diagonal sections with clear gaps between them.
- If fibers bunch around an anchor: pull part of the bundle toward a second or third nearby point.
- If the web looks too symmetrical: loosen one area or change the direction of several strands so the pattern feels less planned.
The goal is not to make every strand neat.
A slightly broken, irregular web often feels creepier because it looks as though it has been sitting there rather than freshly pulled from a package.
Here is the difference to keep in mind while adjusting.
| Instead of This | Try This |
|---|---|
| One thick sheet over the whole bush | Several thin stretches between outer branches |
| A dense clump in every corner | One small anchor with fibers spreading outward |
| Straight webbing across a doorway | Diagonal strands connected at three or more points |
| Adding material when an area feels empty | Increase the distance between existing strands |
| Covering every visible surface | Leave large areas completely untouched |
Negative space is part of the decoration.
Those open areas are what allow the web strands to read clearly.
Use a Three-Part Spider Web Formula You Can Repeat Anywhere
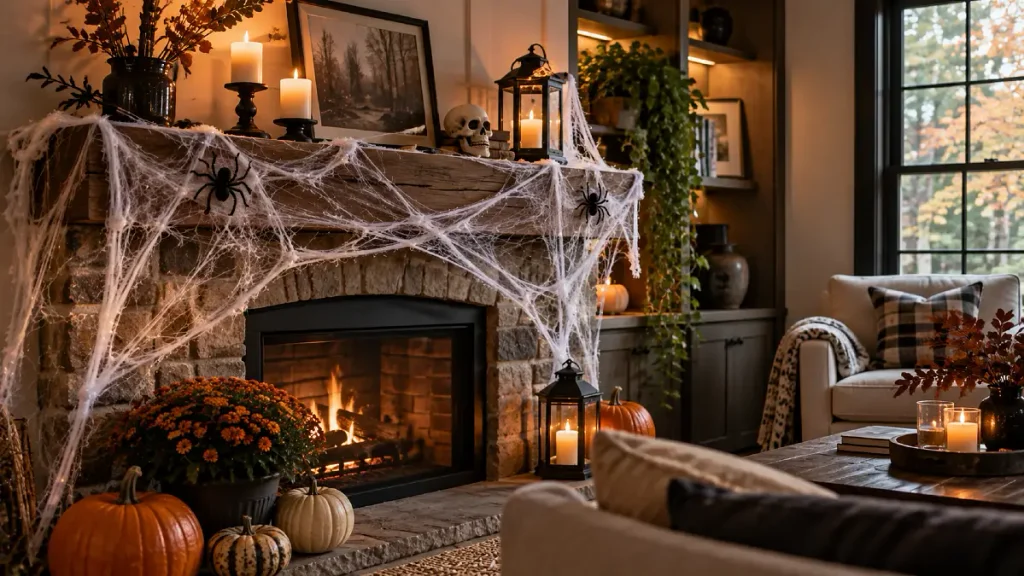
Once you understand the basic structure, you do not need to redesign the web every time you move to another part of the house.
Use this formula:
Formula: three anchor points + one very thin fiber layer + one irregular accent section.
The anchor points create structure. The stretched layer gives you long, readable strands, while the small irregular section adds just enough messiness to keep the display from feeling staged.
Here are a few ways to adapt the same formula.
| Area | Anchor Points | Finishing Layer | Why It Works |
|---|---|---|---|
| Porch | Railing post + light fixture area + planter | A few loose strands near one corner | Creates depth without covering the entrance |
| Shrub | Three outer branches | Small wispy section near the center | Leaves remain visible beneath the web |
| Mantel | Mantel corner + candlestick + nearby decor | One loose hanging strand | Adds Halloween texture without hiding the display |
| Doorway | Upper trim + side trim + nearby railing or decor | Sparse crossing fibers | Frames the opening instead of blocking it |
You can make the formula fuller for a haunted-house look or much lighter for subtle seasonal DIY home decor.
The structure stays the same. Only the density changes.
Frequently Asked Questions
How much should fake spider webbing be stretched?
Usually much farther than it first appears necessary. Pull the material until most areas become thin enough that you can easily see the background through them.
If you still see large white patches from several feet away, separate those areas again.
Why does my fake spider web look like cotton?
The fibers are probably still layered too densely.
Packaged webbing is compressed, so simply pulling it across an object without separating the inner fibers leaves thick sections that read as cotton or batting.
How do you make fake spider webs look realistic outside?
Use natural anchor points such as branches, railings, posts, and corners.
Stretch thin sections diagonally between them and leave large gaps instead of coating the entire surface.
Can fake spider webbing damage plants?
Avoid wrapping plants so tightly that fibers pull on delicate stems or leaves.
Use loose contact around sturdy outer branches, and remove the webbing carefully after the display so pieces are not left tangled outdoors.
How do you keep fake spider webs from looking too white?
Use less material and spread it over a larger area.
A darker background and light coming from the side can also make individual fibers visible without requiring thick white layers.