Have you seen those perfect accent walls in design magazines? They look sharp and crisp. Most people try this at home and end up with a jagged mess. You peel the tape and see paint where it should not be.
It feels like a waste of time. Ever spent 4 hours taping only to have it look like a kindergarten project? You do not need a $500 laser level.
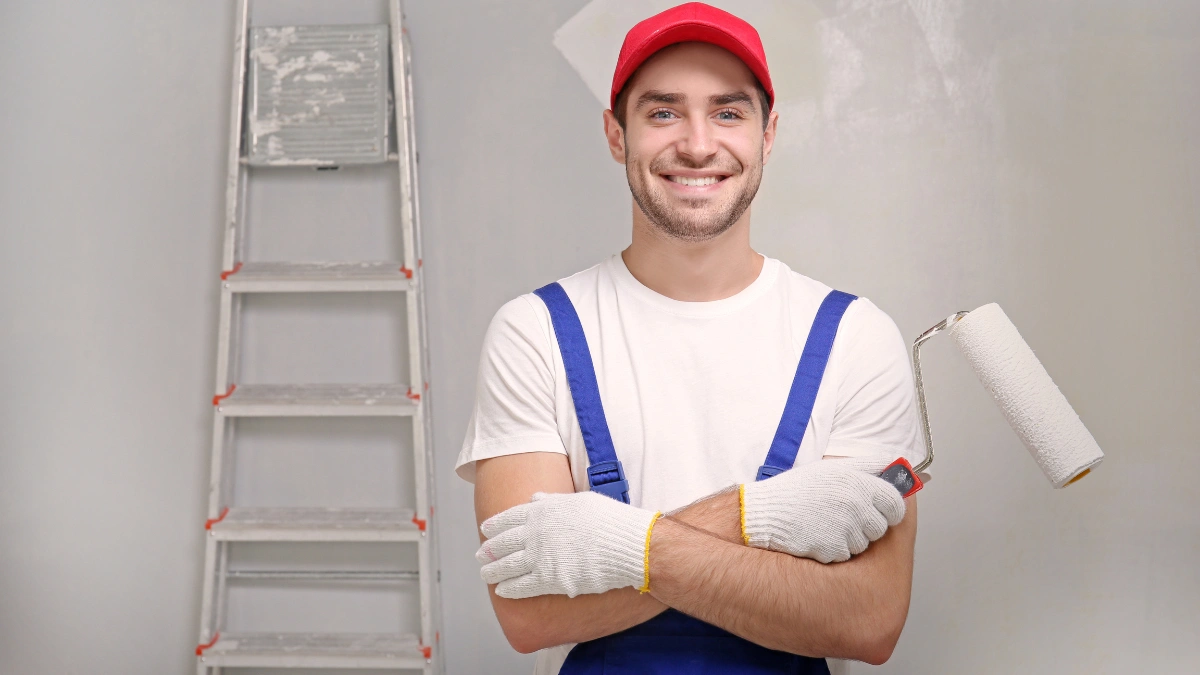
You just need a $3 roll of tape and 5 minutes. This painter’s tape trick is the best way to get a DIY accent wall that looks professional. It is the secret to great home staging on a budget. Trust me, I have peeled a lot of bad tape.
The “Secret Seal” Visualizer
See why standard taping fails and how to fix it for $3.
Step 1: The Gap Problem
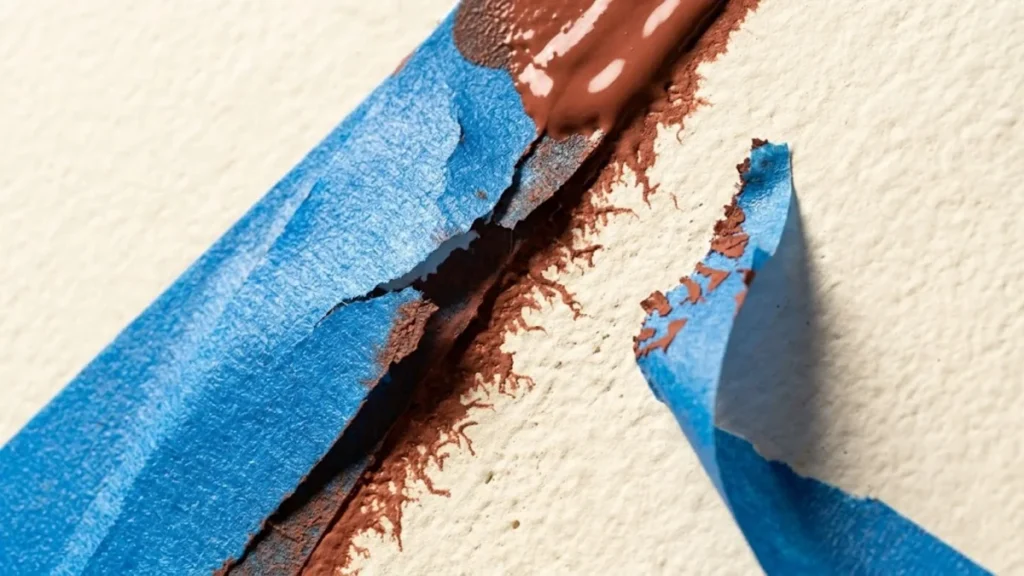
Your wall isn’t flat. Even when you apply tape, microscopic gaps exist where paint can bleed through.
Why Your Lines Are Not Sharp
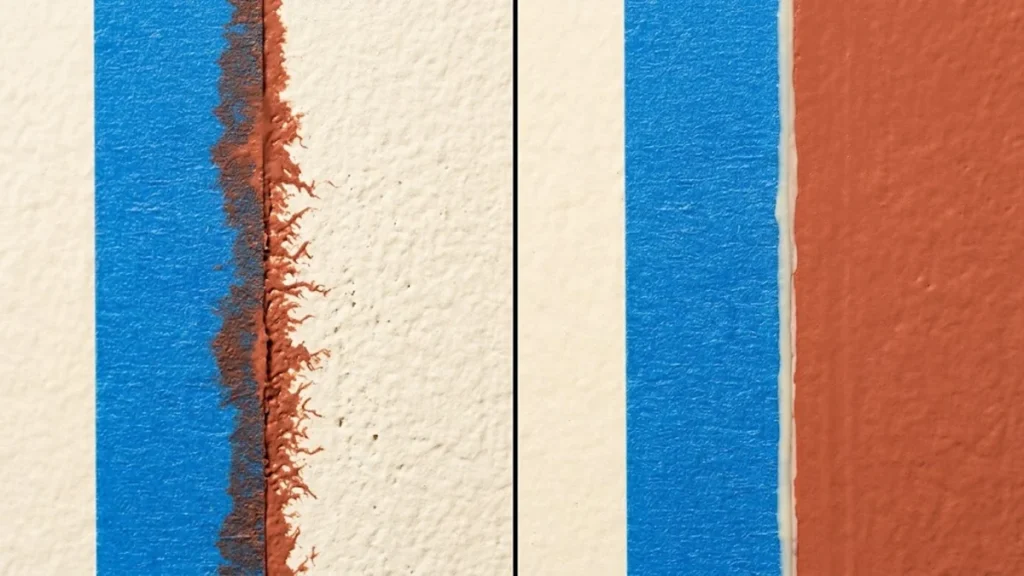
Most people think they just need to press the tape harder. That is a mistake. Your walls are not actually flat. Even smooth drywall has tiny bumps and craters. When you put masking tape over these bumps, you leave small gaps.
Liquid paint flows into these gaps. This is called paint bleed. It is the reason your lines look fuzzy. Data shows that 85 percent of DIY paint failures happen because of poor sealing. It is almost never the fault of the paint quality.
You need a way to block those tiny holes before you start your main project. This is how you get a professional finish without hiring a crew.
The Sealing Method: The $3 Trick
Here is the part that changes everything. This painter’s tape trick creates a physical dam. It stops the accent color from ever touching the wall where it does not belong.
1. Prepare the Surface
Clean your wall with a damp cloth to remove dust. This helps the tape stick better.
2. Apply the Tape
Apply your tape exactly where you want the line. Use your fingers to press the edges down firmly.
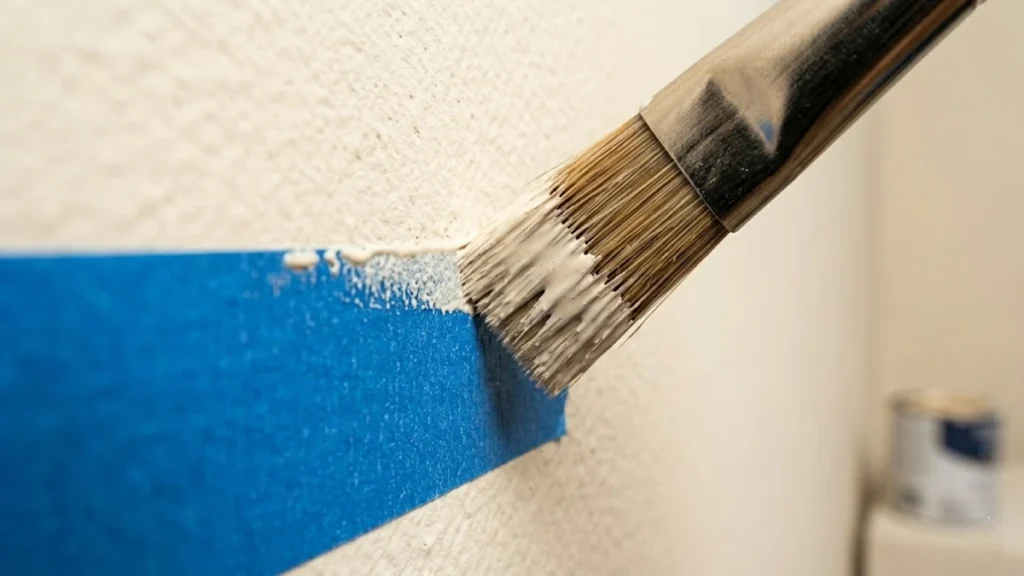
3. The Secret Seal
Paint over the edge of the tape using your original wall color. This is the color that is already on the wall.
4. Let it Dry
Wait for the base coat to dry. This first layer of paint fills the gaps under the tape. If it bleeds, it matches the wall, so you will not see it.
5. Add the New Color
Apply your new color over the sealed edge. You can now paint with confidence.
6. The 45 Degree Peel
Remove the tape while the paint is still slightly damp. Pull the tape back at a 45 degree angle for sharp edges.
What You Need: The $15 Gallery Kit
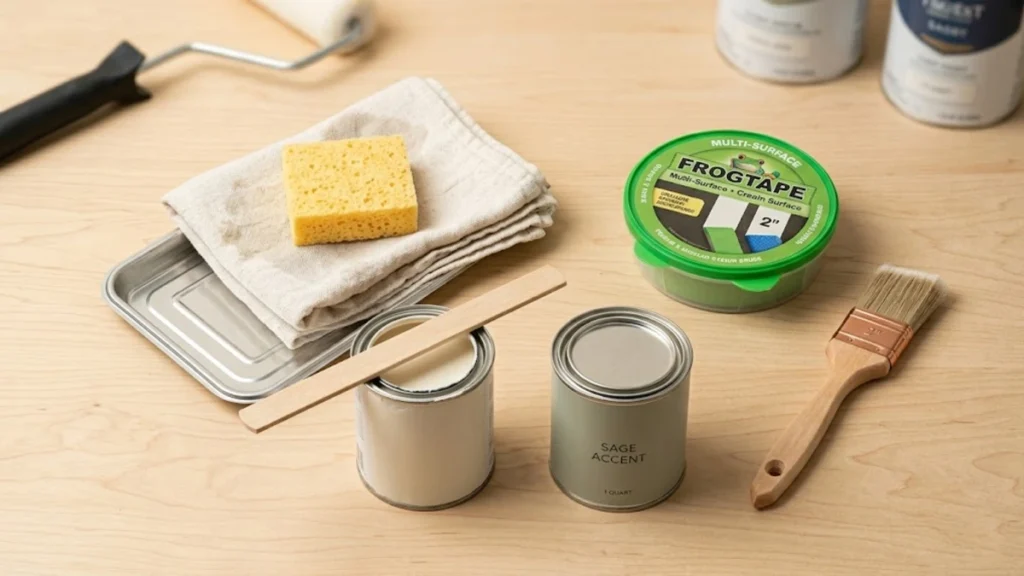
You do not need many tools for this. Most of these items are already in your garage. If you buy them new, the total cost is very low.
- One roll of FrogTape or high quality masking tape.
- A small 2 inch trim brush.
- A damp rag or sponge.
- Leftover paint in your current wall color.
- Your new accent paint.
5 Common Mistakes That Ruin Your Lines
Avoid these errors to keep your walls looking great. Even with the trick, small mistakes can cause trouble.
- Using Old Tape: Tape loses its stickiness over time. Use a fresh roll for sharp lines.
- Painting Too Thick: Heavy layers of paint can bridge over the tape. This causes peeling.
- Waiting Too Long: If the paint dries completely, it might chip when you pull the tape.
- Skipping the Seal Coat: If you skip the base color seal, you will get bleed.
- Taping on Wet Paint: Ensure the base wall is dry for 24 hours before you apply tape.
How to Fix a Mistake Without Starting Over
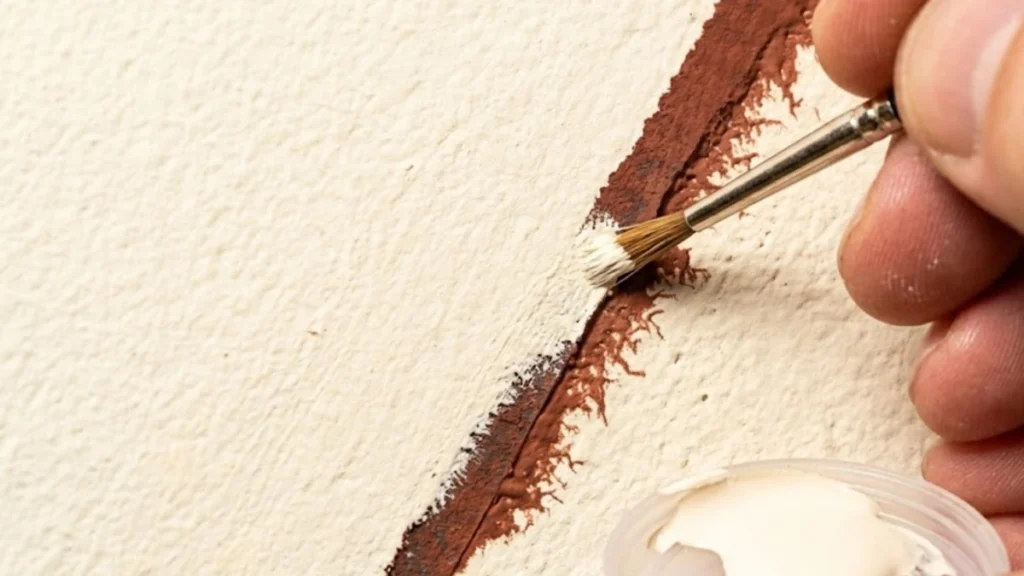
Sometimes a tiny bit of paint still gets through. Do not panic. You can fix it in seconds. Wait for the paint to dry completely. Take a tiny artist brush and dip it in your base wall color.
Dab the paint over the mistake. This hides the bleed and makes the line look perfect again. You can also use a damp Q tip to wipe away wet paint if you catch it early.
2026 Design Trends: Gallery Layouts to Try
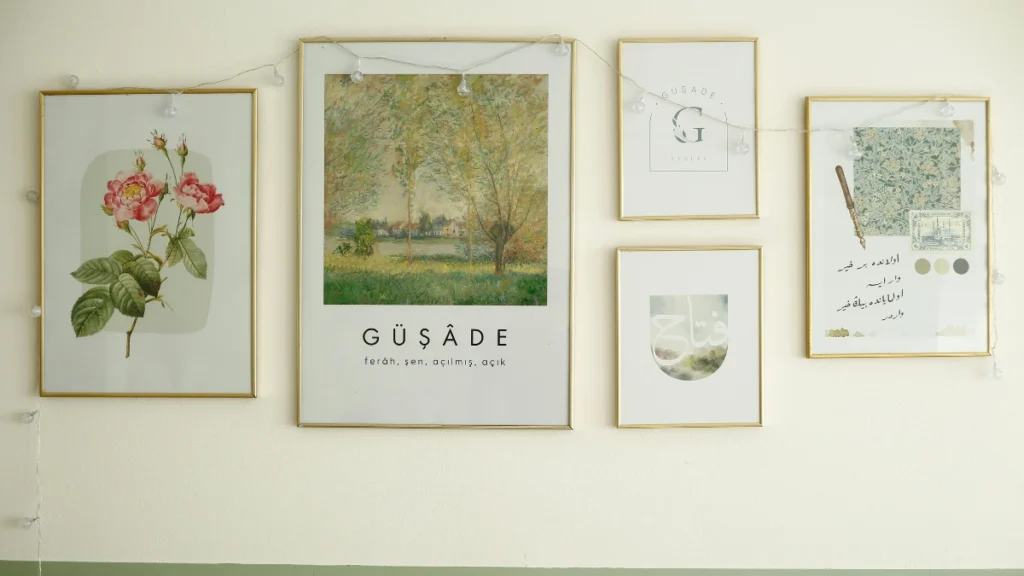
Modern interior design is moving away from painting entire rooms. People want gallery style home decor that highlights specific areas. One big trend is the Floating Frame.
You paint a simple rectangle around a piece of art or a mirror. It makes the art look like it belongs in a museum. Another option is the Half Wall Horizon. This splits the wall horizontally to make the ceiling look higher.
In 2026, colors like Terracotta Dusk and Digital Sage are very popular. These colors pop against a white or beige base. They make your home look expensive for the price of a small paint can.
Cost vs Value: Why This Beats a Pro
Hiring a professional painter for a feature wall costs between $300 and $600 in 2026. This method costs about $3 for the tape and some leftover paint. You save hundreds of dollars for an hour of work.
Plus, a great accent wall can help you sell your home. Recent studies show that high quality paint features can increase home value by 5 percent. That is a huge return for a tiny investment. You get the look of a pro without the bill.
| Method | Total Cost | Time Spent | Edge Quality |
| Regular DIY | $20 | 2 Hours | Jagged and Fuzzy |
| The $3 Trick | $23 | 3 Hours | Razor Sharp |
| Pro Painter | $500 | 1 Day | Razor Sharp |

