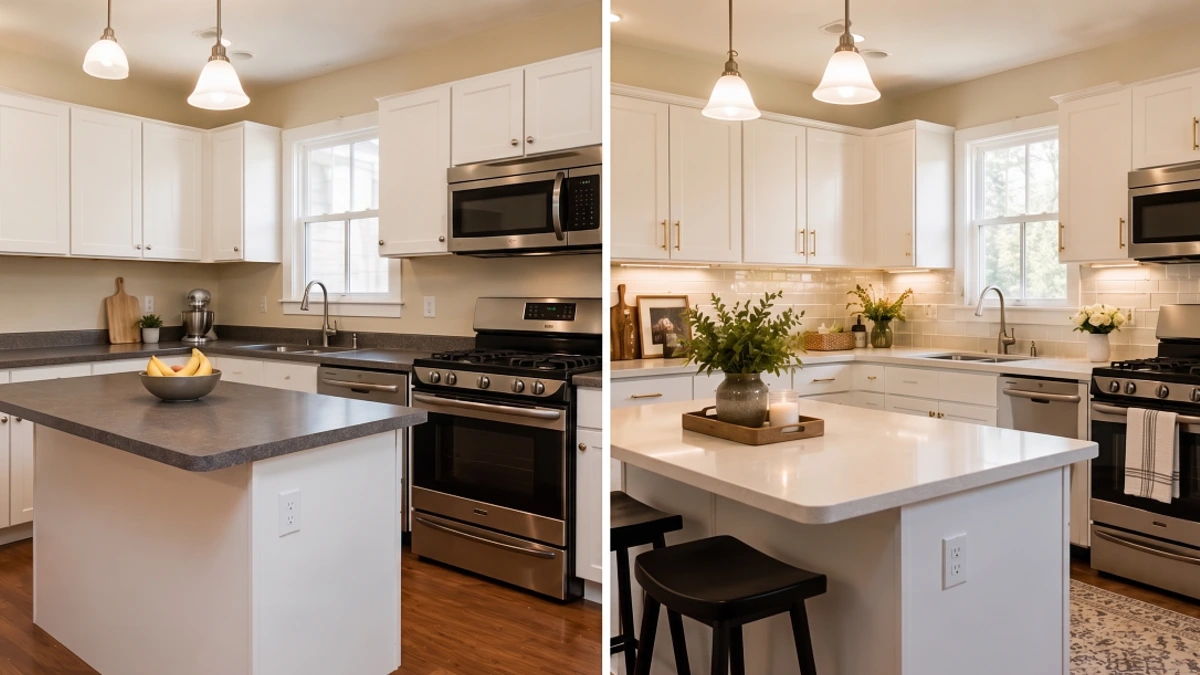
You stare at your tired cabinets every single morning. The yellow wood feels stuck in 1999 and drags down the entire house. You might think only a massive renovation will fix this ugly space. That is completely wrong.
You will discover the exact $50 fix that changes everything. We cover hardware swapping, finish matching, and specific spacing tricks.
These cheap kitchen upgrades give you a brand new look by dinnertime. You do not need power tools or a contractor to get this right.
Why Cabinet Hardware Changes The Entire Room
Many people waste thousands of dollars replacing perfectly good cabinets just because they hate the doors. The real problem is usually the cheap plastic knobs.
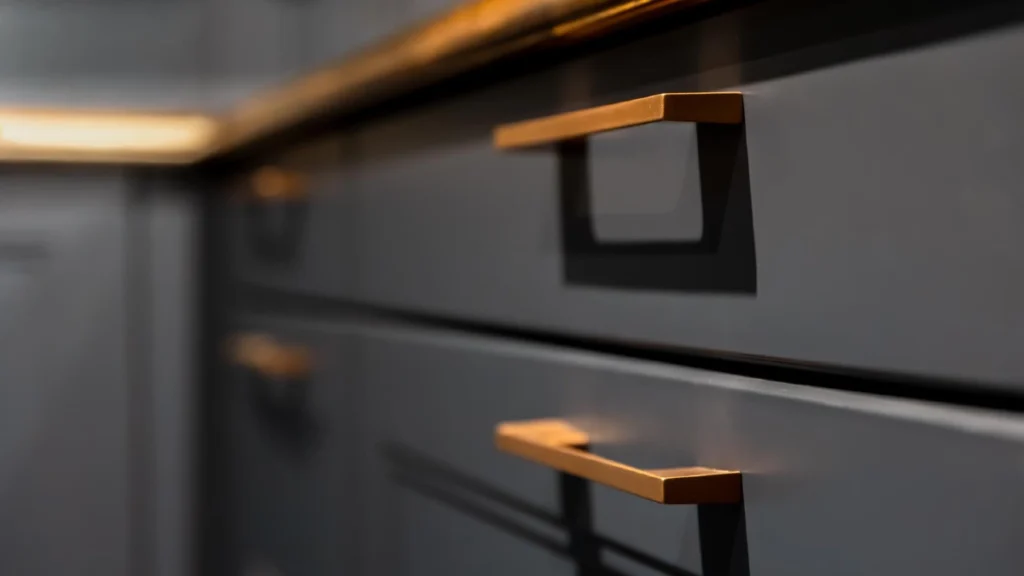
Hardware acts like jewelry for your space. It draws the eye away from old wood grain and forces attention onto the shiny new metal.
When you install a heavy metal pull, it grounds the room. It instantly tells your brain that the space is updated and intentional.
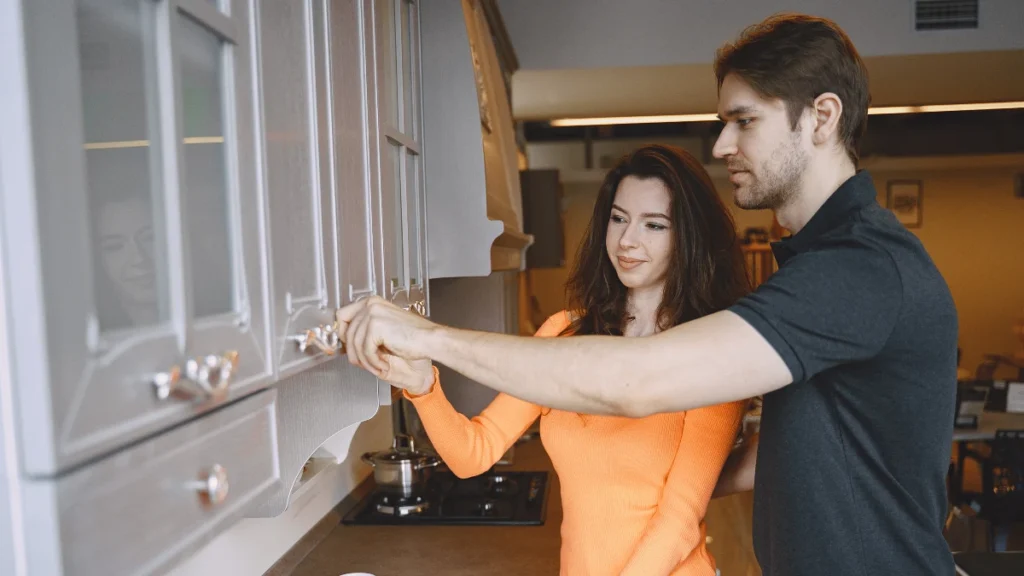
Swapping knobs takes less than one hour from start to finish. You need zero special tools to complete this project.
A standard Phillips head screwdriver is the only thing standing between you and a better space. You just unscrew the old pieces and thread the new ones right into the existing holes.
This project costs under $50 for a standard size room. According to the 2024 Houzz Kitchen Trends Report, updating cabinet hardware is the most popular minor improvement people make.
People realize they do not need to gut the room to see a massive shift. Data from the National Association of Home Builders shows that minor aesthetic updates often yield higher visual impact than full structural changes.
You get the look of a remodel without the mess or the stress. This simple project creates an incredible return on your effort.
It gives you immediate gratification. You walk into the room and immediately see modern metal instead of tired wood.
These small updates let you test out trends without commitment. If you hate the look in two years, you just unscrew them and try something else.
You are never permanently stuck with your choice. One small detail fixes the entire feeling of the space.
You will finish this project in an afternoon and wonder why you waited so long.
Finding Premium Hardware For Under $50
Staying strictly under the $50 budget means you must shop smart. Skip the expensive boutique design stores entirely.
Those places routinely charge $25 for a single brass handle. You will blow your budget on two doors.
Instead, look at bulk multipacks on Amazon or Wayfair. Brands like Franklin Brass sell packs of ten modern pulls for $30.
GlideRite hardware sets offer heavy solid metal options in classic finishes for around $35 a box. You can also find Brainerd knobs at Home Depot for under $4 each.
These trusted brands give you heavy weight materials without the luxury markup. Buy solid metal over hollow plastic for a heavier feel.
Solid metal feels expensive when you pull the drawer open. Hollow pieces feel flimsy and cheap, which defeats the purpose of the upgrade.
If buying new pieces still feels too expensive, you can paint your existing hardware. A can of premium metallic spray paint costs $8.
You just clean the old knobs, scuff them with sandpaper, and apply light coats. This is one of the best DIY cabinet fixes for tight budgets.
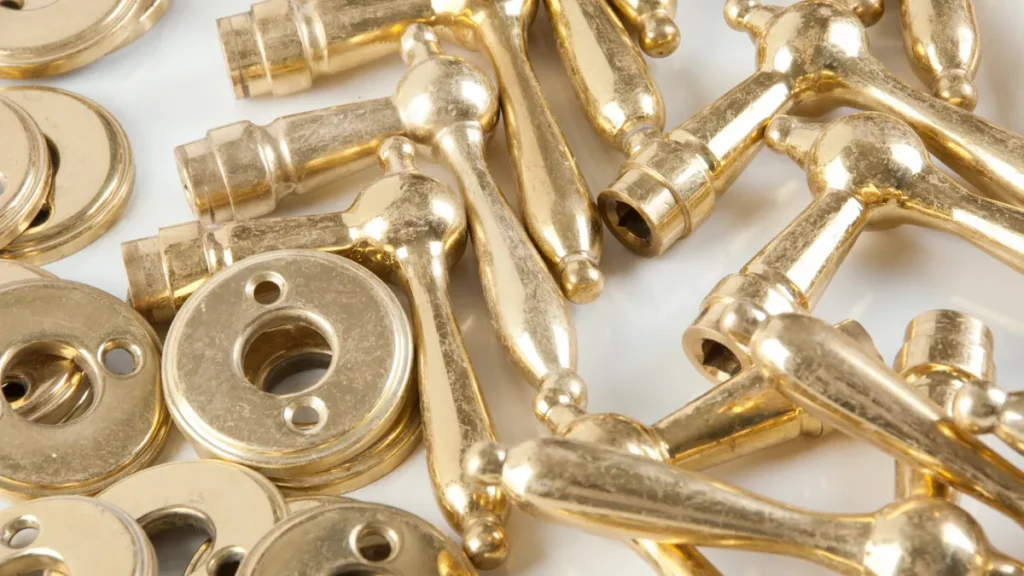
If you want true vintage character, check architectural salvage yards for solid brass. People often donate old heavy brass pieces that just need a good polishing.
Pinterest Trend data shows a massive search volume spike for vintage brass pulls every January. People want authentic character without paying premium prices.
| Primary Metal | Secondary Metal | Room Style |
| Matte Black | Unlacquered Brass | Modern Transitional |
| Polished Nickel | Matte Black | Classic Traditional |
| Aged Brass | Chrome | Vintage Eclectic |
| Oil Rubbed Bronze | Copper | Rustic Farmhouse |
Now that you know exactly where to buy your pieces, you must pick the perfect color.
Choosing The Right Finish For Your Kitchen
Matching every single metal finish in your house is a massive design mistake. Spaces that match perfectly often look like cheap catalog showrooms.
You want the space to feel collected over time. Choosing the right finish depends entirely on your existing cabinet color.
Matte black adds modern contrast to plain white doors. It creates a crisp, graphic look that instantly modernizes older shaker styles.
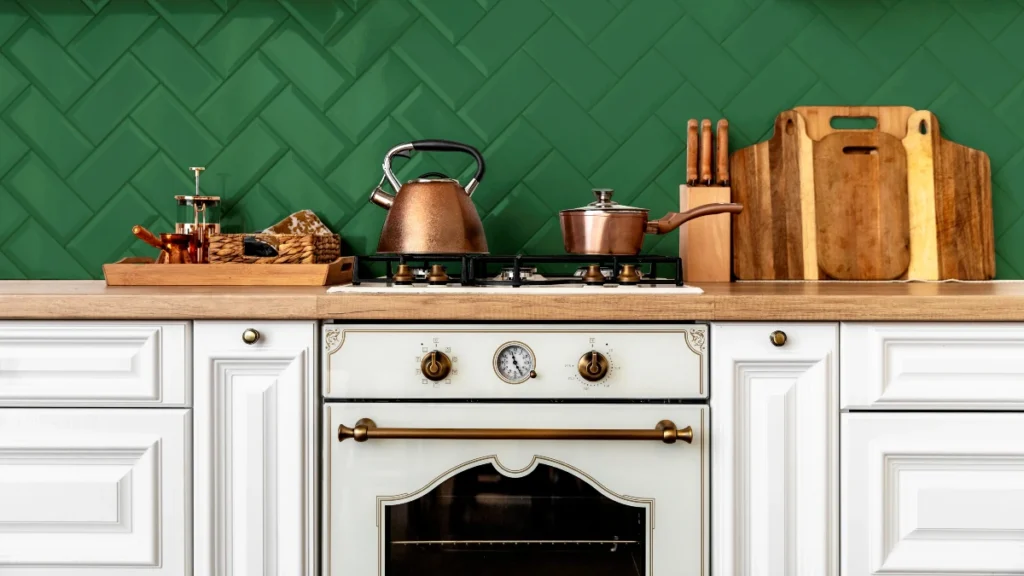
Unlacquered brass brings rich warmth to cool paint tones like blue or green. As time passes, the brass develops a darker patina where your fingers touch it.
This living finish adds incredible historic character to a plain room. Polished nickel reflects light beautifully in dark spaces.
It has a warmer undertone than standard chrome, making it look much more expensive. Apartment Therapy survey data shows polished nickel is the most requested finish for luxury spaces.
When mixing metals across your room, follow a simple rule. Pick one dominant metal for the hardware and one accent metal for the lighting.
Interior designer Emily Henderson notes that cabinet hardware serves as the primary jewelry of the room. She advises keeping your door hardware consistent while letting your light fixtures stand out.
You can match your faucet to your lighting fixtures for cohesion. These kitchen hardware ideas keep the space feeling intentional rather than messy.
Look at the hinges on your doors before you order anything. If you have exposed hinges, you must either match the new pulls to them or replace the hinges too.
Replacing hinges adds time, but it keeps the look clean. You will select a finish that elevates your old cabinets entirely.
How To Measure And Install Your New Pulls
Nothing feels worse than ordering beautiful new handles and realizing the holes do not line up. You will ruin your entire weekend if you try to force the wrong size to fit.
Precision is everything during this step. Count every single door and drawer twice before you place an order.
Keep a tally on a piece of paper and add three extra pieces just in case. Screws strip easily, and having backups prevents project delays.
Measure the center to center hole distance exactly. Place the tape measure over the middle of the top hole and read the distance to the bottom hole.
Most standard pulls measure three inches or three and three quarters inches. If you are drilling brand new holes, use a plastic installation template.
These templates cost $5 and guarantee every piece sits at the exact same height. You line the template up with the corner of the door and mark your spot.
According to HGTV standard cabinet pull sizing guide facts, pulls should measure roughly one third the length of the drawer. Use this rule to keep proportions correct.
| Cabinet Door Height | Recommended Pull Length |
| 12 to 18 Inches | 3 to 4 Inches |
| 18 to 36 Inches | 5 to 7 Inches |
| 36 to 42 Inches | 8 to 10 Inches |
| Wide Drawers | Two Small Pulls |
Keep your old screws just in case you need them. The screws included with new hardware are sometimes too short for thick custom doors.
Thread the new screw through the back of the door and tighten gently. Tighten gently to avoid cracking the cabinet wood.
Stop turning the screwdriver as soon as the metal sits flush against the face. You have just completed one of the easiest budget room updates available.
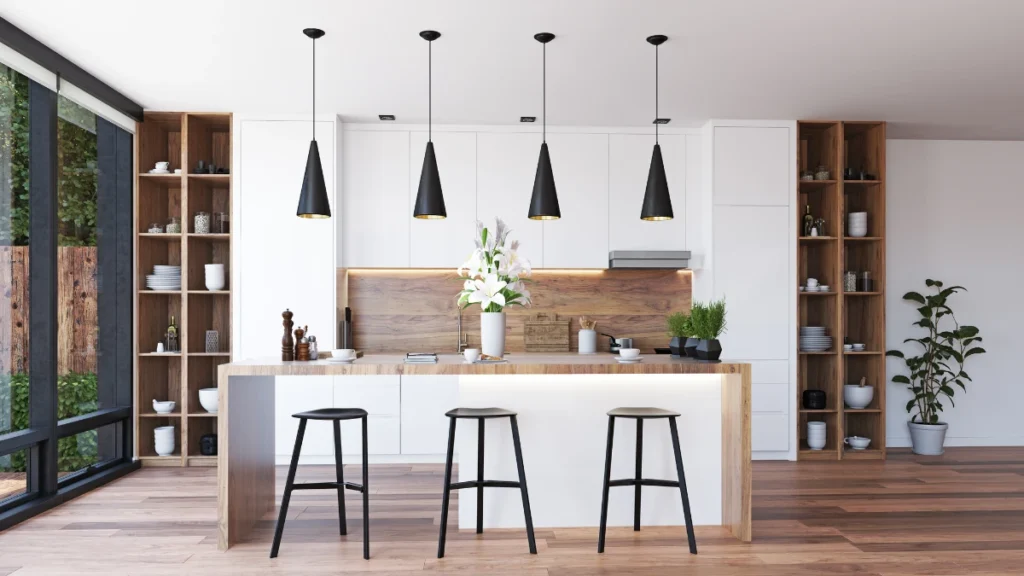
Now that your doors look amazing, you can fix a few more small details.
Three More Cheap Kitchen Upgrades To Complete The Look
What will you do with your remaining weekend hours now that the hardware is done? You can tackle several more tiny projects to elevate the entire space.
Small lighting changes make a drastic difference in how your paint looks. Install hidden battery powered lights under your upper cabinets.
These small puck lights stick right to the wood and cost roughly $20 for a pack of six. They cast a warm glow downward onto your counters.
National Association of Realtors data proves that layered lighting drastically increases the visual appeal of any room. You eliminate dark shadows in the corners without hiring an electrician.
Next, add a fresh coat of flat white paint to the ceiling. Ceilings absorb cooking smoke and turn yellow over time.
Bright white ceiling paint reflects light downward and makes the room feel twice as tall. A gallon costs $30 and completely brightens the entire space.
You can also tackle these fast updates:
Instant Upgrades
Curated by Hazel Quinn | The Plan Decor
Hardware Refresh
Swap your old plastic outlet covers for metal ones. This incredibly low-effort change instantly elevates the architectural feel and perceived value of any room.
Textural Warmth
Buy a washable vintage style runner rug. It introduces a high-end, lived-in aesthetic to barren hallways while remaining deeply practical for heavy foot traffic.
Sparkling Foundations
Clean your old grout lines with oxygen bleach powder. Stripping away years of embedded grime restores the original contrast and makes the entire floor look newly installed.
Cheap plastic plates crack easily and look terrible against nice tile. Metal plates cost $5 each and provide a finished, architectural detail.
A long patterned runner hides stains and adds a beautiful layer of soft texture over cold tile. You can find excellent washable options for exactly $45.
Scrubbing the brown dirt out of your floor tile makes the whole room smell fresh. These simple steps maximize your remaining budget.
You will stand back and admire a room that looks entirely new.
You just proved that incredible style does not require a massive bank loan. Swapping your old hardware is incredibly fast and instantly rewarding. Your finish choice matters more than the brand name on the box.
You do not need big budgets to completely change how your home feels. Focus on the small details that your hands touch every single day. Stop waiting for the perfect time to fix your house.
Count your cabinet doors right now and order a hardware sample pack today. You will finally get the space you deserve with these cheap kitchen upgrades.
Refreshing Your Backsplash Without Tiling
Staring at ugly brown tile while washing dishes gets old fast. Replacing a stone backsplash usually costs over $1,000 for materials and labor.
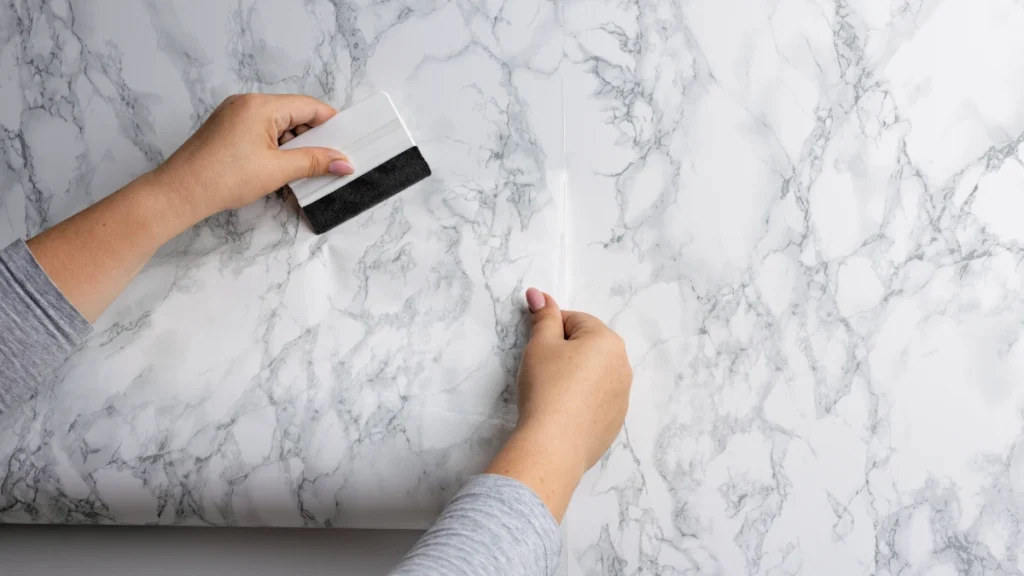
You can completely cover that eyesore for under $45. Peel and stick vinyl tiles look incredibly realistic now.
You just wipe the old tile with degreaser and stick the new sheets right over it. You do not need a wet saw or messy mortar.
A sharp utility knife cuts the vinyl perfectly around your electrical outlets. Renters love this because you can peel the sheets off later.
Many brands sell sheets mimicking marble or classic subway patterns. You can buy a ten pack for exactly $40 online.
Always overlap the grout lines slightly to make the pattern look seamless. Use a plastic scraper to smooth out any air bubbles.
If you have plain ceramic squares, you can just paint them. A quart of specialized tile paint costs about $35.
You apply it with a foam roller for a smooth finish. White paint instantly makes a dark cooking space feel massive.
These quick fixes hide the worst parts of your room. Now your walls perfectly match your beautiful new hardware.
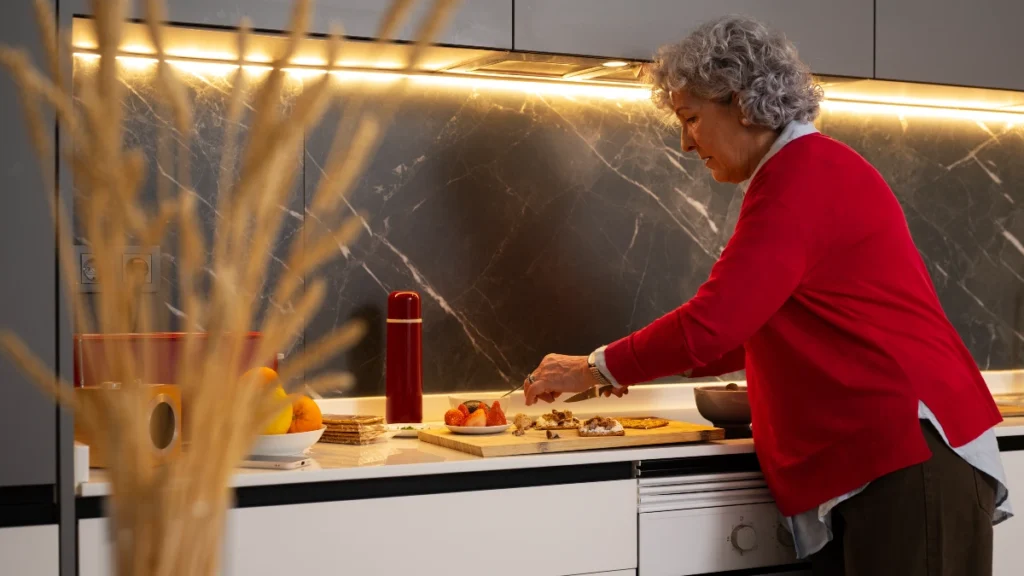
Grouping Clutter Into Intentional Decor
Your beautiful new hardware gets lost if your counters look like a junk drawer. Piles of mail and random spice bottles ruin the aesthetic completely. You do not need empty counters to make the room look expensive. You just need to group your daily items with intention.
Buy a large round wooden tray for $25 at a home goods store. Place your dish soap, sponges, and hand lotion inside the tray.
This instantly turns loose clutter into a purposeful display. Store your ugly plastic spice bottles inside the pantry. Keep your wooden cooking spoons in a heavy ceramic vase next to the stove. A beautiful vintage style crock costs roughly $18.
Put your baking flour and sugar into large clear glass jars. Glass jars cost about $10 each and make the room look like a luxury bakery.
Hide ugly branded packaging by pouring dish soap into a clear dispenser. A glass pump bottle costs exactly $15 online.
Add one small potted plant near the sink to bring life into the room. A real green pothos plant runs about $12 at the local garden center. Always group items in odd numbers for the best visual balance. A tray with three items looks professionally styled.
These tiny styling details elevate everything around them. Your cheap kitchen upgrades finally get the spotlight they deserve.

