
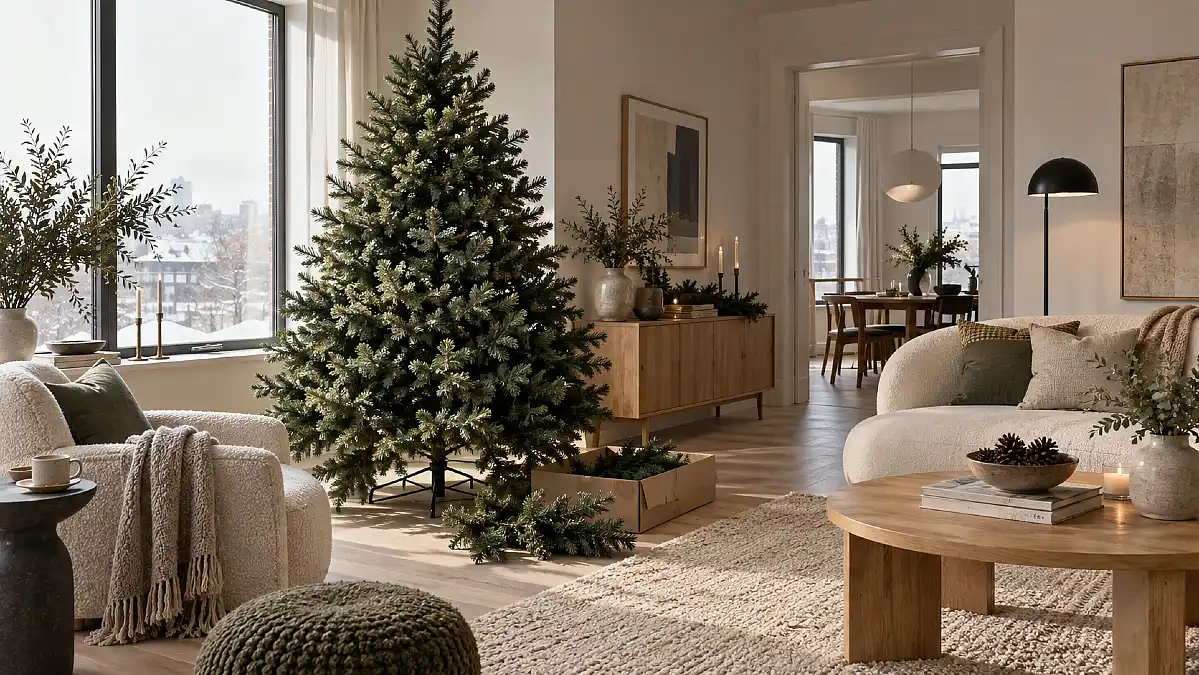
An artificial Christmas tree can look surprisingly thin and stiff when it first comes out of the box. Branches are compressed for storage, tips point in the same direction, and gaps near the trunk can make even a good tree feel unfinished.
That can be frustrating when the tree looked full in the product photo but seems flat in your living room. Adding more ornaments usually does not solve the problem because the shape underneath still needs work.
The good news is that fluffing is mostly about branch direction, layering, and proportion. These home styling tips will help you create a fuller, more natural-looking tree before you spend money on extra decorations.
You can use the same method on a tall tree, a slim apartment tree, or an older artificial tree that has started looking sparse.
Why Artificial Christmas Trees Look Flat After Storage
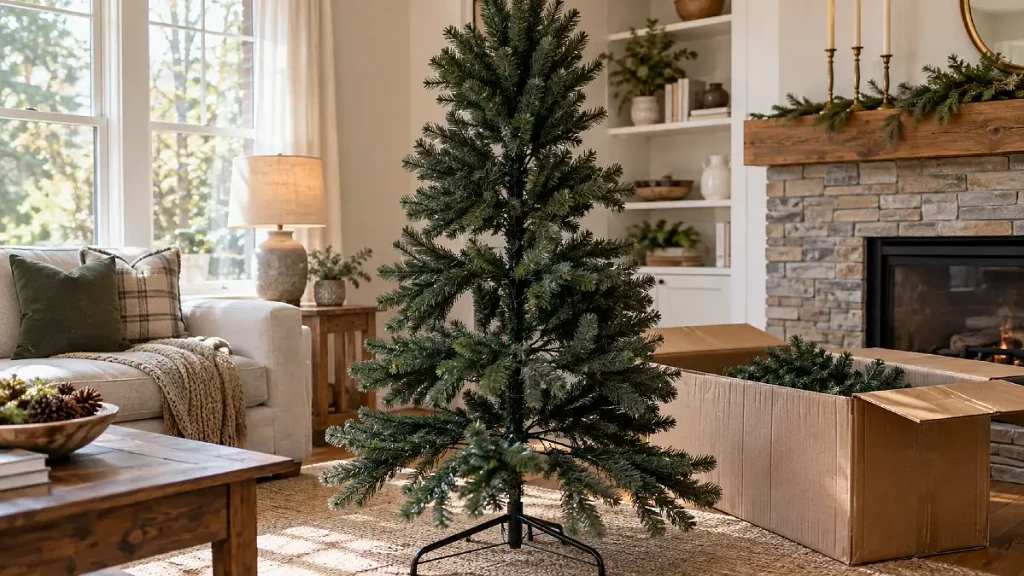
Most artificial trees are packed tightly so they fit inside a box. Branches are folded inward, smaller tips are pressed together, and the tree loses much of the layered shape it had when fully opened.
That means the first goal is not decorating. It is rebuilding the tree’s structure.
A real evergreen rarely grows in neat horizontal layers. Branches overlap, some angle upward, others extend sideways, and smaller growth fills the spaces between them.
Your artificial tree looks more believable when you recreate that irregular depth instead of spreading every branch into the same flat fan shape.
Scale note: Step several feet away from the tree every few minutes. Small gaps that seem obvious while standing beside the branches often disappear from normal viewing distance.
Work From the Trunk Out Instead of Fluffing Only the Tips
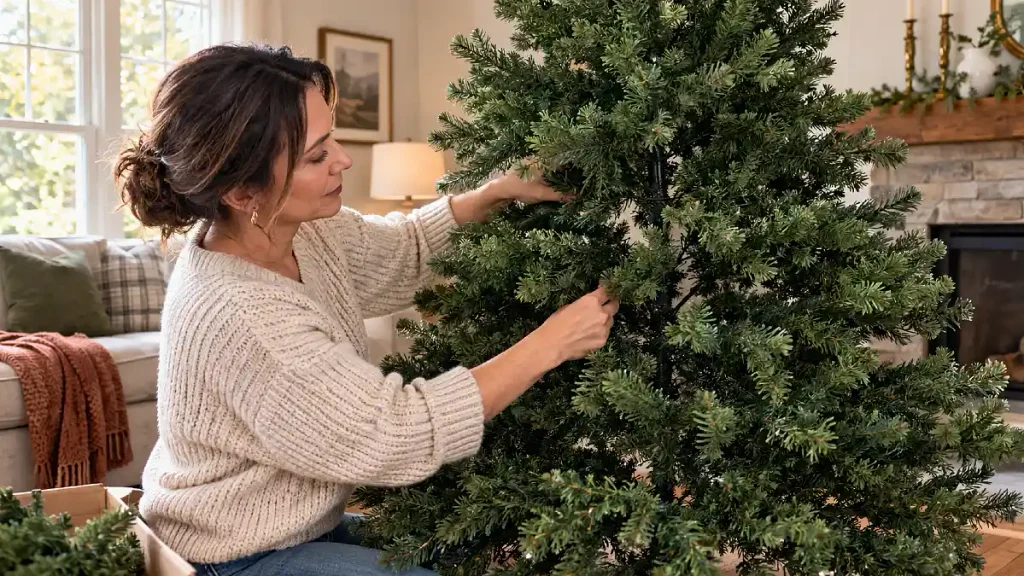
Start near the trunk and move outward. The inner branches create depth, so leaving them compressed can make the center look dark and hollow even when the outer tips are spread wide.
Separate the branches closest to the pole first. Angle some slightly upward, some sideways, and a few toward the front.
Then move gradually toward the outer ends.
If your tree has more than one type of branch construction, each part may need slightly different shaping.
Here is a simple guide for common artificial tree branches.
| Branch Type | How to Shape It | Why It Helps |
|---|---|---|
| Molded outer tips | Bend gently outward and vary the angles | Creates a more natural outer silhouette |
| Flat filler branches | Spread widely near the trunk | Covers the center pole and dark gaps |
| Short inner tips | Point some upward and some sideways | Adds depth behind ornaments |
| Long outer branches | Keep a few slightly irregular | Prevents the tree from looking too symmetrical |
Do not worry about creating perfect balance branch by branch. You are building visual fullness, not measuring a display.
Try this: Put one hand behind a branch cluster while spreading the smaller tips with the other. It becomes much easier to see which empty spaces still need coverage.
Rotate Each Tip Instead of Spreading Branches Like a Flat Fan
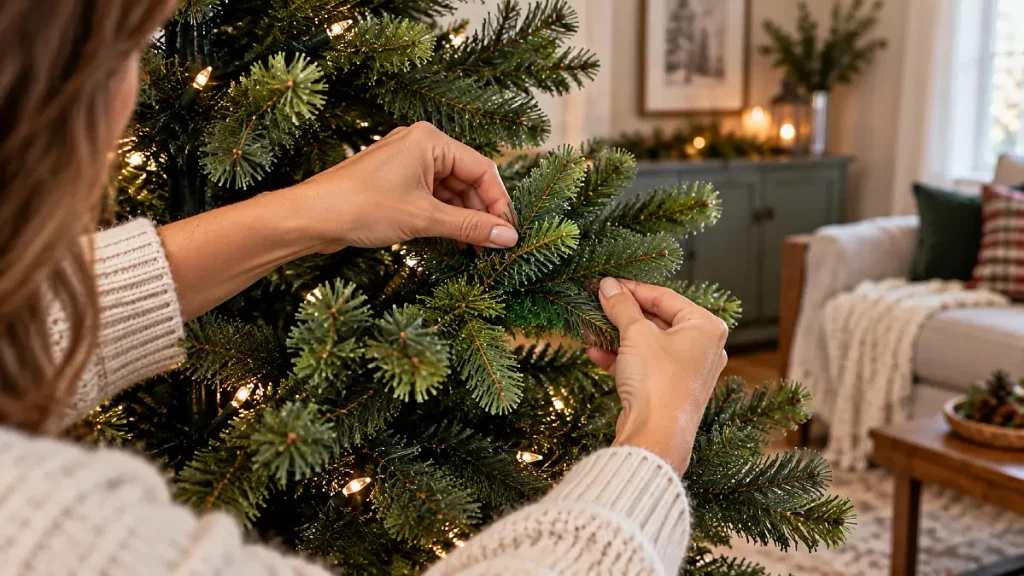
One of the biggest changes comes from how you position the small tips attached to each main branch.
If every tip points left and right, the tree may become wider but still look flat from the front. You need some tips coming forward and others moving upward or slightly backward.
Think in several directions:
- Angle one tip upward to create height.
- Pull another toward the viewer to add depth.
- Turn side tips outward to widen the branch.
- Leave a few slightly uneven so the tree does not look manufactured.
This gives the tree a layered, textural appearance.
It also creates small pockets where ornaments can sit naturally instead of hanging only from the very ends of the branches.
Texture note: Avoid pressing all the tips into the same plane. Depth is what creates the soft shadow lines that make a tree appear fuller.
Shape the Whole Silhouette Before You Add Ornaments
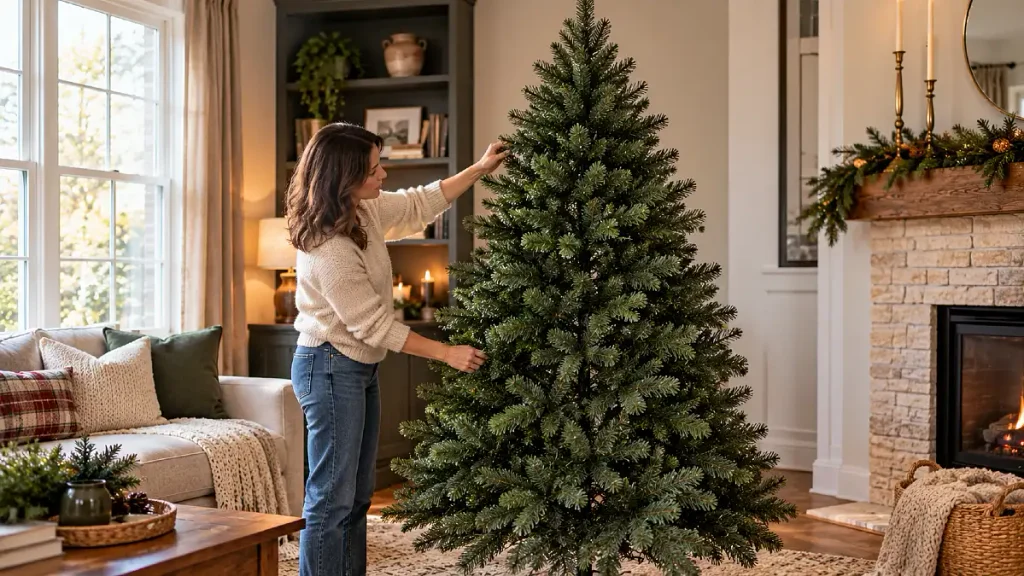
After spreading several sections, step across the room and look at the outline of the tree.
You should be checking the overall triangle before worrying about tiny holes.
The bottom usually needs the widest visual spread. The middle should taper gradually, while the upper section should feel lighter rather than suddenly narrow.
Different areas need slightly different branch directions.
| Tree Area | Branch Direction | Visual Result |
|---|---|---|
| Lower section | Mostly outward with some downward angles | Builds a wider, grounded base |
| Middle section | Outward and slightly upward | Creates fullness without looking heavy |
| Upper section | Mostly upward with gentle outward spread | Forms a softer taper |
| Front-facing gaps | Pull a few inner tips forward | Adds depth without adding more decor |
| Side profile | Turn branches toward empty edges | Keeps the tree full from several viewpoints |
A tree placed in a corner does not need to look equally full from every direction. You can bring more branches forward and slightly toward the visible side.
That is especially useful for small space decor ideas, where wasting valuable floor space behind a tree does not make sense.
Fill Sparse Spots With Branch Placement Before Buying More Decor

It is easy to assume a visible hole means you need another ornament, ribbon, or floral pick. Often, the real fix is hidden one layer deeper.
Move nearby branches into the gap first.
Pull a branch from the back slightly forward, rotate a tip from above downward, or angle two neighboring branches so they overlap naturally.
If a true gap remains, then add a finishing layer.
A few useful options include evergreen picks, pine sprays, berry stems, pinecones, or other textural pieces that fit your existing color palette.
The key is restraint. One well-placed pick inside a deep gap usually looks more natural than several decorations attached to the outside of the tree.
Budget swap: Before buying tree fillers, check seasonal bins you already own. Loose greenery, old wreath pieces, or unused stems may work if their texture and color blend with the branches.
This is one of those home styling tips that works beyond Christmas too: fix the structure first, then add accessories.
Use Lights to Add Depth, Not Just Brightness
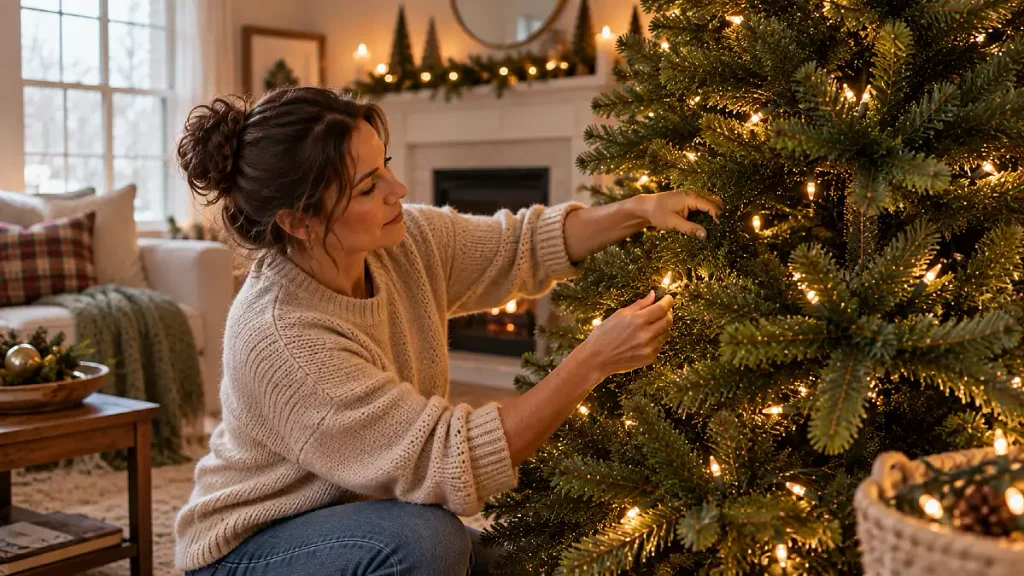
Lighting can make a properly fluffed tree look even fuller.
Instead of placing every light near the outside edge, allow some lights to sit deeper toward the trunk. Those small points of light brighten dark spaces between branches and make the tree appear deeper.
Outer lights then highlight the silhouette.
This inside-and-outside layering works because your eye reads several visual planes rather than one bright surface.
If your tree is pre-lit, shape branches around the light positions rather than hiding every bulb behind greenery.
Lighting swap: If one area feels visually dark, first move a nearby branch or expose an existing bulb before adding another string of lights.
Fluffing Habits That Can Make a Tree Look Less Natural
Fluffing is forgiving, so there is no need to chase one “correct” shape. Still, a few common habits can make a tree look flatter than it needs to.
This quick comparison can help when something still feels off.
| Instead of This | Try This |
|---|---|
| Spreading every branch straight sideways | Mix upward, forward, and sideways angles |
| Decorating before shaping the inner branches | Fluff from the trunk outward first |
| Hiding every gap with a large ornament | Reposition surrounding branches before adding decor |
| Making both sides perfectly identical | Allow small variations in the silhouette |
| Adding more filler to an already crowded area | Step back and check scale before adding anything |
A little irregularity usually helps.
The goal is not to copy the exact shape of a natural tree. It is to create enough variation that the eye stops noticing the artificial branch pattern.
Use This Repeatable Fluffing Formula Every Christmas

You do not need a complicated system once you understand the order.
Formula: trunk coverage + layered branch directions + balanced outer silhouette
Start by opening the branches closest to the center. Next, rotate smaller tips in several directions to build depth, then step back and adjust the overall shape.
Only after those three layers feel balanced should you add lights, ribbon, picks, or ornaments.
This order prevents decorations from doing the job the branches should already be doing.
For a slim apartment tree, use the same formula with less outward spread. For a wide tree, focus more on keeping the lower section balanced so the tree feels full without looking heavy.
Frequently Asked Questions
How long should it take to fluff an artificial Christmas tree?
There is no set time because tree size and branch density vary. The useful approach is to work section by section instead of trying to finish the whole tree quickly.
A taller or heavily branched tree will naturally need more shaping than a small tabletop or slim tree.
Should you fluff an artificial tree before adding lights?
If the tree is not pre-lit, fluff it first so you can clearly see the branch structure. Then place lights through both the inner and outer areas.
For a pre-lit tree, fluff around the existing lights and gently expose bulbs that become buried.
How can you make a cheap artificial Christmas tree look fuller?
Focus on branch placement before buying extra decorations. Spread inner branches, bring some tips forward, and create varied directions instead of a flat fan shape.
You can then use a small number of greenery picks or pine stems in the deepest remaining gaps for a budget-friendly finish.
How do you hide the center pole of an artificial Christmas tree?
Open the shortest inner branches toward the center and position filler tips across the visible pole. Ornaments placed deeper inside the tree can also help once the branches are properly shaped.
Avoid putting all decorations on the outer edges because that can make the empty center more noticeable.
Should artificial Christmas tree branches point up or down?
A mix usually looks more realistic. Lower branches can extend outward with a few downward angles, while the middle and upper sections can gradually point more upward.
Changing the direction from branch to branch creates softer movement and better proportion.