

A Christmas tree can have beautiful ornaments and still somehow look unfinished. The problem is usually not the decorations themselves. It is the way color, scale, spacing, lights, and texture are working together.
That is why copying a heavily decorated tree from Pinterest does not always give the same result at home. Adding more ornaments can actually make the tree feel busier without making it look more polished.
To decorate a Christmas tree like a professional, think in layers instead of individual decorations. These six practical steps will help you build the tree from the inside out, using simple home styling tips that work with decorations you already own.
You do not need a designer-sized tree or a completely new ornament collection. The goal is balance, depth, and enough repetition to make everything feel intentional.
Step One: Choose the Tree’s Color Story Before Hanging Anything
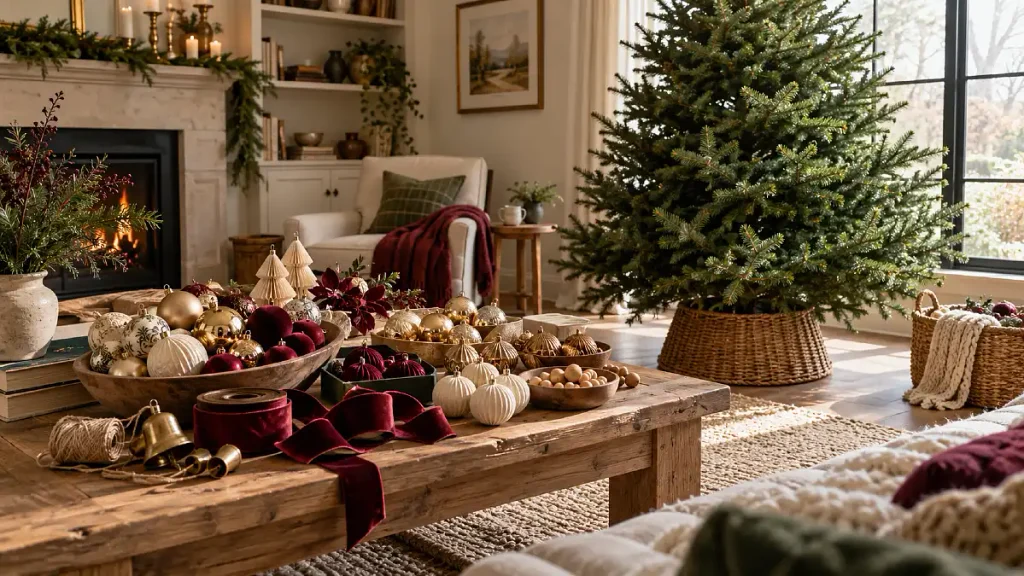
Professional-looking trees rarely rely on every ornament matching perfectly. What makes them feel cohesive is a clear color story repeated from top to bottom.
Choose two main colors and one supporting finish or texture. That might mean warm white and burgundy with touches of brass, or cream and forest green with natural wood.
Keeping the palette controlled gives your eye somewhere to rest. You can still use sentimental ornaments, but the repeated colors around them help everything belong together.
If your existing decorations feel mismatched, start by pulling out the pieces that repeat similar colors. You may discover that you already have the beginning of a strong palette.
Here are a few easy combinations that work without requiring an entirely new set of decorations.
| Main Colors | Supporting Finish | Overall Feel |
|---|---|---|
| Cream + gold | Clear glass | Warm and polished |
| Burgundy + forest green | Aged brass | Traditional and cozy |
| White + silver | Frosted glass | Light and wintry |
| Brown + cream | Natural wood | Relaxed and organic |
| Navy + warm white | Gold metal | Rich and classic |
Color note: Your tree does not need three exact shades repeated everywhere. Small variations in cream, brass, green, or burgundy often make the tree look more layered and less like a boxed ornament set.
Step Two: Shape the Branches Before You Start Decorating
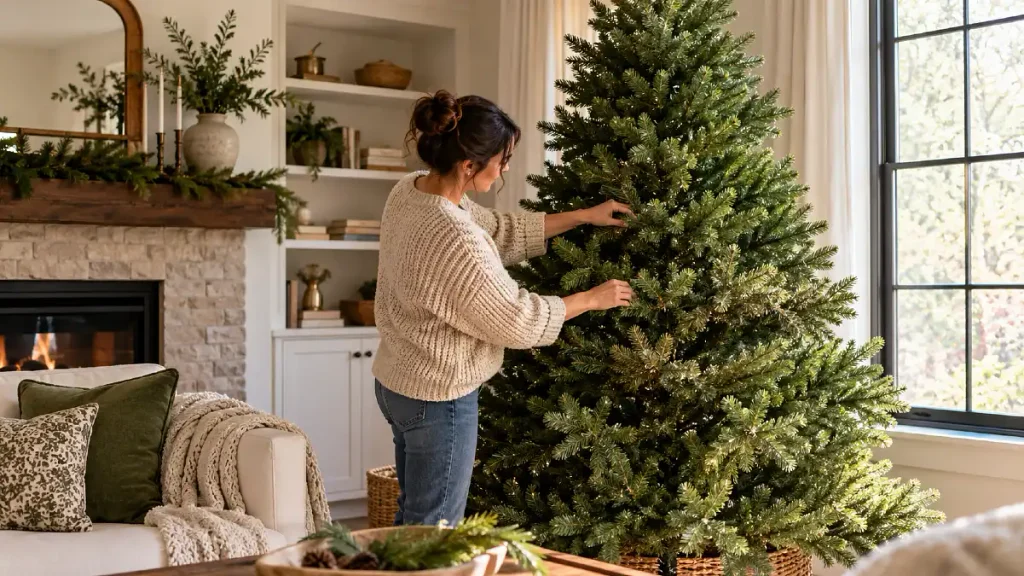
This is one of the easiest steps to rush, yet it makes a bigger difference than adding another box of ornaments. For a starting estimate, check how many lights your Christmas tree needs by height.
If you have an artificial tree, spread each branch outward and slightly upward rather than leaving the sections pressed together. These artificial Christmas tree fluffing tips explain how to fill the shape before adding ornaments. Move some tips toward the front, some sideways, and a few toward the center.
The goal is to create depth instead of one flat wall of greenery.
Real trees also benefit from a little shaping. Turn the fullest side toward the room, trim any distracting broken tips, and rotate the tree until the natural gaps feel balanced.
A small gap is not always a problem. Open spaces give you somewhere to tuck ribbon, larger ornaments, picks, or decorative stems later.
If a tree looks sparse, filling every gap with tiny ornaments usually makes it busier rather than fuller. Larger pieces placed deeper inside the branches can create much better visual weight.
A More Useful Way to Think About Fullness
Instead of asking, “How many decorations do I need?” look at the tree from across the room.
Check the outline first. A strong shape gives every later layer a better foundation, especially when decorating on a budget.
| If the Tree Looks Like This | Try This Instead |
|---|---|
| Flat from the front | Pull branch tips forward at different depths |
| Heavy on one side | Rotate the tree before decorating |
| Sparse near the trunk | Tuck larger ornaments or picks deeper inside |
| Too wide at the bottom | Angle lower branches slightly upward |
| Full but messy | Separate branch tips instead of adding more decor |
Step Three: Add Lights Deep Into the Tree, Not Just Around the Outside
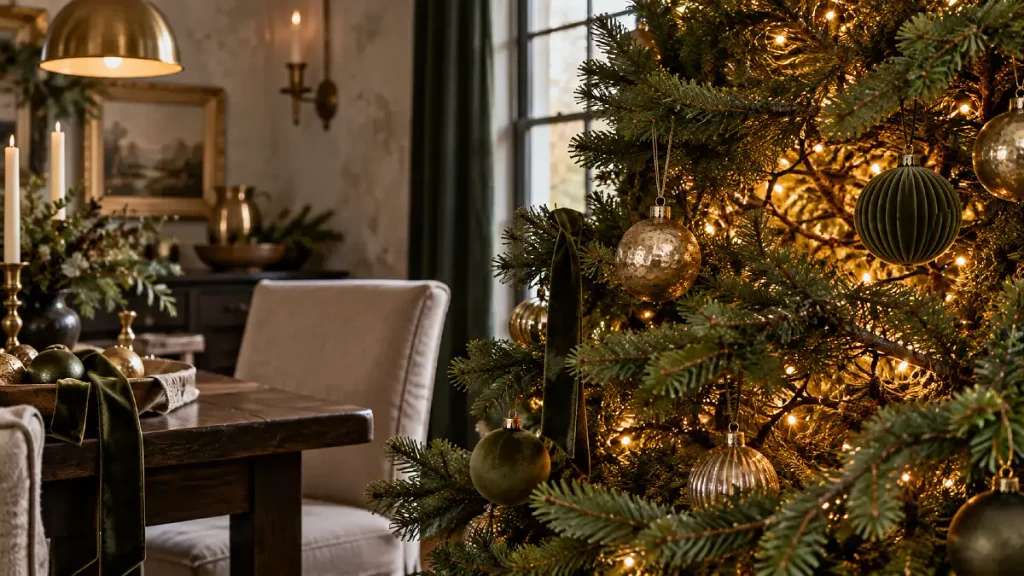
Lighting is what gives a decorated tree depth after dark. If every light sits on the tips of the branches, the tree can look bright but strangely flat.
Work some lights closer to the trunk and bring others toward the outer branches. This creates small pockets of brightness throughout the tree rather than one glowing outline.
Warm white lights tend to create especially cozy home decor because they soften metallic ornaments, wood tones, ribbons, and greenery. Cooler white lights can work beautifully with silver, blue, or icy color palettes.
The important part is consistency. Mixing noticeably different light temperatures can make sections of the tree feel disconnected.
Before adding more decorations, turn the room lights down and look at the tree from several angles. Dark patches are much easier to fix now than after everything is finished.
Lighting swap: If replacing lights is not in the budget, work with what you own. Even simply moving some existing lights deeper between branches can make the tree feel much richer.
Step Four: Use Ribbon, Garland, or Picks to Create Movement
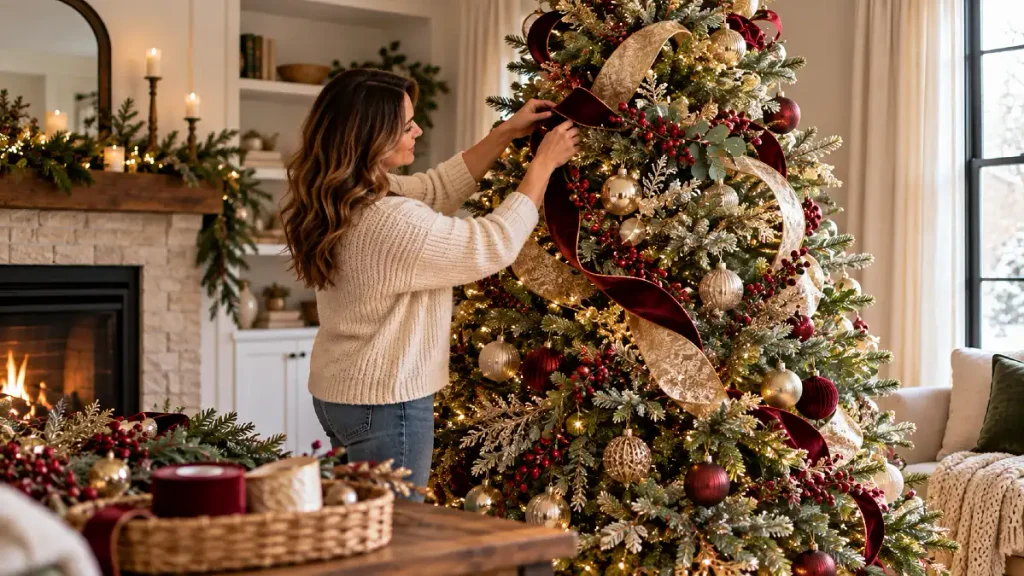
Once the lights are in place, add the elements that travel through the tree.
Ribbon, bead garland, dried orange strands, velvet bows, berry stems, pinecones, and decorative picks can guide the eye from one area to another. They also fill space without making the tree feel covered in identical ornaments.
The key is movement rather than perfect symmetry.
A ribbon does not need to spiral around the tree in one continuous line. Short sections tucked between branches often look softer and are much easier to control.
Try placing ribbon in gentle diagonal sections. Let some disappear into the branches before showing again lower down.
For decorative stems, push them into the tree at slightly different angles. A few pieces extending beyond the natural tree line can make the silhouette feel fuller.
Match the Material to the Mood
Different materials change how the same color palette feels. Use this guide when deciding which layer fits your tree.
| Material or Finish | What It Adds |
|---|---|
| Velvet ribbon | Softness and richer holiday texture |
| Satin ribbon | Subtle shine and a dressier finish |
| Burlap or linen | Relaxed, natural texture |
| Wood ornaments | Warmth and contrast beside glass |
| Clear glass | Lightness without adding another color |
| Metallic picks | Small flashes of reflected light |
Texture note: If every decoration is shiny, the tree can feel visually flat even when it is colorful. Combining matte, soft, glass, wood, and metallic finishes gives the branches more depth.
Step Five: Hang Ornaments in Layers Instead of Only on the Tips
Now comes the part most people begin with: ornaments.
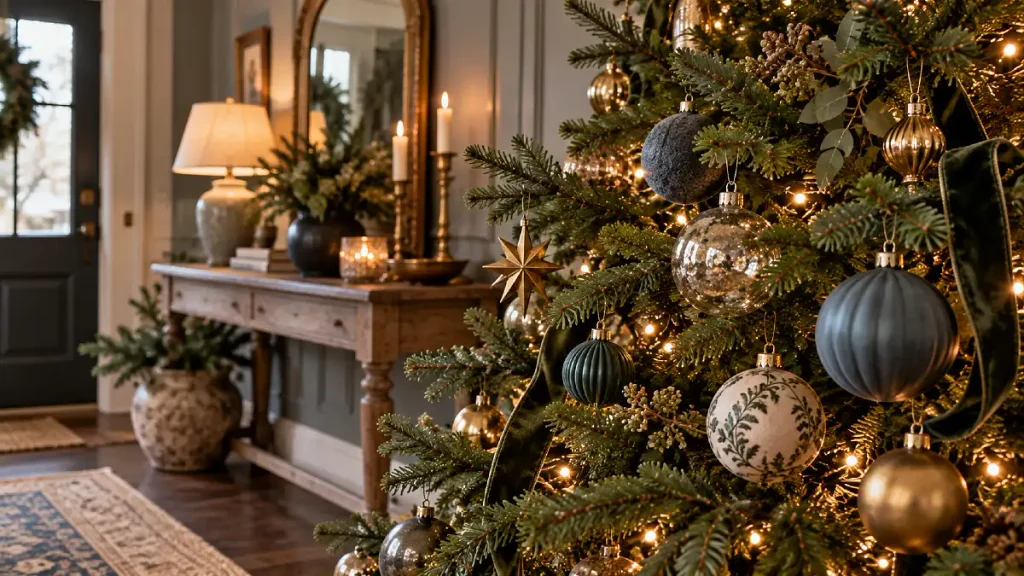
Starting here is tempting, but the earlier layers give ornaments a structure to work within. Instead of hanging decorations randomly, think about three zones: deep, middle, and outer.
Place several larger or simpler ornaments deeper inside the tree first. These fill visual gaps and reflect the lights from within.
Next, add your medium ornaments through the middle branches. Repeat your main colors around the tree so one shade does not accidentally collect in a single area.
Save unusual, sentimental, or highly detailed ornaments for the outside branches where they can actually be seen.
You can also vary the height of nearby ornaments. Three decorations hanging at exactly the same level can create a stiff horizontal line.
A few practical adjustments help:
- Place larger ornaments slightly deeper where the branches can visually support their weight.
- Repeat one color every few sections to connect the tree from top to bottom.
- Give detailed ornaments a little breathing room instead of surrounding them with several competing pieces.
- Step across the room every few minutes rather than judging spacing from directly beside the tree.
Scale note: Small ornaments alone can make a large tree look busy but under-decorated. Mixing small, medium, and larger pieces creates stronger proportion.
Step Six: Finish the Top and Base, Then Edit From Across the Room
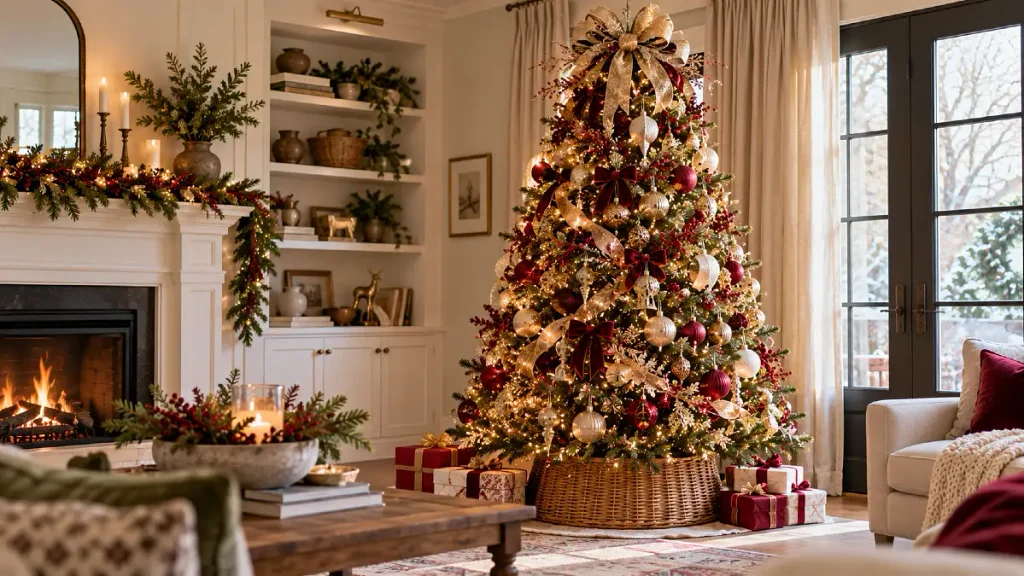
The final layer should connect the tree to the rest of the room.
At the top, you might use a star, bow, cluster of stems, or a simple topper you have owned for years. The topper should feel related to the scale of the tree rather than looking like a separate object sitting above it.
If a traditional topper feels too small, add a few coordinating stems or ribbon pieces around it. This can give it more presence without replacing it.
The bottom deserves the same attention. A tree skirt, woven collar, simple fabric wrap, or basket-style cover can hide the stand and give the tree a clean visual ending.
Then stop decorating for a moment.
Walk across the room and look at the entire tree instead of individual branches. You may notice that one area needs another large ornament while another needs something removed.
Editing is often what separates a professionally styled look from a tree that simply has more decorations.
This easy formula can help you check the finished tree.
The Christmas Tree Layering Formula
Formula: greenery + lights + movement + mixed-scale ornaments + finished base
Here is how that formula can shift depending on the style you like.
| Tree Style | Layering Formula | Why It Works |
|---|---|---|
| Cozy traditional | Warm lights + plaid ribbon + red ornaments + wood accents | Repeated warm tones keep the mix connected |
| Quiet neutral | Warm lights + cream ribbon + glass ornaments + natural wood | Texture provides interest without many colors |
| Rich holiday | Warm lights + velvet ribbon + burgundy ornaments + brass | Matte and reflective finishes balance each other |
| Natural Christmas | Warm lights + linen ribbon + pinecones + dried citrus | Organic materials create warmth without heavy decoration |
This is one of those home styling tips that works well beyond Christmas. Starting with a base, adding texture, repeating color, and finishing with a few focal pieces is the same basic approach that helps shelves, mantels, and rooms feel pulled together.
Frequently Asked Questions
What order should you decorate a Christmas tree?
Shape the branches first, then add lights, ribbon or garland, larger ornaments, smaller ornaments, and finishing pieces. Working from the inside outward makes it easier to build depth instead of covering the branch tips too early.
The tree topper and base usually work best near the end, when you can judge their scale against everything else.
How do you make a Christmas tree look fuller?
Start by spreading and shaping the branches before adding decorations. Then place some larger ornaments, ribbon sections, or decorative picks deeper inside visible gaps.
Using decorations at several depths creates more fullness than simply hanging more small ornaments on the outer branches.
How many colors should you use on a Christmas tree?
Two main colors plus one supporting metallic, neutral, or natural finish is an easy starting point. It gives the tree enough repetition to feel cohesive without forcing every ornament to match.
Sentimental decorations can still be included because the repeated palette around them creates visual structure.
How can you make an inexpensive Christmas tree look better?
Spend time shaping the branches and adjusting the lights before buying more decorations. Ribbon, pinecones, simple bows, and existing ornaments grouped by color can also create a more intentional look.
Good scale and spacing often make a larger difference than expensive ornaments.
Should Christmas tree ornaments match the room?
They do not have to match exactly, but repeating one or two colors already found in the room can help the tree feel connected to its surroundings.
For example, a living room with warm wood and cream textiles may work naturally with gold, burgundy, forest green, or soft neutral decorations.


2 thoughts on “How to Decorate a Christmas Tree Like a Professional in Six Steps”