

Claire stared at her orange oak cabinets every single morning with total exhaustion. Replacing those heavy wooden boxes would cost more than a reliable used car.
This reality left her stuck in a dark, dated room she absolutely hated cooking in. If she could learn how to paint kitchen cabinets on a budget, she knew she could save thousands.
Here is the exact supply list, specific paint, and step by step process Claire used to achieve a smooth factory finish for just $41.
The $41 Supply List for a DIY Kitchen Cabinet Makeover
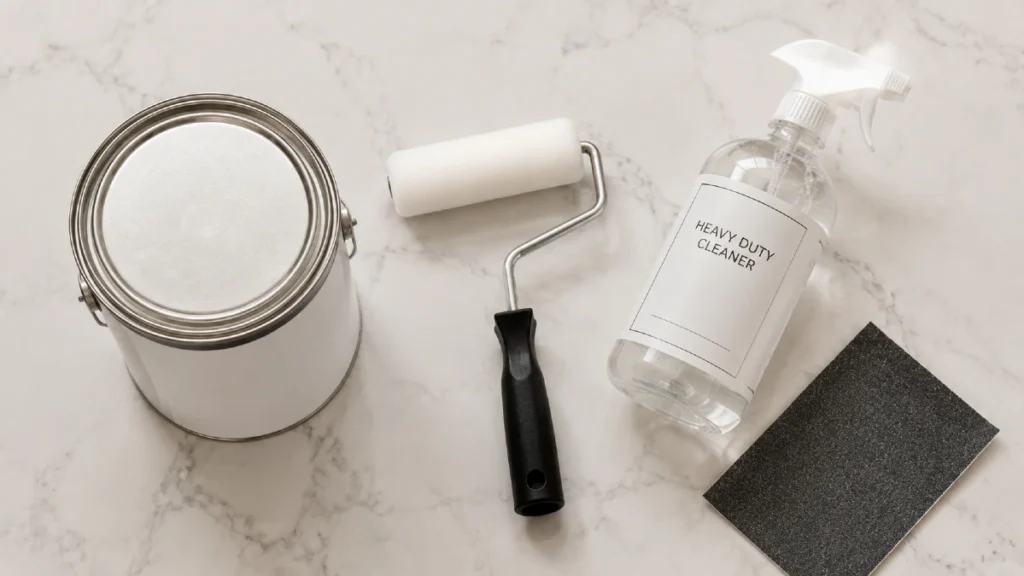
Claire knew she needed specific tools to make this project actually work. Buying the right tools is only half the battle, but it is the most important half.
Her research showed that the national average cost to have a professional paint kitchen spaces is $3,000–$7,000. She read this statistic on HomeAdvisor and felt completely priced out.
Finding the best paint for kitchen cabinets was her biggest hurdle. She discovered that a complete DIY kitchen cabinet makeover does not require expensive sprayers. It just requires patience and a few highly effective items.
Here is the exact shopping list Claire used for her project:
- One quart of Rust Oleum Cabinet Transformations paint for $22
- A Purdy White Dove high density foam roller for $6
- A bottle of Krud Kutter Tough Task Cleaner for $8
- One pack of fine grit sandpaper for $5
Claire chose a high density foam roller because it beats a traditional brush every time. Brushes leave heavy streaks on flat wood doors. Foam rollers leave a perfectly smooth texture that looks completely sprayed on.
The heavy duty degreaser was another absolutely crucial purchase. Kitchens collect hidden grease over the years. Normal dish soap simply smears that grease around instead of actually removing it.
She also grabbed fine grit sandpaper to scuff the old glossy varnish. The total bill came to exactly $41 at her local hardware store.
| Paint Type | Average Cost Per Gallon | Primer Required | Durability Rating |
| Acrylic Enamel | $45 | Yes | High |
| Alkyd Waterborne | $65 | No | Very High |
| Chalk Paint | $80 | No | Medium |
| Urethane Trim | $90 | Yes | Maximum |
Claire looked at options like urethane trim paint but wanted to keep costs as low as possible. Her final receipt proved that anyone can buy professional grade tools on a tiny budget.
She specifically avoided buying a paint sprayer to keep her budget completely intact. Paint sprayers cost over $150 and require extensive masking of the entire room. Rolling the color by hand saved her massive amounts of money.
Now that she had her exact supplies, she had to get the wood surface ready.
Why Prep Work is the Secret to a Factory Finish
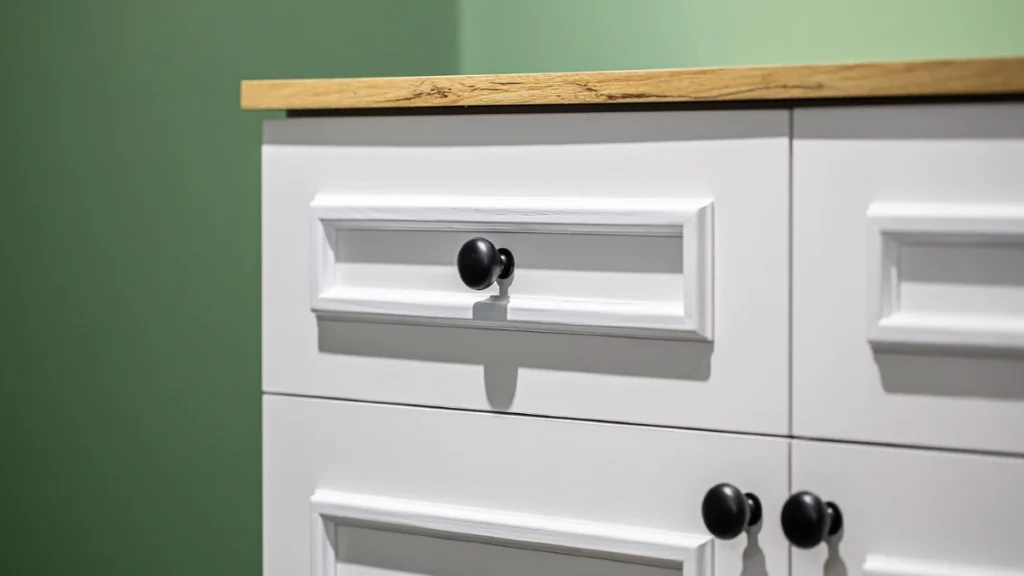
Kitchens are massive grease traps. Claire learned this the hard way when she wiped down her first wooden door. The cleaning rag turned completely brown almost instantly.
She read a report from the Paint Quality Institute that changed her entire approach. Over 80 percent of premature paint failures are caused by improper surface preparation. She decided to take the cleaning stage very seriously.
Removing the doors and labeling the hinges was her very first step. She put a piece of tape with a number inside each hinge hole. This simple trick saves hours of deep frustration later.
Next, she scrubbed every inch of wood with her heavy duty degreaser. Cleaning with a strong product prevents the new color from peeling off a month later. Grease acts like a hidden barrier that stops proper adhesion.
The cabinets right above the stove were obviously the dirtiest. Cooking oils evaporate and settle onto the wood grain over several years. She had to scrub those specific doors three times before the rag came away clean.
Once the doors were completely dry, Claire started scuff sanding. She did not sand down to bare wood. She only scuffed the glossy surface to create micro grooves for the new color to grip.
Scuff sanding was much easier than she initially anticipated. She simply rubbed the fine grit paper back and forth along the natural wood grain. She did not use an electric sander because that would create far too much dust.
Her fingers felt a slight texture on the wood when she finally finished. That dull finish meant the doors were entirely ready. She grabbed a sticky tack cloth to wipe away the remaining dust.
She chose a sticky tack cloth over a standard paper towel. Paper towels leave tiny white fibers behind on rough edges. The tack cloth grabbed every single particle of dust without leaving any residue.
Wiping away the dust ensures a perfectly smooth flat surface. A single piece of leftover dust will look like a massive boulder under fresh paint.
This prep work felt deeply tedious. However, it is the absolute best cheap way to update kitchen cabinets. Once her doors were clean and dull, she finally got to open the paint can.
How to Paint Kitchen Cabinets on a Budget
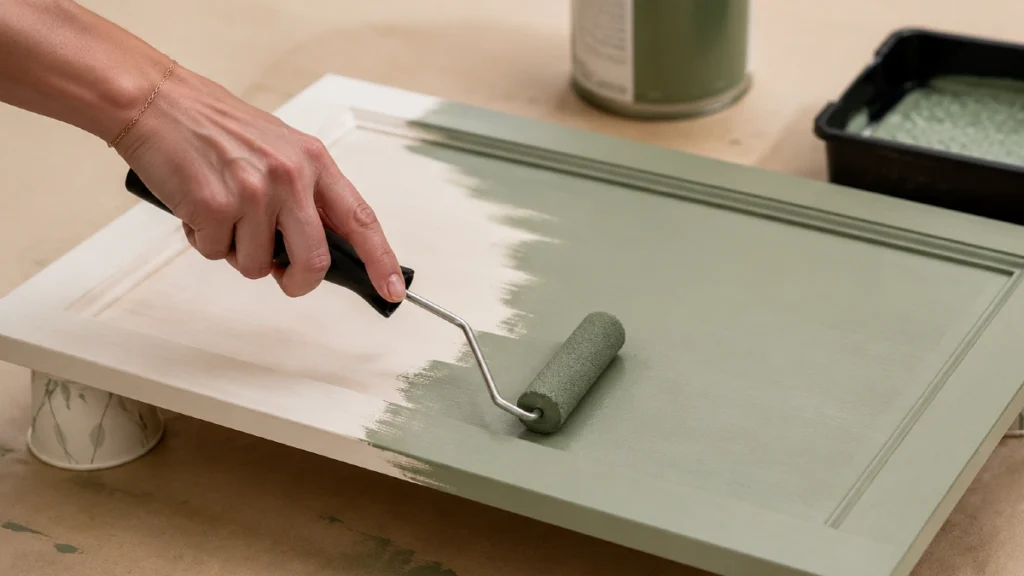
Claire grabbed her small angled brush and her high density foam roller. She set up a makeshift drying station on her dining room floor. She used small plastic cups to elevate each door off the ground.
This setup protected her floors and made the edges much easier to reach. This is the exact sequence she followed to paint kitchen cabinets on a budget.
Flawless Cabinets
The Painting Process by Hazel Quinn | The Plan Decor
Precision Cutting
She used the angled brush to deliberately cut in the recessed edges of the cabinet frames first, ensuring heavy paint didn’t pool in the detailed corners.
Smooth Rolling
She immediately used the foam roller on the flat surfaces with very light pressure, seamlessly blending the fresh brush strokes into a perfectly smooth finish.
Patience & Curing
She let the first coat dry completely without touching or moving the doors, allowing the leveling properties of the paint to settle completely flat.
Flawless Finish
Once fully cured, she applied a second thin coat using the exact same brush and roller method to achieve deep, rich, and durable color coverage.
Pushing the bristles gently into the corners ensured completely full coverage. She rolled the foam tool in one continuous downward motion to smooth out the brush strokes.
Rolling the flat surfaces with light pressure is vital to avoid heavy roller marks. Pressing too hard creates tiny air bubbles in the final finish. Claire kept her hand relaxed and let the roller do the actual work.
Respecting the dry time between the first and second coats tested her patience. The paint can instructions clearly said it would feel dry in an hour.
However, she found a product guideline from Benjamin Moore during her research phase. It stated that painters must wait at least 24 hours between coats for enamel paints to cure properly.
She followed this professional advice and let the doors sit untouched overnight before flipping them. The painting process is incredibly fun to watch. Waiting for the wet surfaces to dry completely is the hardest part.
Avoiding the Worst Cabinet Painting Mistakes
Claire wanted to learn from the errors of others so she did not ruin her doors. Her biggest fear was creating a room that looked like a sloppy DIY project.
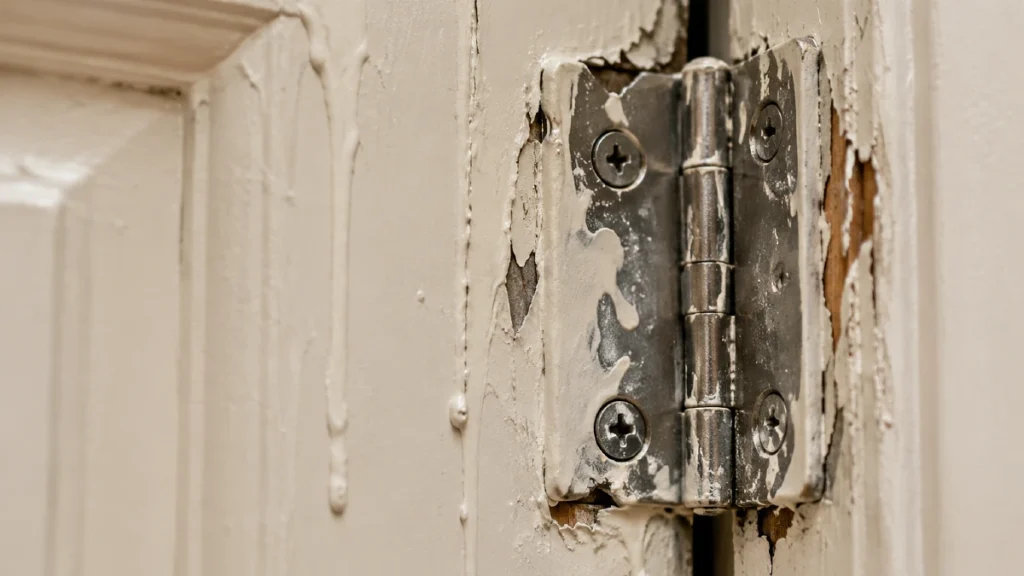
She discovered that applying thick coats of color leads directly to drips and peeling. Thick layers never cure properly and remain soft for several months. She learned to always use extremely thin coats.
Designer Sarah Sherman Samuel frequently shares advice on modern transformations. She notes that patience and incredibly thin layers of paint are the only ways to achieve a factory look. Claire kept this advice in mind during every single coat.
Claire learned that room humidity plays a massive role in cure times. Painting in a humid house keeps the layers soft for several days. She turned on her air conditioning to lower the moisture in the room.
If a drip does happen, she learned exactly how to safely handle it. She learned that painters must wait for the drip to dry completely before touching it. Once dry, she could lightly sand the bump away and touch up the spot.
Trying to wipe away a wet drip only smears the color across the door. This creates a much larger mess that is significantly harder to fix.
Painting over the hardware hinges was another mistake Claire completely avoided. Leaving the hinges on the frames looks sloppy and deeply unprofessional. It only takes ten minutes to remove them with a power drill.
Rushing to rehang doors before the finish fully cures will cause severe sticking. Claire waited three full days before she put her doors back up.
Skipping the degreaser step guarantees the finish will chip around the heavy use handles. Hand oils break down acrylic products incredibly rapidly.
Making these updates correctly provides massive financial benefits. Minor cosmetic updates offer a 71 percent return on investment at resale according to Remodeling Magazine.
| Day | Task | Active Work Time | Dry Time Required |
| Day 1 | Remove doors, degrease, and scuff sand | 4 hours | 2 hours |
| Day 2 | Paint first coat on backs and interior frames | 2 hours | 24 hours |
| Day 3 | Flip doors and paint first coat on fronts | 2 hours | 24 hours |
| Day 4 | Apply second coats and let cure completely | 3 hours | 48 hours |
Here is the exact schedule Claire used to stay on track and avoid rushing. Once she avoided these common traps and the pieces cured, the real magic finally happened. Patience guarantees a finish that looks entirely sprayed by a professional.
Finishing Touches for a Cheap Way to Update Kitchen Cabinets
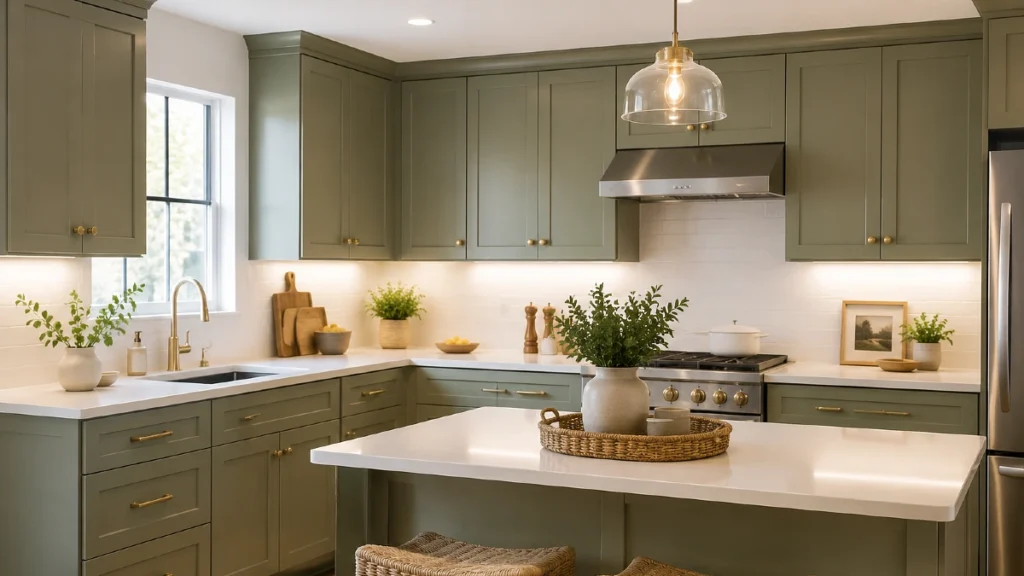
The final layer was finally completely dry. It was time for Claire to put her cooking space back together. She started by reattaching the wood doors using her original labeled hinges.
Because she labeled everything, every single door went right back into its perfect original position. She did not have to drill new holes or adjust crooked hinges.
She wanted new modern hardware but could not afford it on her strict budget. Instead, she spray painted her old tarnished hardware a matte black to save money. One can of spray paint cost her less than $6.
Next, she added highly affordable peel and stick under cabinet lighting. This lighting completely elevated the dark corners of her room. It made the entire space look like a high end expensive remodel.
She positioned the peel and stick lighting directly behind the front lip of the upper boxes. This hid the actual plastic fixture while casting a warm glow onto her counters.
She finished by styling the countertops to match the new modern aesthetic. She removed her bulky appliances and added a simple wood cutting board and a fresh green plant.
She chose a soft sage green color for her final paint. This specific shade pairs perfectly with natural wood tones and crisp white accents. She added a wooden bowl and a white ceramic vase to highlight this exact combination.
Kitchens remain the absolute top interior room to upgrade. A recent Houzz Kitchen Trends Study showed that 29 percent of homeowners prioritize cabinet modifications above all else. Claire proved this trend entirely right.
Google search volume for painted styles peaks heavily in early spring. Claire timed her project perfectly with the rising trend for soft sage green colors.
Her dated cooking space looked totally brand new. Claire stood back to look at what a little bit of elbow grease accomplished.
Budget Kitchen Flip
Cabinet Renovation by Hazel Quinn | The Plan Decor
The $41 Transformation
Claire proved that absolutely anyone can completely transform an outdated, dreary cooking space for exactly $41 using the right materials.
Strict Prep Rules
Proper heavy duty cleaning, thorough scuff sanding, and applying extremely thin coats of color are the strict, non-negotiable rules for success.
The Cost of Skipping
Skipping any of those specific steps will immediately result in a messy, frustrating project that begins to peel and chip within a week. Taking the time to prep correctly changes everything.
The Weekend Investment
Anyone can buy the exact supplies and start a dedicated prep weekend. A weekend of hard work is absolutely worth saving thousands of dollars on a massive professional renovation.
Claire proved that anyone can transform an outdated cooking space for exactly $41. Proper heavy duty cleaning, thorough scuff sanding, and extremely thin coats of color are the strict rules for success.
Skipping any of those specific steps will result in a messy project that chips within a week. Taking the time to prep the wood correctly changes everything.
Anyone can buy the exact supplies from the list above and start a prep weekend. A weekend of hard work is worth saving thousands of dollars on a massive renovation.