
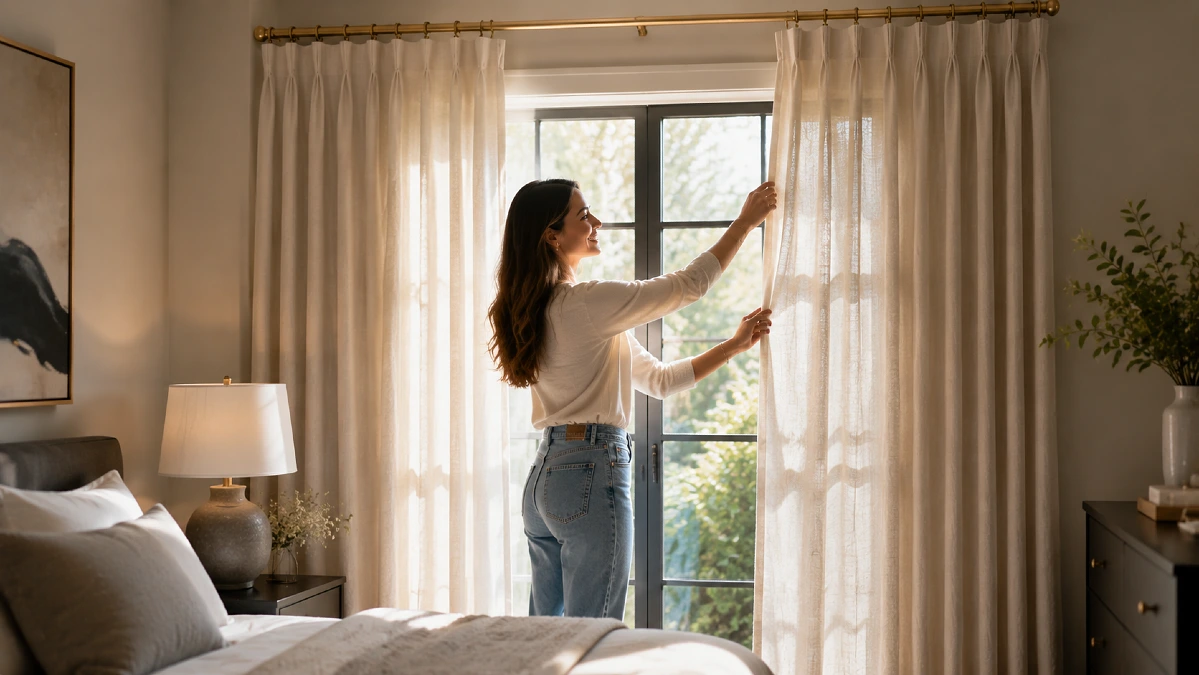
Look at your living room windows right now. Do the ceilings feel incredibly low and cramped? The problem is usually your window treatments. When you mount hardware incorrectly, the entire space shrinks.
Learning how to hang curtains changes everything about your room. You will learn the exact designer formula for flawless window treatments. We cover the correct rod height, ideal panel length, and proper fullness.
This guide gives you the exact measurements to make any room look massive. Stop making these simple mistakes today.
The High and Wide Rule Explained

Look closely at high end hotel rooms next time you visit. The drapery always starts all the way at the ceiling.
This creates an immediate sense of grandeur and luxury. Designers never mount hardware directly on the window trim.
Mounting hardware on the trim is the most common decor mistake. It boxes the window in and makes the room feel incredibly tiny.
You need to learn the correct high and wide placement. This is the secret to making your ceilings feel exceptionally tall.
First, measure your wall to find the correct curtain height. You want to mount the rod one to two inches below the ceiling line.
If you have thick crown molding, place the rod just below the molding. This forces the eye upward when someone enters the room.
Height is only half the secret. Width matters equally when learning how to style windows.
Knowing where to place curtain rods horizontally changes the amount of light in the room.
Extend your metal brackets 8 to 12 inches past the window edges on both sides.
When you push the fabric back, it rests entirely on the blank drywall.
This exposes the entire glass pane to the sun. Exposing the full glass pane can increase natural light by up to 30 percent, according to HGTV Design Trends.
More natural light makes a small living room feel expansive and open. Your brain is tricked into thinking the window is as wide as the hardware.
Renters often feel stuck in cramped apartments. Correcting your window treatments fixes this cramped feeling instantly.
The visual trick works in living rooms, bedrooms, and dining spaces. You do not need to hire an architect to raise your ceiling.
You just need a drill and a taller ladder. When the fabric starts near the ceiling line, the eye travels upward.
This vertical movement makes the walls feel significantly taller than they actually are. Pushing the rod out makes windows look massive.
You also need the right fabric length to finish the illusion perfectly.
Getting the Length Right
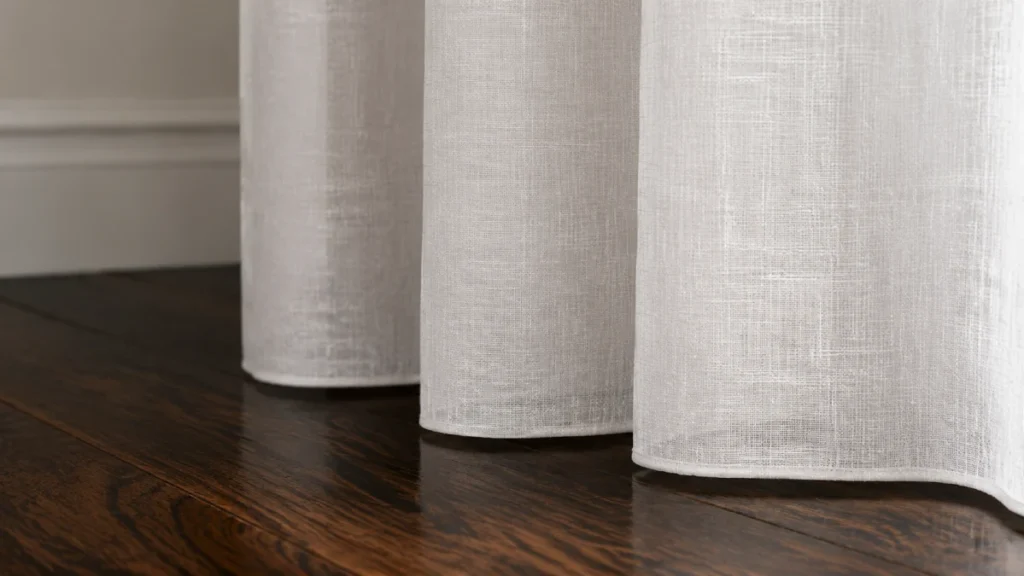
Nothing ruins a beautifully styled room faster than short fabric. High waters look terrible on pants and they look worse on your walls.
There are strict curtain length rules you must follow for a polished space. The fabric must always touch the floor.
Never let panels hover awkwardly above your wooden baseboards. This visually cuts the wall in half and ruins the tall ceiling illusion.
A standard ceiling height in the United States is exactly 8 feet.
Buying 96 inch panels instead of standard 84 inch panels fixes most length issues instantly, according to Apartment Therapy.
You have two main styling choices for the bottom edge.
You can choose a crisp half inch float if you want clean floors. This prevents dust bunnies from sticking to the fabric edges.
Alternatively, you can let the fabric puddle slightly on the floor. A slight puddle adds a romantic and soft look to bedrooms.
Measure the distance from your new high rod placement directly down to the floor. Use a metal tape measure for accuracy.
Always order the next size up if your exact measurement falls between standard sizes. You can hem a longer panel easily.
You can use simple iron on hemming tape if you do not know how to sew. You cannot magically add extra fabric to a short panel.
Baseboard heaters present a unique challenge. You must never let fabric rest directly on a working heater.
Measure carefully to leave a one inch gap for safety. For all other windows, the floor rule remains strict.
A floating panel looks crisp and modern. A puddled panel feels traditional and incredibly cozy.
Washing your panels can cause slight shrinkage. Always wash and dry cotton panels before you measure and hem them.
This prevents a devastating length mistake later.
| Ceiling Height | Recommended Panel Length | Where to Mount the Rod |
| 8 Foot Ceilings | 96 Inch Panels | Mount just below the ceiling. |
| 9 Foot Ceilings | 108 Inch Panels | Mount 2 inches below the ceiling. |
| 10 Foot Ceilings | 120 Inch Panels | Mount 2 inches below the ceiling. |
| Vaulted Ceilings | 108 Inch Panels | Mount 12 inches above the window. |
Once your panels kiss the floor perfectly, you must consider the visual weight.
The Fullness Factor for Luxury Windows
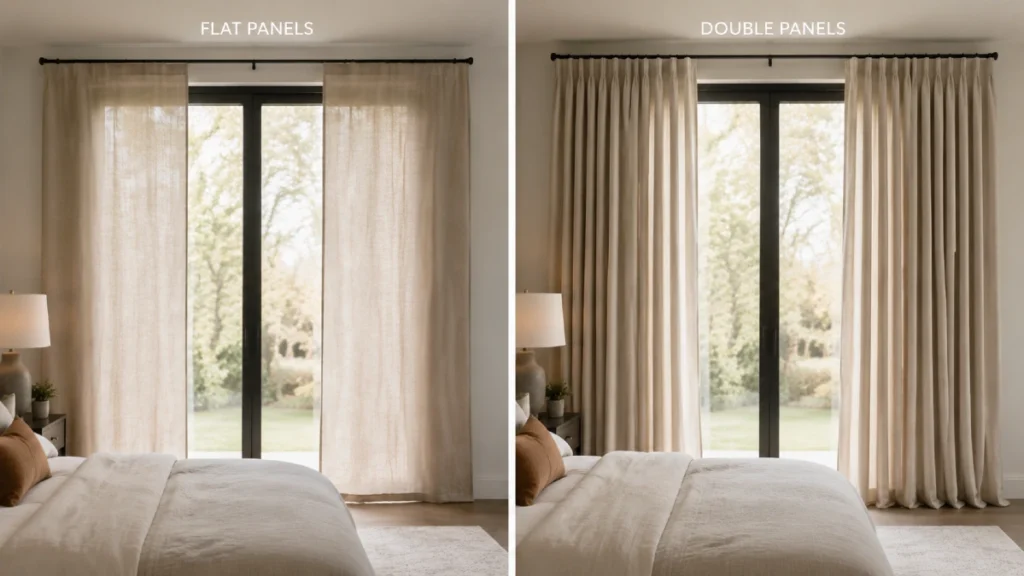
Stretching a single piece of thin fabric tightly across a window looks incredibly cheap. It resembles a flat bed sheet tacked to the wall.
Learning how to hang curtains correctly means mastering volume. Flat panels offer zero visual interest and block zero sunlight.
You need panels that equal two to three times the width of your actual window. This creates beautiful folds even when the fabric is pulled shut.
Custom drapery uses a standard 2.5 times fullness ratio to achieve deep pleats, according to the Houzz Window Treatment Guide.
You do not need to buy expensive custom fabrics to achieve this look. You just need to buy more panels.
Interior designer Emily Henderson loves sharing her favorite budget trick. She recommends doubling up affordable panels to fake a custom aesthetic.
You can buy standard West Elm Cotton Canvas panels for $80–$120 a pair. Simply buy two pairs instead of one.
Clip two panels together onto the exact same set of rings. This forces the fabric to fold deeply and look incredibly thick.
Thin fabric looks sad and unfinished. The goal is a rich and layered aesthetic.
You want the fabric to fold deeply into itself. This requires significant width.
A single flat sheet of cotton blocks very little morning sun. A heavily pleated double panel blocks bright light effectively.
The extra fabric also absorbs sound in echoey rooms. This makes your space feel incredibly quiet and intimate.
You can easily train your pleats with string. Tie the fabric gently into folds for a few days.
You should also consider the fabric style carefully. Google Trends shows a massive spike in search volume for pinch pleat drapes.
Pinch pleats have structured folds sewn directly into the top header. They hang beautifully and look much more tailored than standard rod pocket styles.
Now that you know exactly how much fabric you need, you must support that weight properly. Thick fabric requires serious support to stay secure.
Choosing the Best Hardware
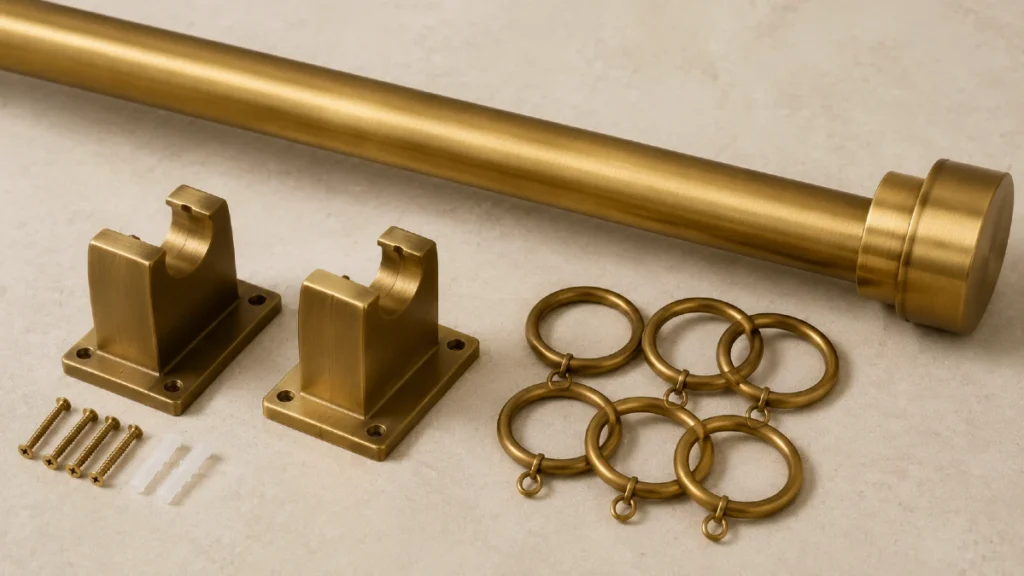
Heavy fabric will snap a cheap rod instantly. Flimsy hardware completely ruins the luxury illusion you just built.
Knowing exactly where to place curtain rods is useless if the metal bows in the center.
Interior designer Nate Berkus always advises clients to buy drapery rods that are at least one inch thick. Thick hardware looks intentional and commands attention.
Thin rods bend under the weight of doubled up fabric.
Sagging rods are the most common installation failure for heavy velvet or blackout drapes, according to a recent NAHB interior survey.
You can find an Amazon Basics 1 inch drapery rod for just $25–$40 online. It supports heavy linen effortlessly without bending.
Always install the center support bracket. Many people skip this piece because they think it slows down the installation.
Do not skip the center bracket. The middle bracket keeps the metal perfectly straight over time.
You also need to choose the right rings and finials. The finials are the decorative caps on the ends of the rod.
Choose simple round or square finials to keep the look modern and clean. Avoid ornate shapes that distract from the fabric.
Brass hardware adds instant warmth to a cold room. Matte black hardware looks sharp and industrial.
The finish you choose should match your light fixtures. Do not buy telescoping rods that snap together flimsily.
Solid metal rods always perform better over time. Metal rings glide silently across a smooth metal rod.
Avoid sliding a fabric pocket directly onto a rough rod. The friction makes opening the window a daily chore.
Rings look vastly superior and function perfectly. Your daily routine becomes completely effortless.
Here are the hardware features you must verify before purchasing:
- Rod thickness must measure at least one full inch.
- Wall brackets must have multiple screw holes for maximum stability.
- Rings must match the rod finish perfectly for a seamless look.
You have the right rod, the right panels, and the correct measurements. It is time to install them.
Process: How to Hang Curtains Like a Pro
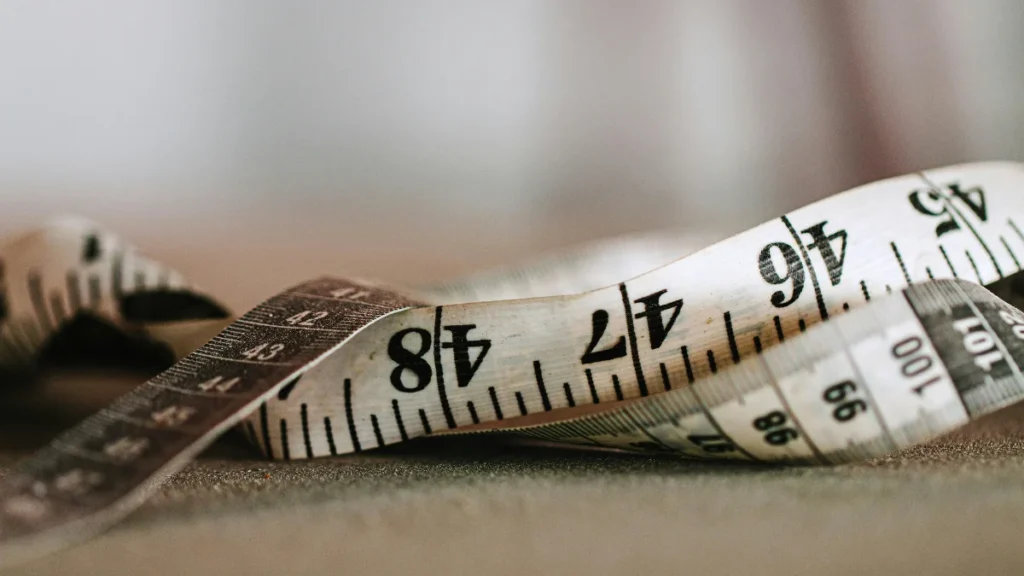
Grab your tools. Installation requires patience and precision.
You will need a metal tape measure, a power drill, a laser level, a pencil, and heavy duty drywall anchors.
The Preparation Phase
First, measure your window width and add 20 inches to find your total rod length. This accounts for the extra width on both sides.
Next, determine your height. Mark the wall with a pencil exactly one inch below the ceiling line on the left and right sides.
Use your laser level to ensure the pencil marks match perfectly across the expanse of the wall.
Finding a wooden wall stud is always the best case scenario. Wood provides the ultimate grip for heavy metal hardware.
Drywall anchors are the next best option. Never screw a plain screw directly into hollow drywall.
The weight of the fabric will rip the screw out completely. This leaves a massive hole in your fresh paint.
Take your time measuring the bracket holes. Rushing the measuring phase guarantees a crooked rod.
A crooked rod ruins the entire aesthetic instantly. Check your laser level twice before you pick up the drill.
The Installation Phase
Now you are ready to secure the metal brackets safely to the drywall.
- Hold the bracket directly over your pencil mark and trace the empty screw holes.
- Drill pilot holes straight into the drywall using your power drill.
- Tap in your heavy duty drywall anchors if you completely miss a wooden wall stud.
- Screw the left and right brackets tightly into the wall until they feel perfectly secure.
- Find the exact center point above the window and install the crucial middle bracket.
- Slide all your metal rings onto the rod before attaching it to the fixed brackets.
Always leave one ring on the outside of the bracket on both ends. This locks the outer edge of the panel in place.
Once the rod is secure, attach your beautiful new Pottery Barn Emery Linen drapes. These cost roughly $150–$250 per panel but last forever.
| Window Width | Total Panel Width Needed | Number of Standard Panels to Buy |
| 40 Inch Window | 100 Inches | Buy 2 Panels. |
| 60 Inch Window | 150 Inches | Buy 3 Panels. |
| 80 Inch Window | 200 Inches | Buy 4 Panels. |
| 100 Inch Window | 250 Inches | Buy 5 to 6 Panels. |
Secure your brackets firmly into the drywall. Step back and admire your massive windows.
Learning how to hang curtains properly completely transforms your home. Always remember to go high and wide with your rod placement.
This exposes the glass and lifts the ceiling. Make sure the fabric touches the floor perfectly.
Double up your panels to create deep and luxurious pleats. These simple rules elevate any room instantly.
Grab your tape measure right now. Measure your living room windows before you order those new velvet drapes.