
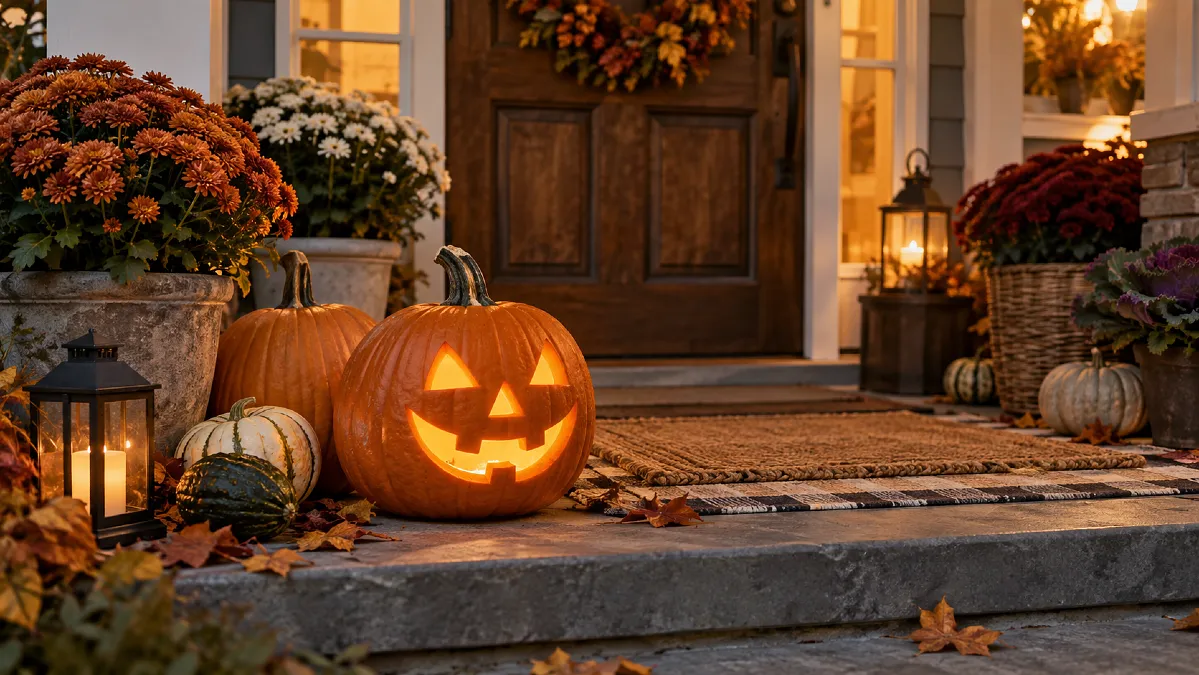
A beautifully carved pumpkin can turn soft, shriveled, or moldy long before Halloween night arrives. That is especially frustrating when you spent an evening choosing the design, cleaning the inside, and getting every cut just right.
The problem is that carving exposes moist pumpkin flesh to air, warmth, microbes, and drying. Once that protective outer skin is broken, the pumpkin starts changing much faster than an uncut one.
The good news is that smarter carving, careful cleaning, and cooler storage can help it stay presentable longer. These simple DIY home decor steps focus on slowing moisture loss and decay without turning pumpkin carving into a complicated project.
Start With a Pumpkin That Can Handle Being Carved
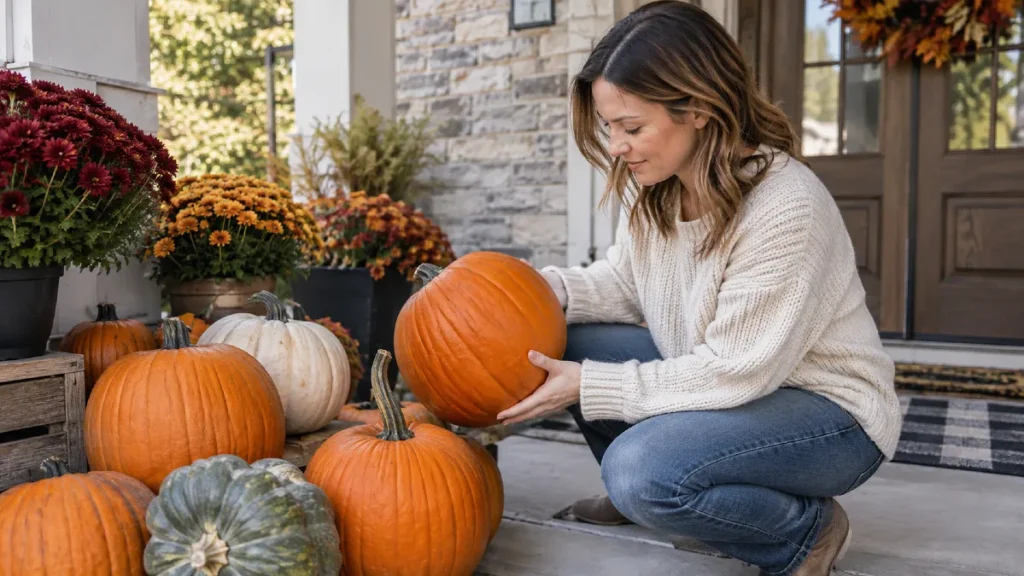
Pumpkin longevity begins before the knife comes out. A pumpkin that already has bruises, soft spots, or a damaged stem has less room for error once its protective skin is cut.
Choose one that feels firm all over, with a hard rind and no wet patches around the base. Small surface scratches are usually less concerning than deep dents or areas that give when pressed.
The stem should feel dry and firmly attached. Carry the pumpkin from underneath rather than lifting it by the stem, since breaking the stem can create another damaged area.
Here is a quick way to compare pumpkins before bringing one home.
| Pumpkin Feature | What to Look For | Why It Helps |
|---|---|---|
| Rind | Firm, hard, evenly colored | Better protects the pumpkin before carving |
| Bottom | Dry and solid | Wet or soft bases can deteriorate faster |
| Stem | Firmly attached and dry | Less damaged tissue around the top |
| Surface | Few deep cuts or bruises | Damaged areas can break down sooner |
| Shape | Stable when sitting upright | Reduces tipping and cracked carving edges |
A slightly imperfect shape is completely fine. Stability, firmness, and condition matter more than finding a perfectly round pumpkin.
Cleaning Out the Pumpkin Thoroughly Makes a Bigger Difference Than Fancy Tricks
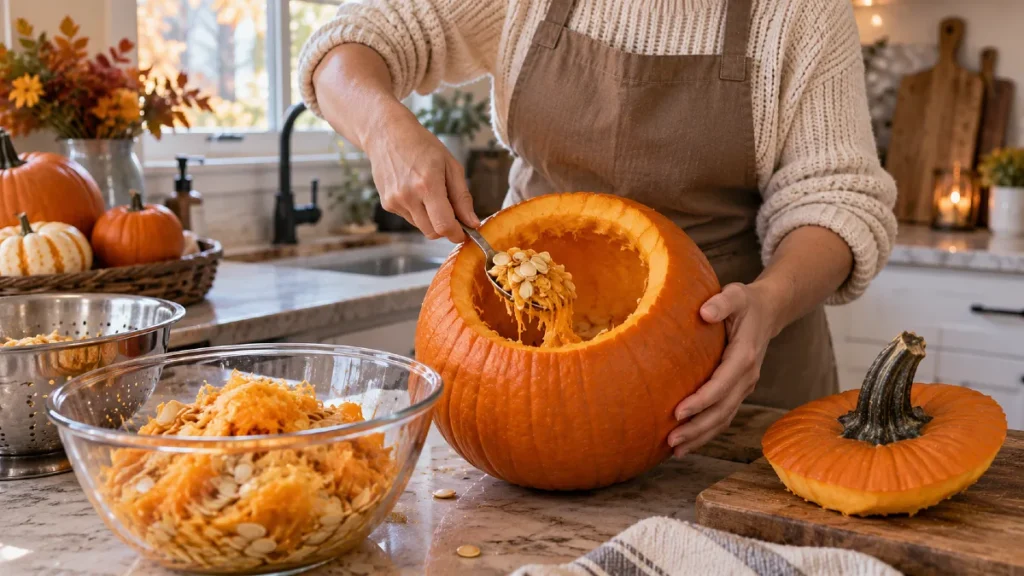
The stringy pulp and seeds are not the only material that should come out. The softer inner flesh left behind holds plenty of moisture and can make the pumpkin messy sooner.
After opening the pumpkin, scoop out the seeds and loose strands first. Then scrape the inner walls until they feel smoother and less wet without making the shell dangerously thin.
A large metal spoon or sturdy pumpkin scraper works well. Pay extra attention to the bottom, where loose pulp often collects beneath a candle or light.
Texture note: Aim for a wall thick enough to hold its shape but thin enough around the design to carve cleanly. Over-scraping can leave delicate sections that sag or split.
Once the inside is clean, wipe away loose residue around your planned cutting area. Cleaner surfaces give you sharper edges and fewer wet clumps sitting inside the finished pumpkin.
Clean Cuts Hold Their Shape Better Than Ragged Ones
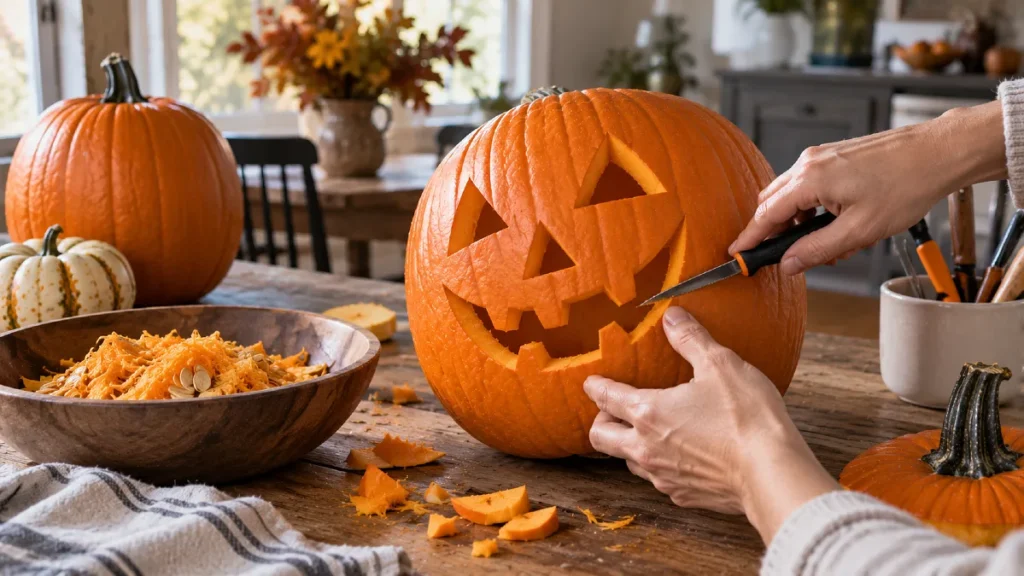
Detailed pumpkin designs can look impressive, but hundreds of tiny cuts also create more exposed edges. If your main goal is making the pumpkin look good through Halloween, slightly simpler shapes are easier to maintain.
Use a sharp pumpkin-carving tool and work slowly rather than forcing the blade. Jagged cuts leave thin pieces of flesh that dry, bend, and curl faster.
Broad eyes, clean curves, sturdy teeth, and thicker bridges between openings tend to remain stronger than extremely narrow details.
Try to keep delicate pieces connected to enough surrounding pumpkin flesh. A thin strip floating between two large openings may look crisp on carving day but can soften quickly.
For home styling tips around the front porch, think about the pumpkin from several feet away. A strong silhouette often reads better from the sidewalk than a design filled with tiny details.
Protect the Freshly Cut Edges From Drying Out Too Fast
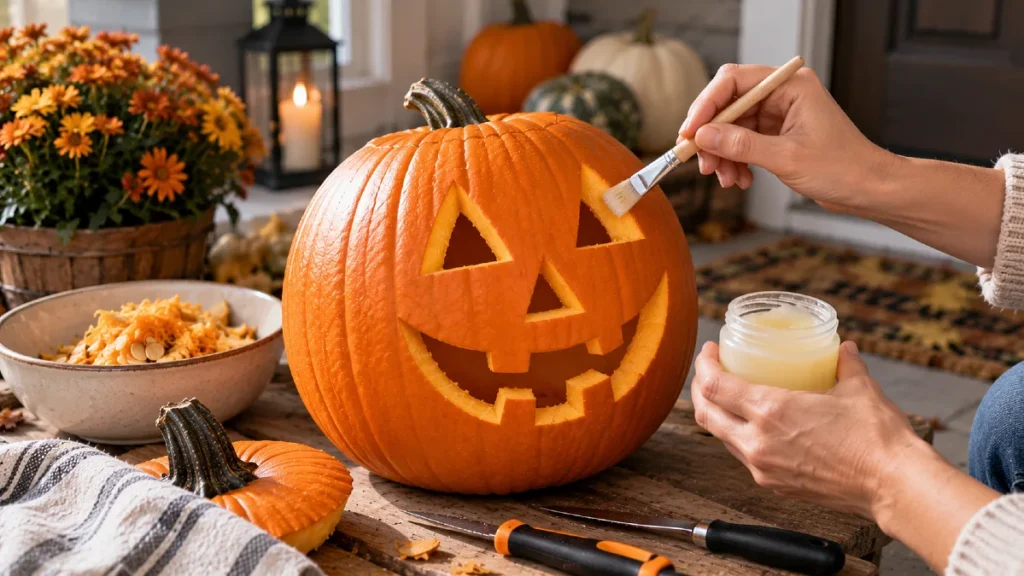
Once the face is carved, the exposed edges start losing moisture. Those edges are often the first places where a pumpkin begins looking wrinkled.
A very thin coating of plain petroleum jelly on exposed cut edges can help slow surface moisture loss. Use a small amount rather than smearing it across the entire pumpkin.
If you prefer not to apply anything, focus more heavily on cool storage and delaying carving until closer to Halloween. No preservation method can completely stop natural breakdown.
A few small changes matter more than complicated pumpkin hacks.
| Instead of This | Try This |
|---|---|
| Leaving thick strings inside | Scrape the interior clean and smooth |
| Making many fragile cuts | Use wider openings and stronger shapes |
| Setting it in afternoon sun | Move it to a shaded, cooler spot |
| Leaving rainwater inside | Drain it and dry the interior |
| Ignoring curled carving edges | Check them and gently remove loose bits |
What to avoid: Be cautious about mixing household chemicals or spraying strong cleaners inside a pumpkin. Simple cleaning, good airflow, and temperature control are easier to manage around children, pets, and front-door displays.
Cool Nights and Shade Matter More Than Most Pumpkin Decorations
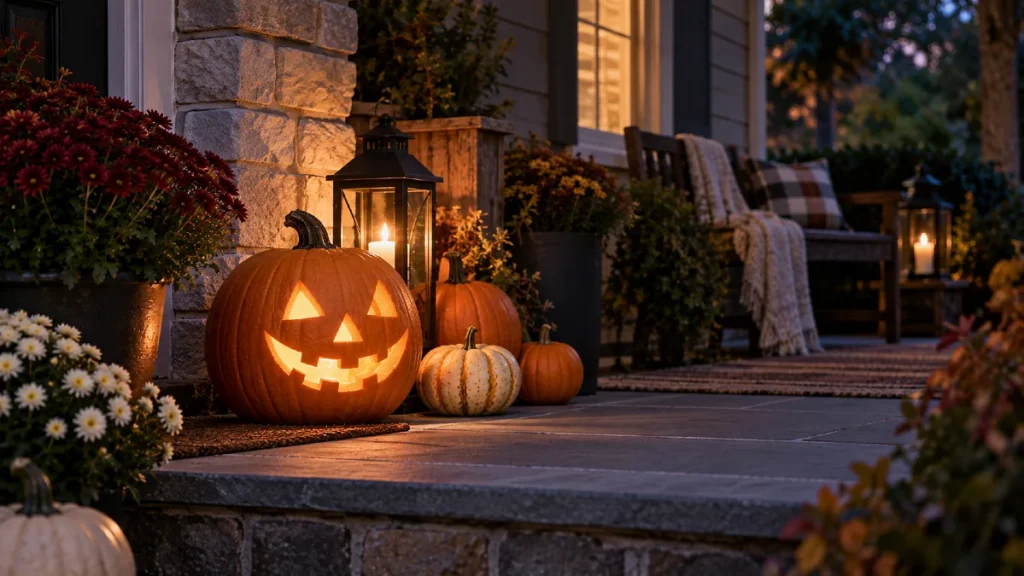
Heat speeds up pumpkin deterioration. A porch that receives strong afternoon sun can be much harder on a carved pumpkin than a shaded entry.
During warmer days, move the pumpkin to the coolest practical sheltered place available. A covered porch, cool garage, or another protected area can be kinder than leaving it in direct sunlight.
If weather is unusually warm and refrigerator space allows, the pumpkin can spend part of the day chilled. Keep it away from items that may be damaged by moisture or pumpkin residue.
Rain creates a different issue. Water pooling inside the pumpkin can leave the base constantly damp, so check the interior after wet weather and gently dry accumulated moisture.
Rental-friendly decor note: A carved pumpkin can bring plenty of seasonal character to an apartment entry without hooks, nails, paint, or permanent changes. Pair it with a removable doormat, lantern, or small pot of autumn foliage for easy DIY home decor.
Use Battery Lights Instead of Adding Extra Heat
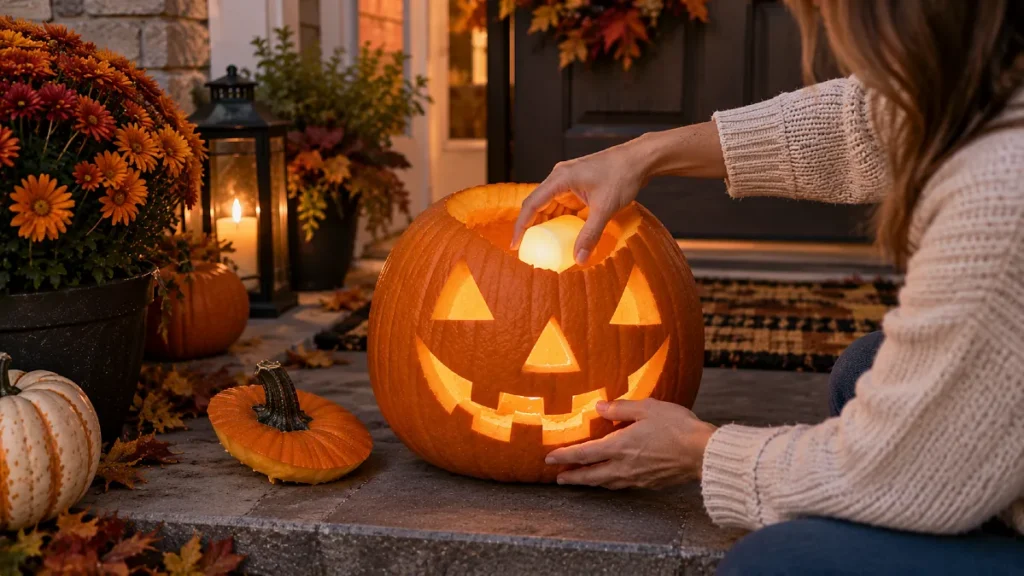
A traditional candle creates a warm Halloween glow, but it also adds heat inside the pumpkin. Heat can speed drying around the top and may make already delicate carving edges softer.
Battery-powered LED lights give you the glow without much added warmth. They are also easier to place inside pumpkins with narrow openings.
Warm white light works especially well with orange pumpkin flesh because it creates that familiar candle-like color. Flickering LED lights can give a similar effect while keeping the display simpler.
If you use a real flame, supervise it carefully and keep the pumpkin away from curtains, dry leaves, fabric, pets, and other flammable materials.
Time Your Carving Around the Conditions You Actually Have
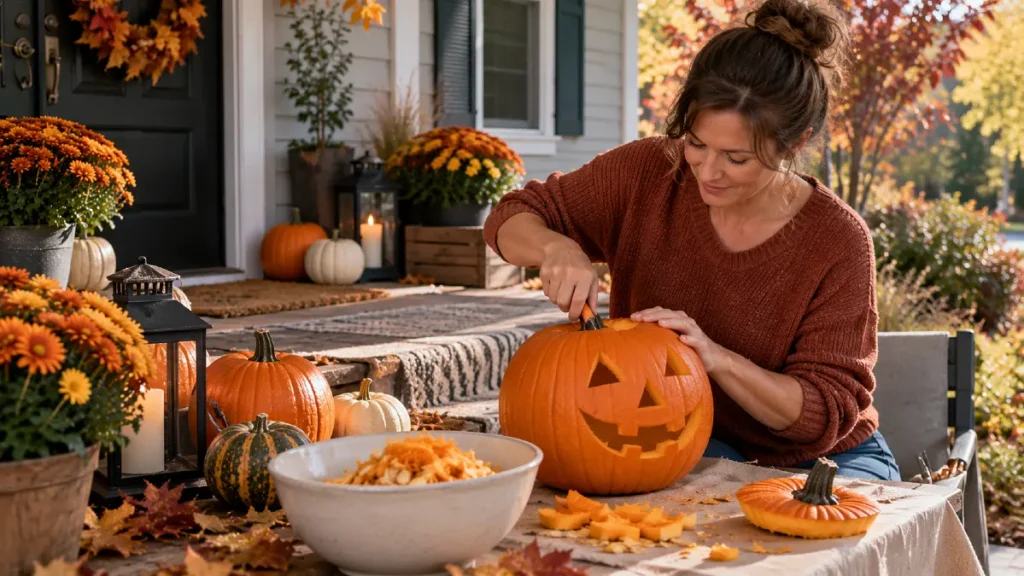
There is no single carving schedule that works for every home. Temperature, humidity, pumpkin condition, sun exposure, and carving complexity all affect how quickly it changes.
If your porch stays warm during the day, carving closer to Halloween is the safer styling choice. In cooler conditions, you may have a little more flexibility.
Think of pumpkin carving as the finishing layer rather than the entire seasonal display. Uncarved pumpkins, branches, lanterns, and autumn foliage can carry the porch decor earlier, then the carved pumpkin can join closer to Halloween.
This makes the display easier to manage and keeps the most delicate part of the arrangement from doing all the visual work.
Here are a few simple combinations that keep the pumpkin as the focal point without making the porch feel crowded.
| Setting | Formula | Why It Works |
|---|---|---|
| Small doorstep | Carved pumpkin + lantern + textured mat | Gives three layers without using much floor space |
| Apartment entry | Pumpkin + small planter + battery light | Adds seasonal detail without permanent changes |
| Wide porch | Carved pumpkin + two uncarved pumpkins + foliage | Creates scale while the carved piece stays central |
| Minimal entry | One large pumpkin + warm LED glow | Strong shape keeps the display clean and simple |
Formula: firm pumpkin + clean carving + cool storage + low-heat lighting.
That combination tackles the main causes of a carved pumpkin looking tired too soon. You can adjust the design and surrounding decor to suit your own space without changing the basic preservation approach.
When a Pumpkin Starts Looking Tired, Small Fixes Can Buy Back Some Curb Appeal
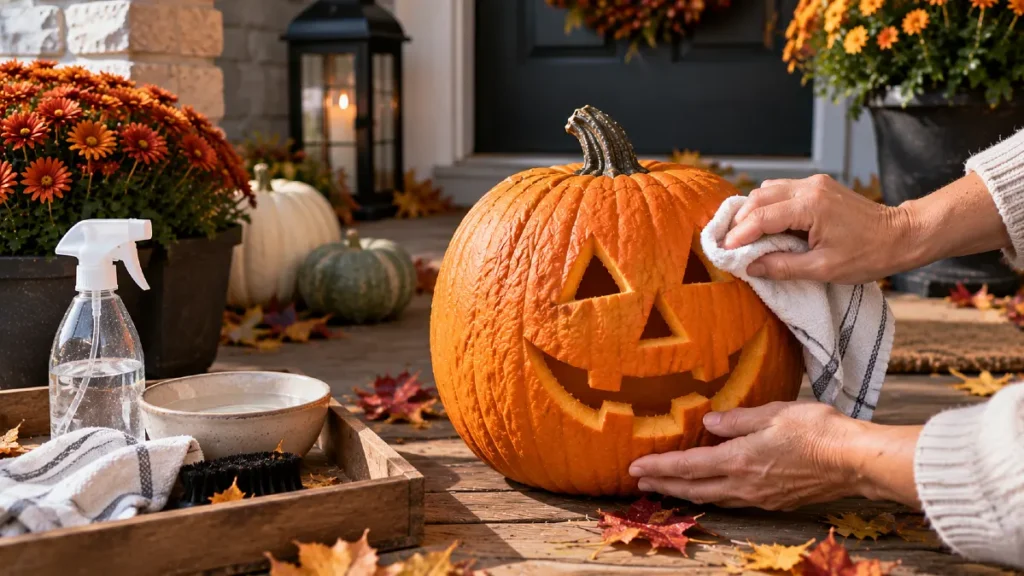
A slightly dry pumpkin does not always need to be thrown away immediately. If it is simply looking a little wrinkled, moving it somewhere cooler can help prevent conditions from becoming worse.
You can also trim away tiny loose pieces around the carved openings if they begin curling. Keep the adjustments light so the original design does not become weaker.
Once a pumpkin develops significant mold, a very soft base, leaking areas, or a strong unpleasant smell, it is usually time to remove it from the display.
This is also why keeping supporting fall decor around the pumpkin helps. If one carved piece needs to go, the whole entry does not suddenly look empty.
Frequently Asked Questions
How early should you carve a pumpkin before Halloween?
Carve it closer to Halloween if your weather is warm, sunny, or humid. Cooler conditions generally give carved pumpkins a better chance of staying presentable, but every pumpkin breaks down at a different rate.
Does putting a carved pumpkin in the refrigerator help?
Cool temperatures can slow some of the changes that make a carved pumpkin deteriorate. If you have enough space, temporary refrigeration can be useful during unusually warm weather, especially overnight or during the hottest part of the day.
How do you stop a carved pumpkin from drying out?
Start by cleaning the inside thoroughly and keeping the pumpkin away from heat and direct sun. A very thin layer of petroleum jelly on the freshly cut edges can also help slow moisture loss.
Should you use a candle inside a carved pumpkin?
You can, but a battery-powered LED creates less heat and is easier to manage in many homes. If using a flame, supervise it and keep the pumpkin well away from dry foliage, fabric, children, and pets.
Why does my carved pumpkin get moldy so quickly?
Warmth, moisture, damaged flesh, and leftover pulp can all contribute to faster breakdown. Starting with a firm pumpkin and keeping the inside clean, cool, and reasonably dry gives it a better chance of lasting longer.